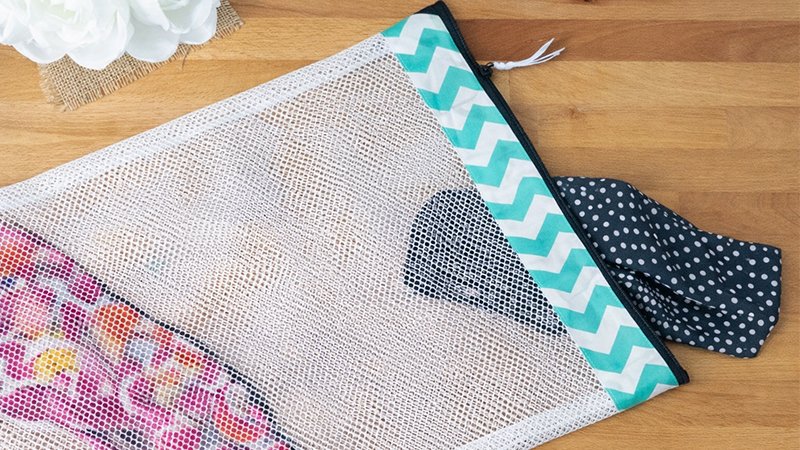
Tired of your bras losing shape, lace snagging, or small garments disappearing in the wash? A mesh wash bag is the perfect solution—and making your own is easier than you think.
This beginner-friendly sewing project will help protect your delicates while adding durability and a professional finish using French seams and a zipper closure.
Why This Wash Bag Works Better
- Zipper closure (no tangles): Unlike drawstrings, zippers won’t wrap around other clothes or get caught.
- French seams: Fully enclosed seams prevent fraying and increase durability—perfect for mesh fabric.
- Reusable & customizable: Make multiple bags in different sizes or colors.
Materials Needed (for ONE bag)
- 1/2 yard mesh fabric
- 1/8 yard quilting cotton
- 1 zipper (18 inches or longer)
- 6-inch ribbon (optional, for zipper pull)
Tip: With 1 yard mesh + 1/4 yard cotton, you can make TWO bags.
Cutting Instructions
Cut the following pieces:
- From mesh fabric:
- 1 rectangle: 18” x 32”
- From cotton fabric:
- 2 rectangles: 4” x 18”
Step-by-Step Sewing Instructions
Step 1: Prepare the Cotton Headers
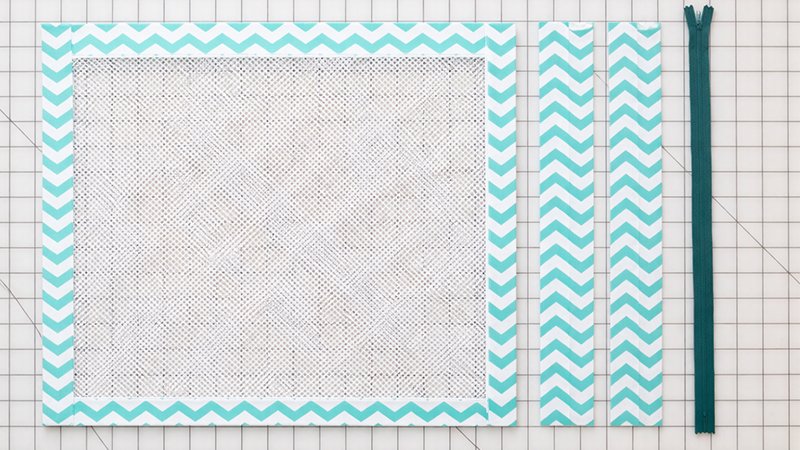
- Take both cotton rectangles.
- Fold one long edge (18”) of each piece ½ inch to the wrong side.
- Press firmly with an iron.
Step 2: Attach Mesh to Cotton Panels
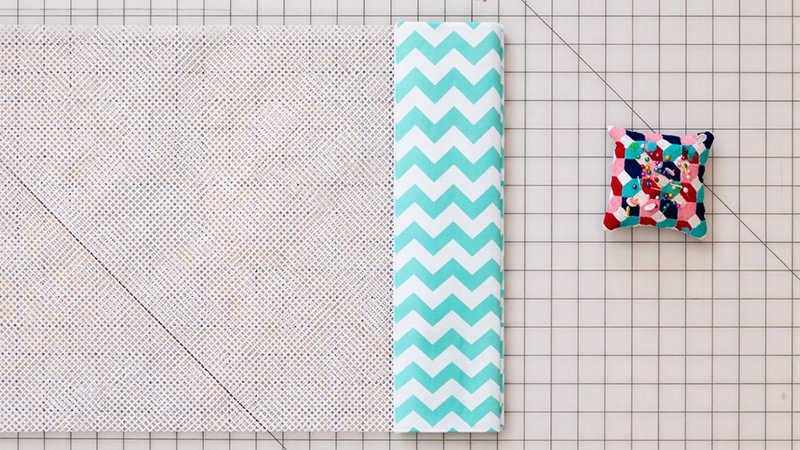
- Place one cotton strip right side up.
- Align one long edge of the mesh with the unfolded edge of the cotton.
- Pin in place.
Tip: Keep the mesh on top while sewing—it’s easier to control the stretch.
- Sew along the edge using a ½ inch seam allowance.
- Press the seam toward the cotton.
Step 3: Create Finished Header Edges

- Fold the pressed edge of cotton over the mesh edge (like a sandwich).
- Ensure both folded edges align neatly.
- Pin in place.
- Topstitch ⅛ inch from the folded edge.
- Press flat.
Repeat Steps 2–3 for the other side of the mesh.
Step 4: Install the Zipper
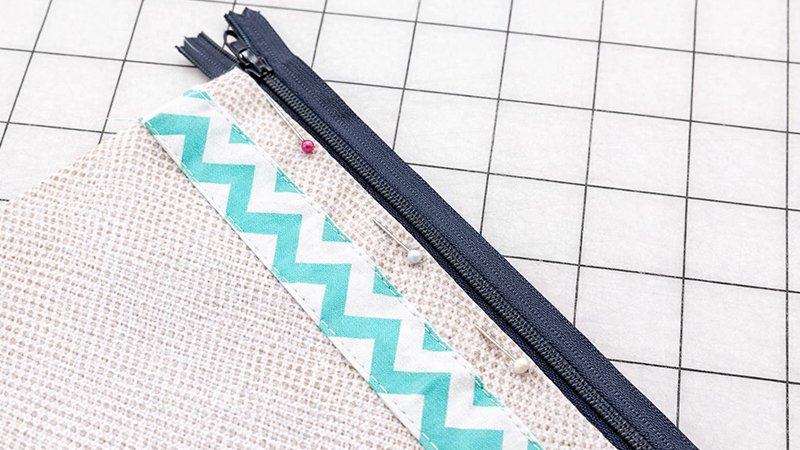
- Choose which side of the fabric will be the outside.
- Lay one fabric panel along one side of the zipper:
- Overlap the zipper tape by about ¼ inch
- Align the folded edge along the zipper stitching line (if visible).
- Using a zipper foot, stitch ⅛ inch from the edge.
- Repeat for the other side:
- Attach the second panel to the other side of the zipper.
Now your mesh forms a loop with the zipper at the top.
Trim any uneven mesh or excess zipper tape.
Step 5: Sew the Sides with French Seams
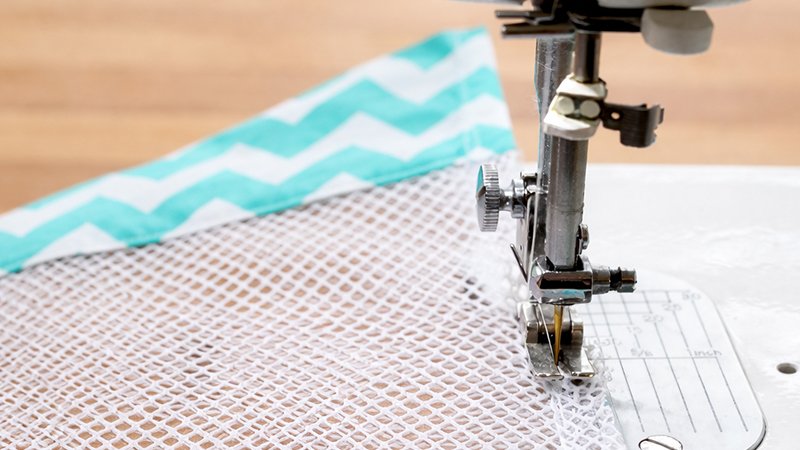
First Seam:
- Keep the bag right side out.
- Align side edges and pin.
- Sew both sides with a ¼-inch seam allowance.
Avoid sewing over metal zipper ends!
Second Seam:
- Turn the bag inside out (wrong side out).
- Push out the seams neatly.
- Tuck the zipper ends inward at the top corners.
- Sew again using a ½ inch seam allowance.
This encloses all raw edges inside the seam.
Step 6: Add Optional Ribbon Pull
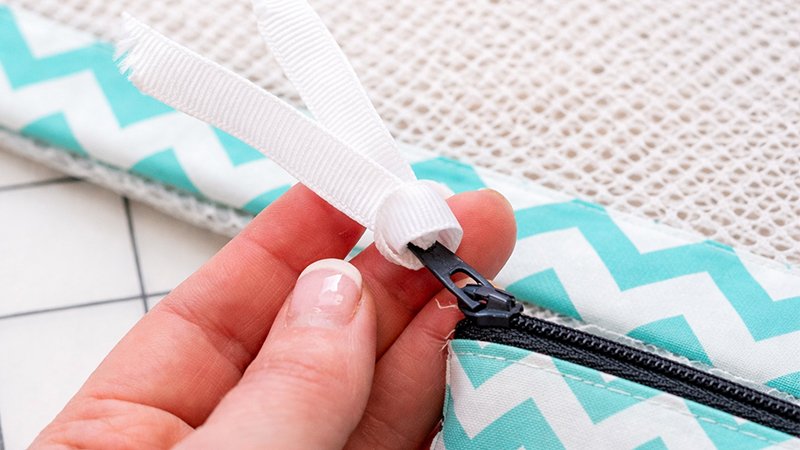
- Cut ribbon ends into points.
- Thread through the zipper pull hole.
- Loop and pull tight (like a lark’s head knot).
- Trim edges if needed.
Your Wash Bag Is Ready!
Use your bag to protect:
- Bras and underwear
- Swimsuits
- Baby clothes
- Small items (socks, accessories)
Simply zip it up and toss it in the wash—no more lost or damaged delicates.