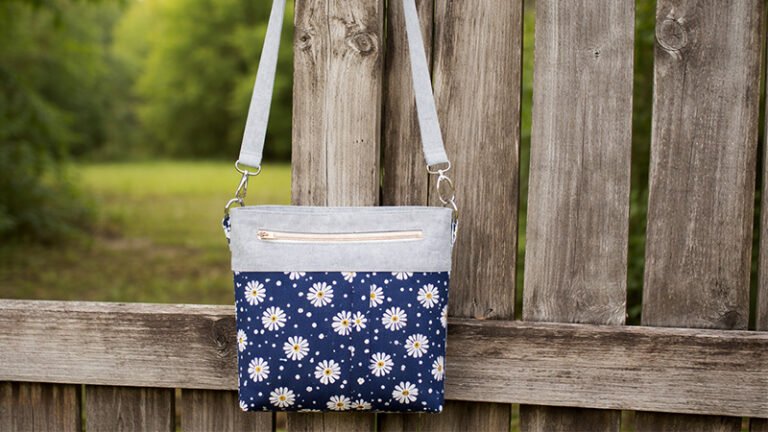
The Triple Zipper Bag by Caroline Fairbanks (SewCanShe) is a stylish, multi-compartment clutch designed for both function and polish. With three exterior zippered sections and a hidden interior pocket, it’s perfect for organizing everyday essentials.
Finished Size:
Approx. 7” (W) × 5” (H) × 3” (D)
Structured with foam stabilizer so it stands upright.
Gather Materials
Fabric
- 1 Fat Quarter (FQ) – main exterior + center lining
- 1 FQ – coordinating fabric (side linings)
- 1 FQ or 3 yards (2¼” wide) – bias binding
Interfacing & Stabilizer
- Foam stabilizer: 13” × 13” (e.g., Soft & Stable)
- Fusible interfacing: ¼ yard (SF101 or similar)
Zippers
- 3 handbag zippers (size #4.5, 12”+)
- OR 36” zipper tape + pulls
- 1 small zipper (4”) for coin pocket
Hardware
- 2 × ½” D-rings
- Optional: triglide + 2 swivel clips (for adjustable strap)
Tools
- Sewing machine + zipper foot
- Walking foot (recommended for quilting)
- Wonder clips
- Sewing stiletto (very helpful!)
- Heat-erasable fabric marker
Step 1: Create Quilted Fabric Panels
1.1 Build the Quilt Sandwich
- Cut:
- 13” × 13” main fabric
- 13” × 13” coordinating fabric
- Place foam stabilizer between them
- Baste layers together
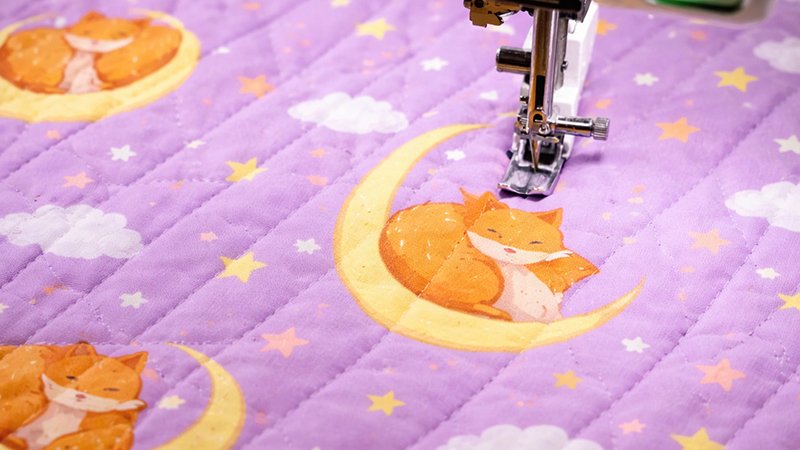
1.2 Quilt the Panel
- Use a walking foot
- Quilt simple lines (wavy or straight)
- Keep stitching evenly spaced for a professional look
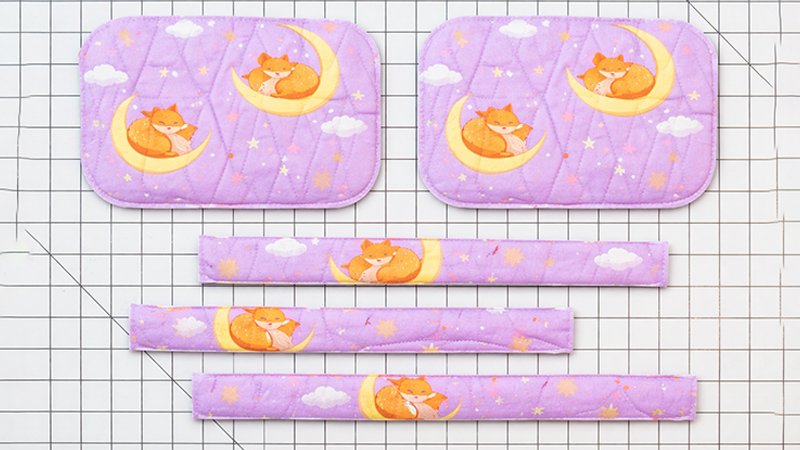
1.3 Cut From Quilted Piece
Cut:
- 2 × main body pieces (from template)
- 2 × strips: 1¼” × 11½” (side zipper panels)
- 1 × strip: 1¼” × 12½” (center zipper panel)
Step 2: Cut Remaining Fabric Pieces
From Main Fabric (non-quilted)
- 2 × center lining pieces (template)
- 1 × 8” × 6” (coin pocket)
- 1 × 5½” × 4½” (card/slip pocket)
- 2 × 2” × 3” (D-ring tabs)
From Coordinating Fabric
- 2 × lining pieces (template for outer compartments)
Step 3: Make Interior Pockets
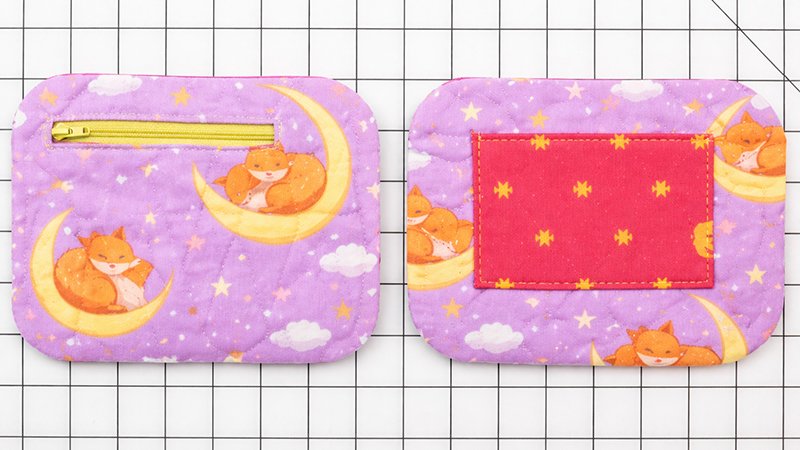
3.1 Welt Zipper Pocket (Coin Pocket)
- On one lining piece:
- Mark a 4” zipper opening
- Install zipper using welt method
- Attach pocket bag behind opening
3.2 Slip Pocket
- Fold the 5½” × 4½” piece in half
- Press and topstitch top edge
- Center on second lining piece
- Stitch sides and bottom
3.3 Assemble Lining Units
- Place coordinating lining behind each main lining (wrong sides together)
- Baste around edges (⅛”)
This creates a clean, double-sided lining
Step 4: Prepare Zipper Panels
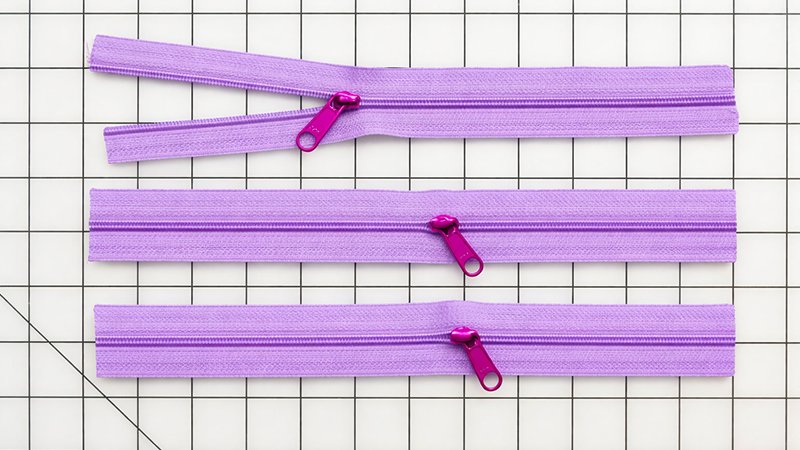
4.1 Side Zipper Panels (Make 2)
- Take 11½” quilted strips
- Place zipper face down on strip
- Stitch along edge
- Cover zipper ends with binding squares (1½”)
- This reduces bulk later
Repeat for second panel
Make sure zippers are mirrored (open same direction)
4.2 Center Zipper Panel
Make D-Ring Tabs
- Fold 2” × 3” pieces lengthwise
- Fold raw edges inward
- Topstitch
- Insert D-rings
Attach Tabs + Zipper
- Baste D-ring tabs to ends of 12½” strip
- Attach zipper (shorter than strip – intentional)
- Bind zipper ends like side panels
Step 5: Mark Centers (Important for Alignment)
On all pieces:
- Fold in half
- Mark:
- Center of zipper panels
- Center top & bottom of body pieces
- Center of lining
This ensures everything lines up correctly
Step 6: Attach Side Panels to Bag Body
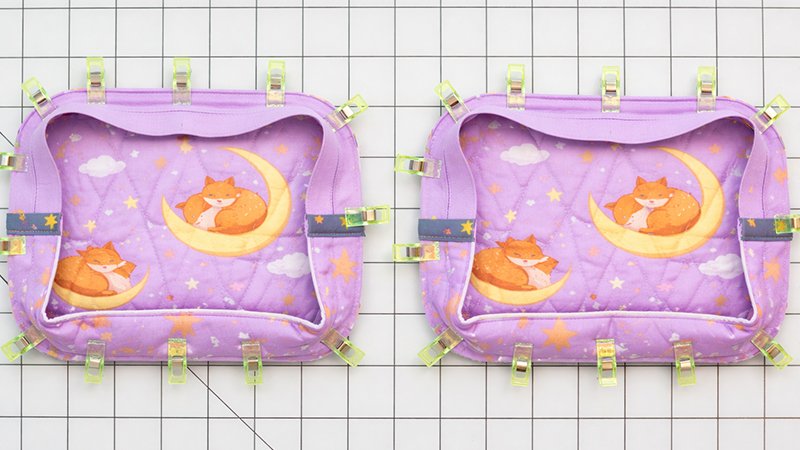
6.1 Clip and Shape
- Clip zipper panel to quilted body piece
6.2 Clip Curves (Critical Step)
- Make ¼” snips every ½” along curved edges
Allows fabric to spread smoothly
6.3 Sew
- Stitch with ¼” seam allowance
Repeat for other side
6.4 Finish Seams
- Cover seams with bias binding (2¼” wide)
- Join binding ends neatly:
- Fold ends back
- Stitch together with ¼” seam
Step 7: Attach Center Panel to Lining
- Place zipper panel right side facing lining main fabric side
- Stitch one side (¼” seam)
- Repeat for second lining piece
Now center section is formed
Step 8: Final Assembly (“Stuffing Method”)
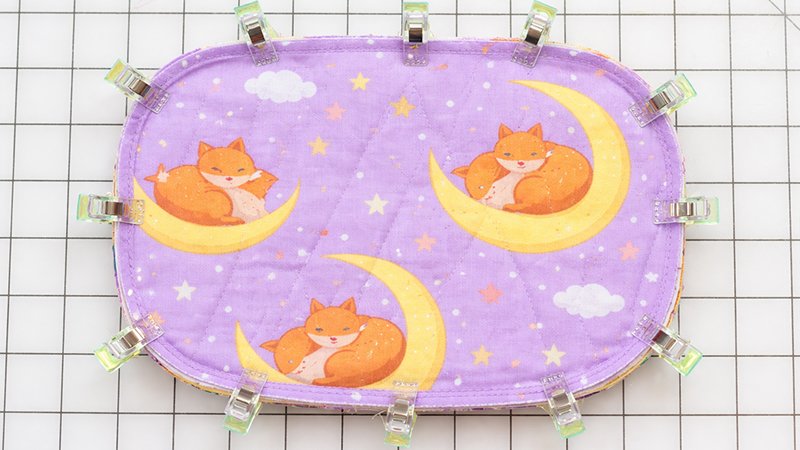
8.1 First Side Assembly
- Place center unit inside one side panel
- Align:
- Closed center zipper under open side zipper
- Bound seams should nest (not stack)
- Clip securely
8.2 Sew Carefully
- Use zipper foot (tight space!)
- Sew around entire edge
- Bind seam
8.3 Turn Bag
- Turn right side out through zipper
8.4 Attach Final Side
- “Stuff” remaining side into lining
- Align edges
- Clip and sew
- Bind final seam
Step 9: Finish the Bag
- Turn entire bag right side out
- Open zippers to shape compartments
You now have:
- 3 zippered compartments
- Interior coin pocket
- Card pocket
Step 10: Add Strap (Optional)

- Attach strap to D-rings
- Options:
- Wrist strap
- Crossbody strap (adjustable with triglide)
Final Result
You now have a professional-quality triple compartment bag that is:
- Structured and sturdy
- Highly organized
- Stylish and customizable
Pro Tips
- Use a stiletto when sewing thick layers
- Keep seams neat with careful binding
- Always check zipper direction before sewing
- Take your time during final assembly—it’s the trickiest part