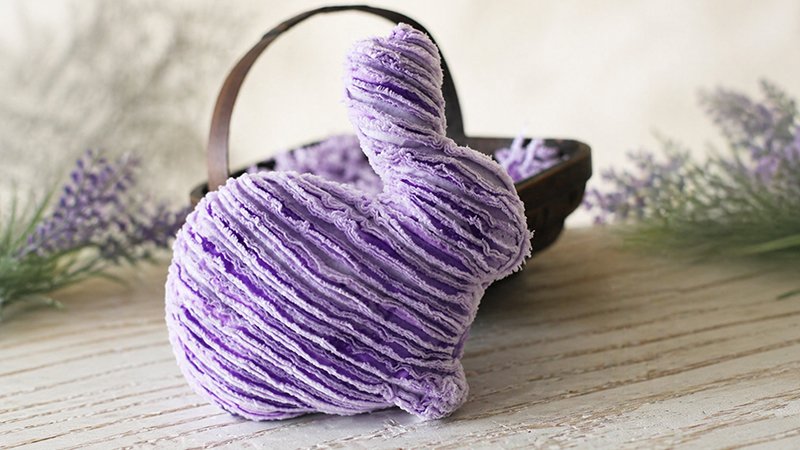
This faux chenille bunny is a soft, textured, and adorable handmade gift—perfect for Easter, baby showers, or year-round cuddles. Using layered flannel and a simple technique, you’ll create a plush toy that becomes even softer after washing.
Materials You’ll Need
Before starting, gather all supplies to ensure a smooth sewing process:
- 8 pieces of pre-washed flannel fabric (12″ x 12″ each)
→ Mix solids and prints for a rich chenille effect - Polyfill stuffing (for filling the bunny)
- Printed bunny template (ensure printer is set to 100% scale, not “fit to page”)
- Pins
- Fabric scissors
- Sewing machine
- Size 14 needle (recommended for thick layers)
- Optional but helpful:
- Walking foot (for even feeding of layers)
- Slash rotary cutter (for faster cutting between seams)
Step 1: Create Fabric Stacks
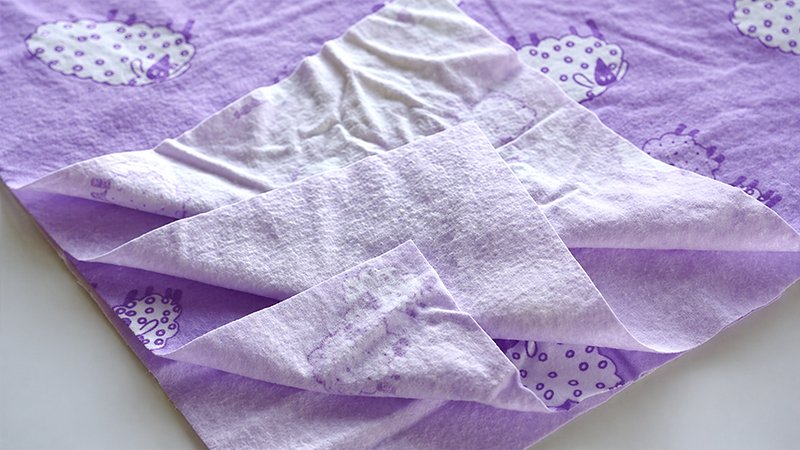
You’ll make two identical layered panels:
- Divide your 8 flannel squares into two groups of four.
- Stack each group neatly:
- Align all edges precisely.
- Alternate colors and prints for a balanced look.
- Secure each stack:
- Insert pins every few inches across the entire surface to prevent shifting.
Step 2: Sew Diagonal Quilting Lines
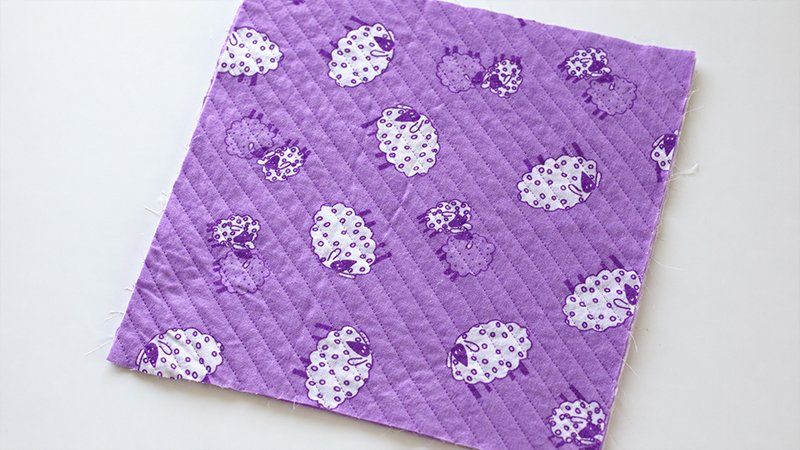
This step forms the base of the chenille texture.
- Take one fabric stack and sew a diagonal line from one corner to the opposite corner.
- Continue sewing parallel diagonal lines, spacing each line 1/2″ apart.
- Cover the entire square with evenly spaced lines.
Tips:
- Use a walking foot if available for smoother stitching.
- If not, slightly reduce presser foot pressure to avoid fabric shifting.
- Repeat the same process for the second fabric stack.
Step 3: Cut to Create Chenille Texture
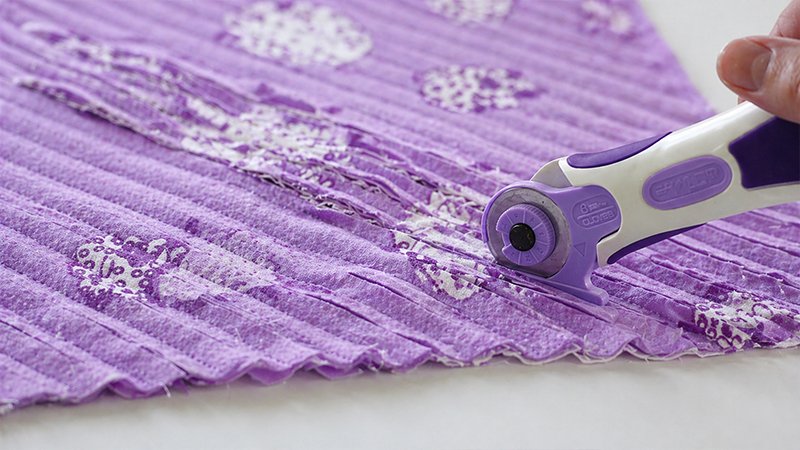
Now you’ll create the signature “fluffy” effect:
- Using scissors or a slash cutter, carefully cut between each stitched line.
- Important:
- Cut only the top three layers
- Do NOT cut the bottom layer
This intact bottom layer keeps the structure stable.
- Repeat for the second fabric stack.
Step 4: Cut Out the Bunny Shape
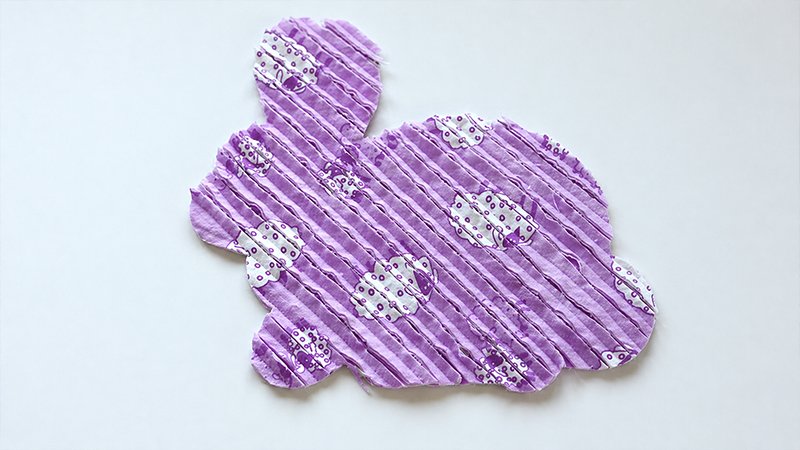
- Place the bunny template onto the uncut side (bottom layer) of the first stack.
- Trace the shape and cut it out.
- Flip the template over (mirror image), then:
- Trace onto the second stack
- Cut out the second bunny piece
This ensures the two sides align properly when sewn together.
Step 5: Assemble the Bunny
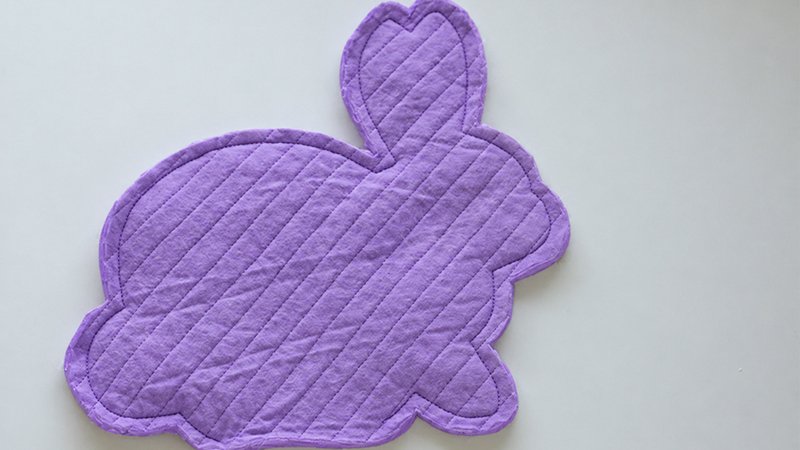
- Place both bunny pieces together:
- Uncut sides facing outward
- Chenille (cut) sides facing inward
- Pin around the edges securely.
Step 6: Sew the Bunny
- Stitch around the entire bunny using a 3/8″ seam allowance.
- Leave a 4″ opening at the bottom for turning and stuffing.
- For durability, sew a second line of stitching along the same seam.
Step 7: Trim and Clip Seams
- Trim seam allowance down to about 1/8″.
- Clip curves and corners:
- Especially around the ears and tight curves
- This helps the bunny keep its shape when turned
Step 8: Turn and Stuff
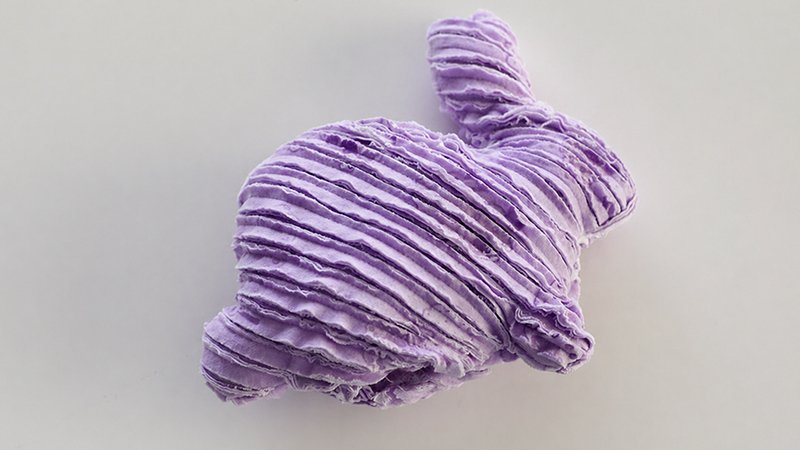
- Turn the bunny right side out through the opening.
- Carefully push out:
- Ears
- Curves and edges
- Fill with polyfill stuffing:
- Add gradually
- Ensure even firmness
Step 9: Close the Opening
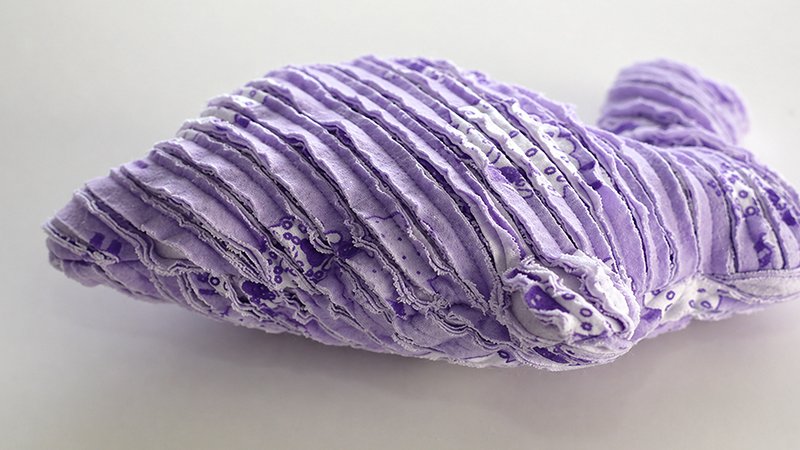
- Fold raw edges inward.
- Hand sew the opening closed using:
- Ladder stitch (invisible stitch) for a clean finish
Step 10: Wash for the Chenille Effect
This is where the magic happens:
- Place the bunny in the washing machine (preferably with towels).
- Dry it in the dryer.
Result:
- The cut flannel layers will fray and “bloom.”
- The bunny becomes soft, fluffy, and textured
Bonus:
The bunny gets softer with every wash, making it perfect for children.
Customization Ideas
- Try pastel color themes (pink, mint, yellow, white)
- Make smaller or larger versions
- Create matching items like:
- Pillows
- Blankets
Final Thoughts
This faux chenille bunny is more than just a sewing project—it’s a handmade keepsake that combines comfort, creativity, and charm. Whether gifted for Easter or a newborn, it’s a cuddly companion that will be treasured for years.