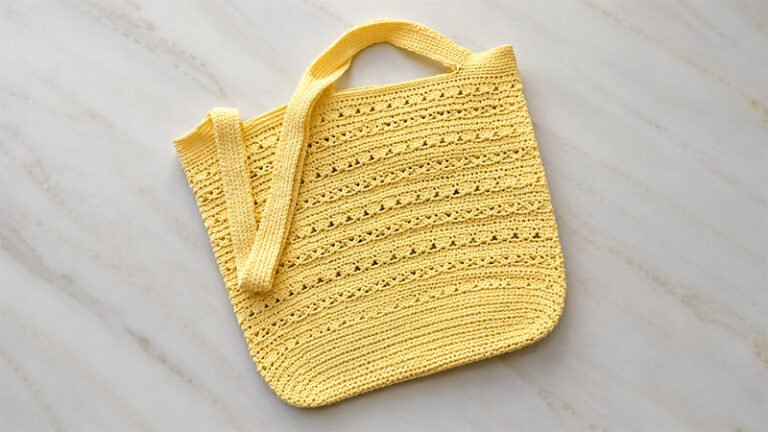
This boxy zipper pouch is a practical and stylish project—perfect for storing cosmetics, travel essentials, or craft supplies. It’s beginner-friendly, uses fat quarters efficiently, and creates a sturdy bag thanks to a foam stabilizer.
Finished Size:
Approximately 6” wide × 4½” tall × 3” deep
Why This Pouch Is Great
- Wide-opening zipper makes it easy to see contents
- The boxy structure keeps the pouch standing upright
- Optional exterior pockets + pull tabs add function and style
- Easily scalable into a larger bag or purse
Materials & Supplies
Fabric
- Exterior fabric: 1 fat quarter (18” × 21”) or ¼ yard
- Lining fabric: 1 fat quarter or ¼ yard
Stabilizer
- Foam stabilizer (recommended): 16” × 14½”
(Alternatives: fusible fleece or batting)
Hardware
- Zipper: 9” or longer
- Recommended: size #4.5 or #5 handbag zipper
Tools
- Sewing machine with zipper foot
- Fabric marker
- Ruler
- Safety pin (for turning)
- Standard sewing tools
Needle & Thread
- Needle: 90/14 or 100/16 (heavy-duty or topstitch)
- Thread: Polyester (stronger and slightly flexible)
Step 1: Cutting & Quilting
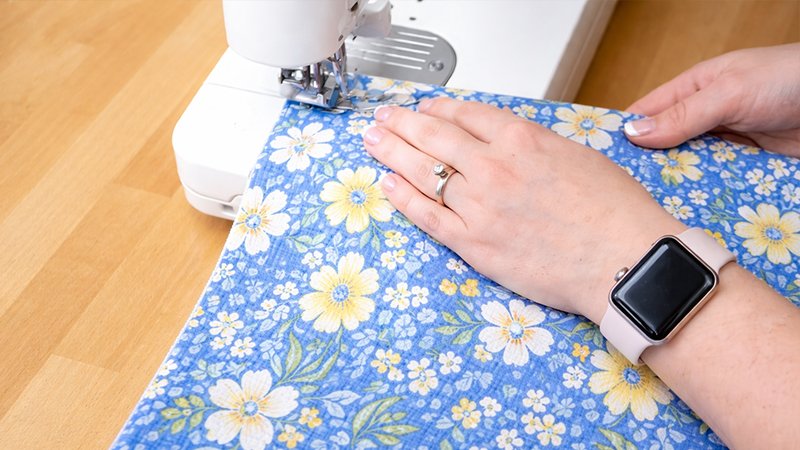
- Cut:
- 1 exterior piece: 16” × 14½”
- 1 lining piece: 16” × 14½”
- 1 stabilizer piece: 16” × 14½”
- Layer:
- Place exterior fabric (right side up) on stabilizer
- Place the lining fabric on the back side
- Secure layers:
- Baste around edges (⅛” seam allowance), OR
- Fuse if using fusible stabilizer
- Quilt:
- Use straight-line quilting or any preferred design
Step 2: Cutting Main Panels

- Cut two rectangles:
- Size: 7” tall × 12½” wide
- On the lining side of each piece, mark:
- Bottom line: 1¾” from bottom
- Top line: 1¼” from top
- Vertical lines: 3¼” from each side
- Shape the top:
- Cut 2” off each top corner
- New top width: 8½”
- Baste edges (⅛”) to secure quilt layers
Step 3: Cut Extra Pieces
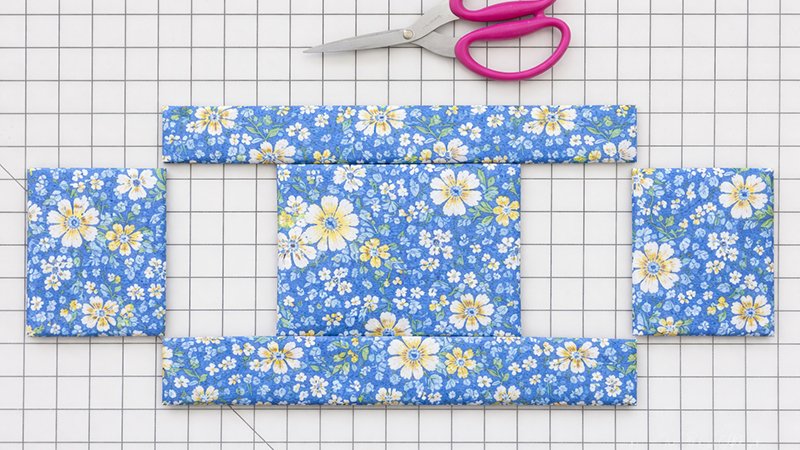
From quilted scraps:
- Tabs: 2 pieces → 1” × 3¼”
- Pockets: 2 pieces → 3” × 3”
From non-quilted fabric (binding):
- Tabs: 2 pieces → 2½” × 3¼”
- Pockets + short seams: 4 pieces → 2¼” × 3”
- Long seam: 1 piece → 2¼” × 12½”
Step 4: Make Tabs
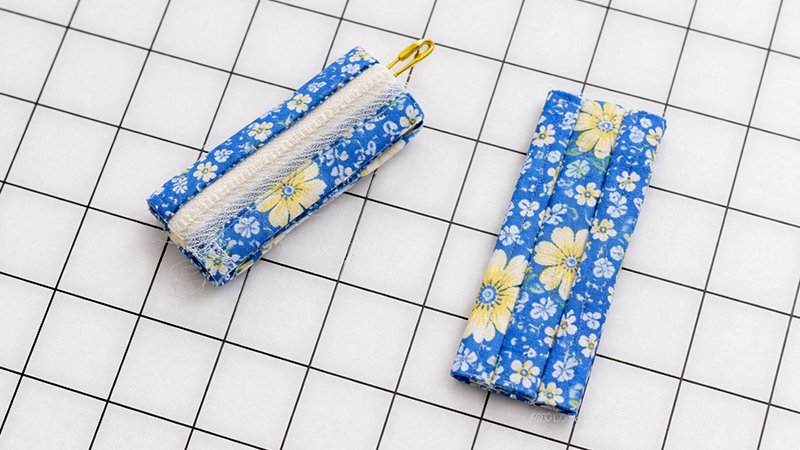
- Place the binding and tab the right sides together
- Sew long edges (¼” seam)
- Turn right side out (use a safety pin)
- Press flat
Step 5: Prepare Pockets
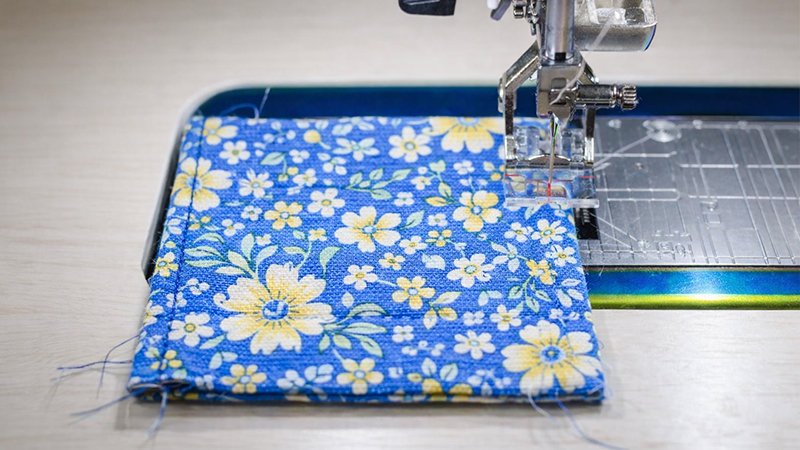
- Fold the binding strip in half lengthwise
- Sew to the top edge of the pocket
- Flip and topstitch
For bottom edge:
- Sew a guideline at ¼”
- Fold up and stitch the hem
Step 6: Insert Zipper

- Cut zipper to 9” (if using zipper tape)
- Attach first side:
- Place the zipper right sides together with the pouch
- Sew with zipper foot (¼” seam)
- Trim bulk:
- Trim ⅛” of seam allowance (fabric + foam only)
- Topstitch:
- Sew ⅛” from the zipper edge
- Repeat for the second side
Step 7: Sew Bottom Seam
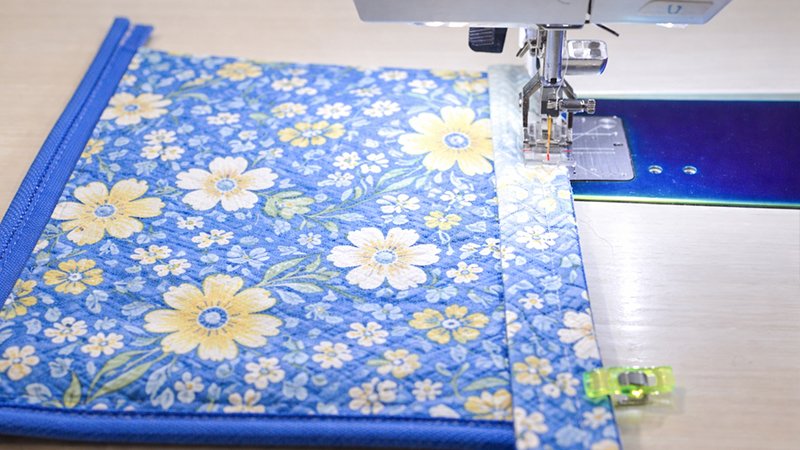
- Place pouch pieces right sides together
- Sew the bottom edge (¼” seam)
- Cover seam using 12½” binding strip
- Press seam to one side
Step 8: Add Tabs & Pockets

- Keep the pouch wrong side out
- Tabs:
- Fold in half
- Align with side flaps
- Stitch in place
- Pockets:
- Slide under tabs
- Align the bottom edges
- Sew across the bottom
Step 9: Sew Side Seams

- Match:
- Zipper ends to flap edges
- Sew short seams (¼” seam allowance)
- Trim the excess zipper
- Finish seams:
- Bind OR
- Use a wide zigzag stitch
Step 10: Final Assembly

- Sew the remaining side seams
- Finish edges (binding or zigzag)
- Turn the pouch right side out
Finished!
You now have a structured, professional-looking boxy zipper pouch.