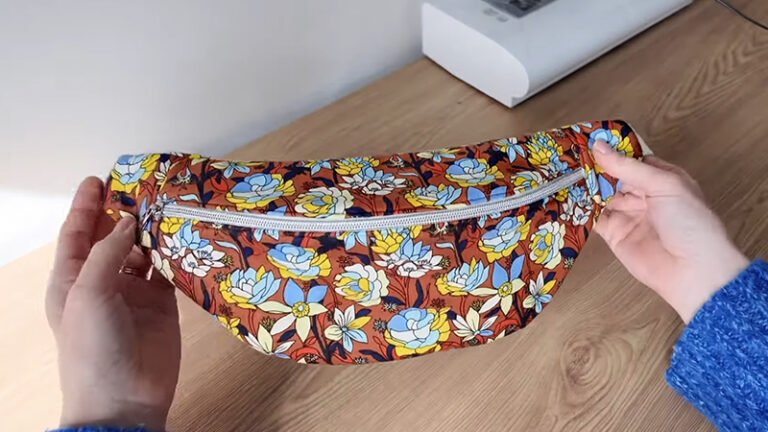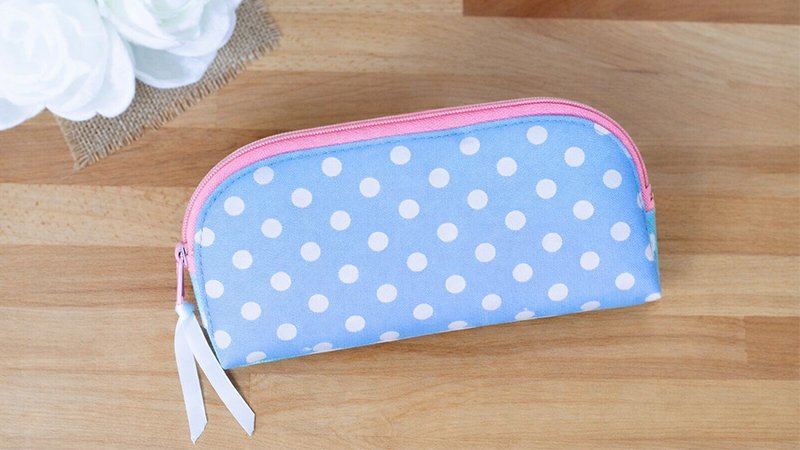
This long zipper pouch is a simple yet stylish sewing project that’s perfect for organizing small items like pens, sunglasses, or personal essentials. What makes this design special is its no-lining method, using fused felt for structure—making it quicker and easier to sew.
Why This Pouch Is Great
- No separate lining needed (saves time)
- Clean and structured shape
- Beginner-friendly construction
- Works with cotton, cork, or vinyl
- Perfect for everyday organization or gifting
Materials You’ll Need
Fabric & Stabilizer
- 1/8 yard quilting cotton (outer fabric)
- 1 sheet craft felt (9” × 12”)
Adhesive
- Fusible web (like HeatnBond Lite), about 9” × 10.”
Zipper
- 12” zipper (will be cut down to 11½”)
Tools & Extras
- Fabric marking pen
- Wonder clips or pins
- Scissors
- Sewing machine + zipper foot
- Optional: 6” ribbon (for zipper pull)
If using cork or vinyl: skip the felt and fusible web.
Step 1: Cut Your Pieces
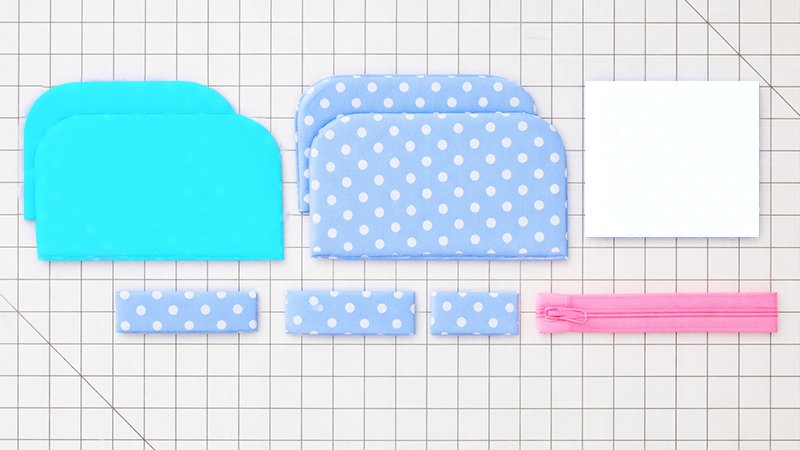
Using your pouch template (printed at 100%), cut:
From fusible web
- 2 pouch shapes
- 1 rectangle (1¼” × 4”)
From felt
- 2 pouch shapes
- 1 rectangle (1¼” × 4”)
From cotton fabric
- 2 pouch shapes
- 1 rectangle (1¼” × 4”)
- 2 rectangles (1¼” × 2”)
- Optional pocket: 1 piece (5½” × 4½”)
Step 2: Prepare the Zipper
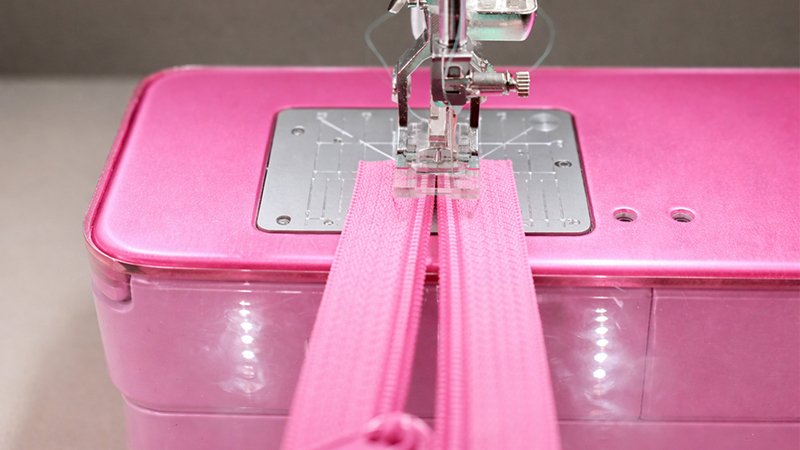
- Cut zipper to 11½ inches
- Remove metal ends (important to avoid breaking your needle)
- Sew across both ends to create new stoppers:
- Use zigzag OR
- Straight stitch back and forth
Step 3: Make an Optional Interior Pocket
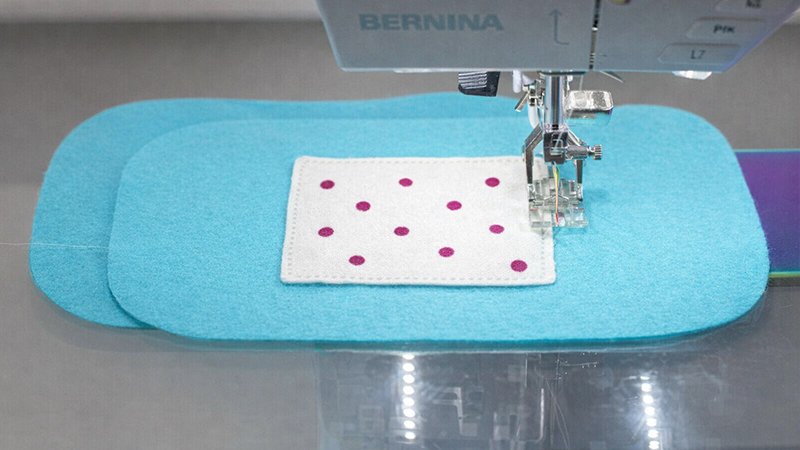
- Fold the pocket piece in half (right sides together)
- Sew around edges, leaving a 2” gap
- Clip corners, turn right side out, and press
- Topstitch top edge (this closes the gap)
- Place on one felt piece:
- Position about 1” below the top curve
- Sew around sides and bottom (⅛” seam)
Skip this step if using vinyl/cork.
Step 4: Fuse Fabric to Felt
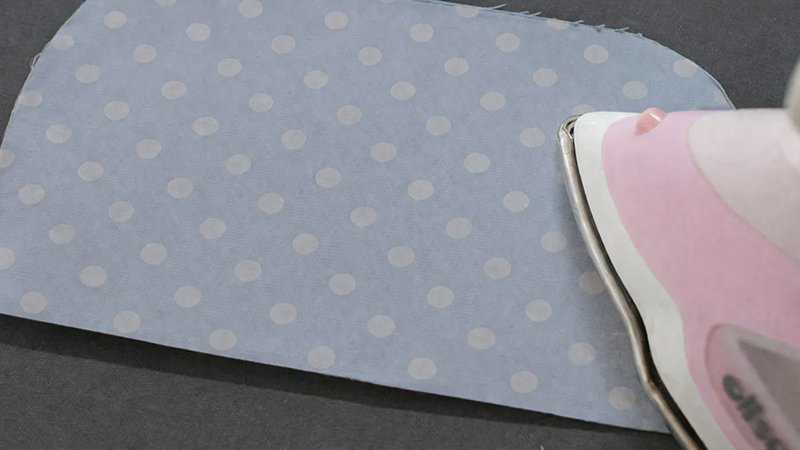
- Iron the fusible web onto the wrong side of the cotton
- Peel off the paper backing
- Place fabric onto felt (adhesive side down)
- Press firmly to fuse
Always press from the fabric side to avoid melting felt.
You should now have:
- 2 main pouch panels (fabric + felt)
- 1 small fused rectangle
Step 5: Make Zipper Tabs
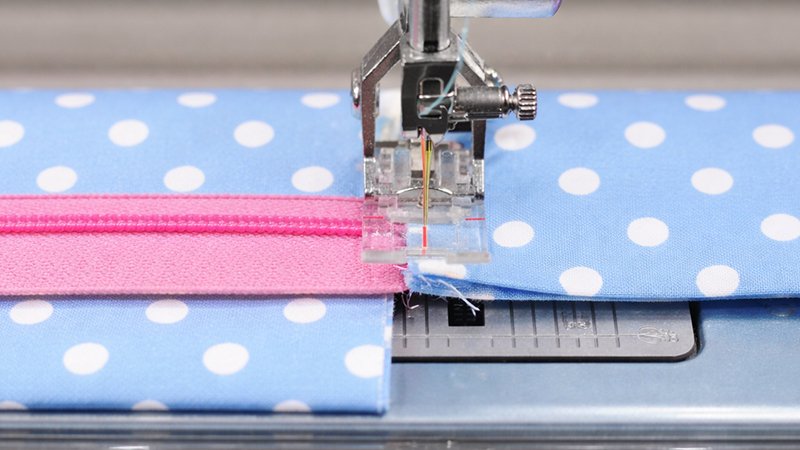
- Cut the fused rectangle into two pieces (1¼” × 2”)
- Take one fabric-only rectangle:
- Place it under the zipper end
- Place the fused piece on top of the zipper
- Sew across with a ¼” seam
- Fold outward and press
- Topstitch near the fold
Repeat for the other zipper end.
Step 6: Attach the Zipper
Marking
- Mark the center of the zipper
- Mark the center of the top of the pouch pieces
- Mark points 5/8” above the bottom corners
Sewing
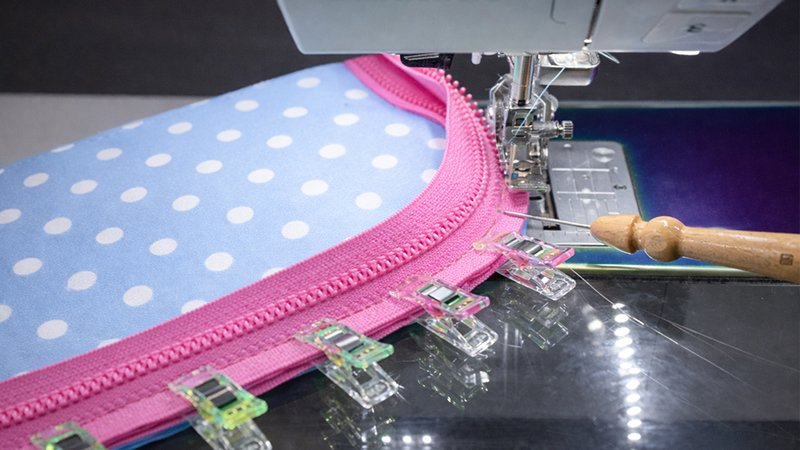
- Clip zipper to pouch (right sides together)
- Match center points first
- Align zipper tabs with corner marks
- Carefully clip around curves
- Sew using a zipper foot:
- Start and stop at marked points
- Fold the fabric away and topstitch
Repeat for the second side.
Tip: Sew slowly around curves and use a stiletto for control.
Step 7: Final Assembly
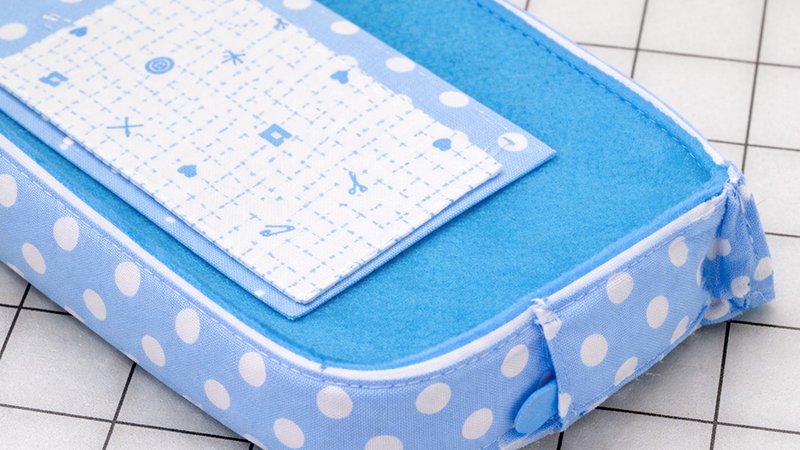
- Turn the pouch inside out
- Sew the bottom edge (¼” seam)
Box the Corners
- Clip seam allowance at zipper corners (side pieces only)
- Flatten edges so they align
- Sew across ends
Step 8: Finishing
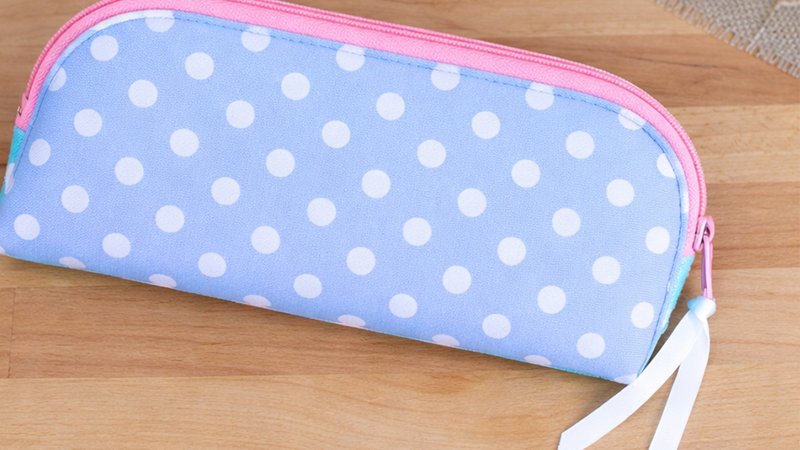
- Turn the pouch right side out
- Push out corners neatly
- Optional:
- Add ribbon to the zipper pull for decoration
Done!
You now have a sleek, structured zipper pouch with minimal bulk and a clean interior.
Extra Tips
- Use a non-stick foot for vinyl
- Add zigzag stitching inside if you want extra durability
- Try different fabrics for different looks