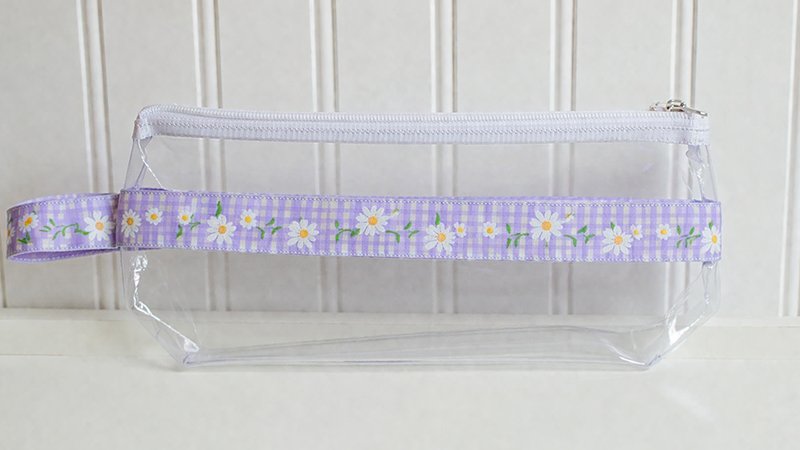
If you want a sewing project that is quick, practical, and visually impressive, a Ribbon & Vinyl Zipper Pouch is a perfect choice. This project is beginner-friendly, budget-conscious, and great for gifts or organizing everyday items.
This guide walks you through everything—from materials to finishing—so you can confidently sew your own pouch in three sizes.
Why Use Vinyl and Ribbon?
- Vinyl advantages:
- Affordable compared to fabric
- Transparent → easy to see contents
- Gives a clean, professional finish
- Ribbon advantages:
- Adds color and personality
- Easy way to customize each pouch
Tip:
Use 16-gauge vinyl for best durability. You can also use recycled plastic (like bedding packaging), but new vinyl gives cleaner results.
Materials You’ll Need
Prepare everything before starting:
- Vinyl (12–16 gauge)
- Ribbon (15”–30”, depending on size)
- Zipper (see size guide below)
- Tissue paper (important for sewing vinyl)
- Fray Check (to seal ribbon ends)
- Sharp sewing needle (new needle recommended)
- Thread
- Pattern templates (printed)
- Sharpie marker (for tracing)
- Wonder Clips or paper clips (no pins!)
- Optional: swivel clip for tab
Choose Your Pouch Size
| Size | Dimensions | Use | Zipper Length |
|---|---|---|---|
| Small | 5” × 3” | Coins, earbuds | 6”+ |
| Medium | 9” × 4” | Pencils, tools | 10”+ |
| Large | 11” × 6” | Clutch, cables | 12”+ |
Tip: You can always use a longer zipper and shorten it later.
Step 1: Cut the Vinyl

- Print and assemble your pattern.
- Place the pattern on vinyl.
- Trace using a Sharpie.
Important Tip:
- Trace outside the pattern line
- Cut inside the line
→ This prevents visible marker marks on your final pouch.
Cut 2 identical vinyl pieces.
Step 2: Prepare for Sewing Vinyl

Vinyl sticks to sewing machines. To fix this:
- Cut strips of tissue paper (2–3 inches wide)
- Place tissue paper under the vinyl when sewing
This helps the vinyl glide smoothly.
Step 3: Adjust Your Sewing Machine
Before sewing:
- Stitch length: 3–4 (long stitch)
- Thread tension: increase slightly (about +1)
Why?
Short stitches weaken vinyl by perforating it.
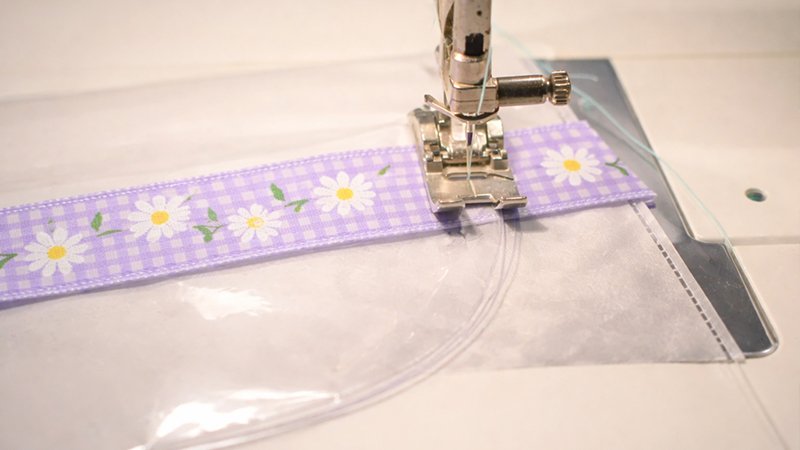
Step 4: Attach the Ribbon

- Cut ribbon to match pouch width.
- Place ribbon on vinyl.
- Clip in place (no pins).
- Stitch:
- Sew along the top edge of the ribbon
- Sew along the bottom edge of the ribbon
- Repeat for the second vinyl piece:
- Align using the first piece as a guide for perfect symmetry
Step 5: Attach the Zipper
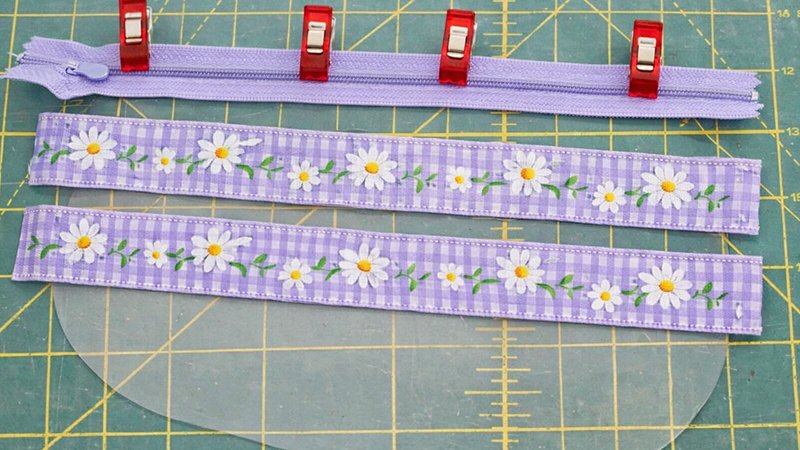
- Open the zipper.
- Place the zipper right sides together with the vinyl edge.
- Ensure zipper stop is at least 3/8” away from edge.
- Use the zipper foot:
- Sew with 1/4” seam allowance
- Repeat for the second side:
- Attach the other vinyl piece to the zipper
Tip: Use tissue paper underneath if sticking occurs.
Step 6: Shorten the Zipper
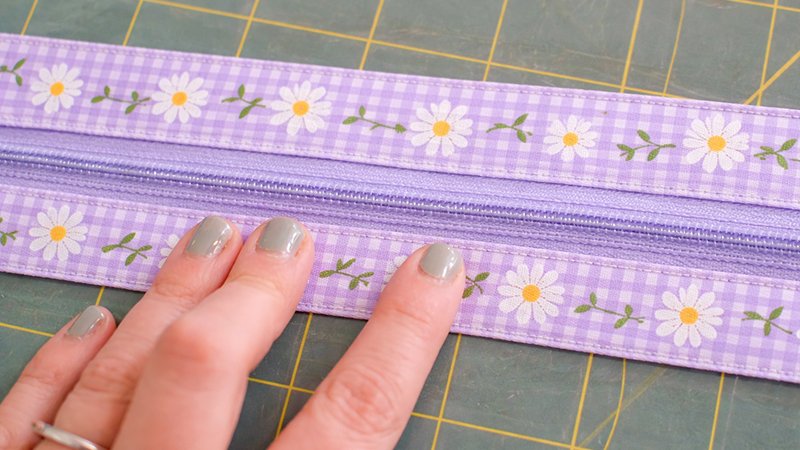
- Close the zipper.
- Set machine to:
- Wide zig-zag
- Stitch length near 0
- Sew across zipper teeth 3/8” from the edge to create a stopper.
Step 7: Topstitch
- Fold the vinyl away from the zipper.
- Finger press flat.
- Topstitch close to the zipper edge.
Why this matters:
- Keeps vinyl from catching in the zipper
- Helps the pouch open smoothly
Step 8: Add Tab (Optional)
- Cut a 5” ribbon piece
- Fold in half
- Insert swivel clip (optional)
- Place between the vinyl layers at the edge
Step 9: Assemble the Pouch
- Place vinyl pieces right sides together
- Align ribbons carefully
- Clip edges
- Sew around the entire pouch:
- Seam allowance: 1/4” (or 3/16” for easier turning)
Step 10: Finishing Details

- Trim excess:
- Ribbon
- Zipper ends
- Apply Fray Check to ribbon edges
(very important to prevent fraying) - Clip curves or use pinking shears
- Let Fray Check dry completely
Step 11: Turn the Pouch Right Side Out
- Carefully turn the pouch
- Use a capped pen or marker to push out corners
Tip:
Thicker vinyl (16 gauge) may take more effort—be gentle.
Final Result
You now have a durable, stylish pouch that is:
- Transparent and functional
- Customizable with ribbon
- Perfect for gifts or organizing
Happy sewing!