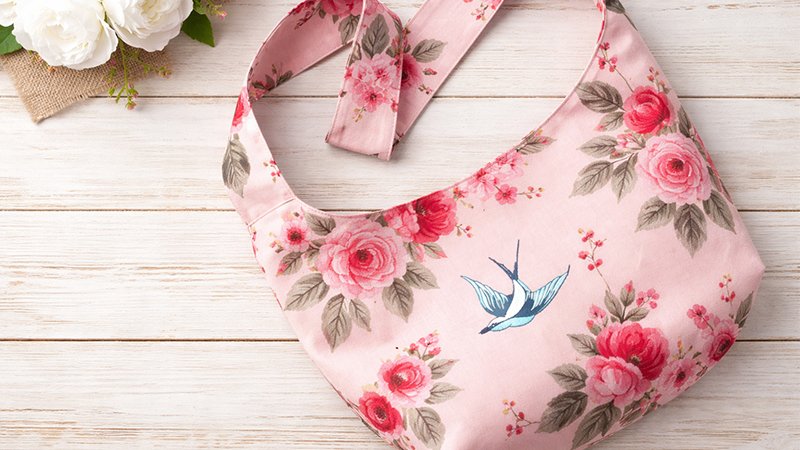
Whether you’re heading to the market, library, or just out for the day, this Easy Sling Bag is designed to be both stylish and practical. With multiple pockets and a secure closure, it’s perfect for everyday use.
Finished Size
- Width: 18 inches
- Height: 15 inches (excluding strap)
Materials & Supplies
Fabrics
- Exterior Fabric: 1¼ yards (quilting cotton or home décor fabric)
- Lining Fabric: 1 yard (quilting cotton recommended)
Stabilizer
- Fusible Woven Interfacing: 2½ yards (20″ wide, e.g., Pellon SF101)
Notions
- 2 zippers (minimum 10″ each)
- 1 magnetic snap (14mm or 18mm)
- Fabric marking pen
- Seam ripper
- Large safety pin
- Standard sewing tools
Cutting Instructions
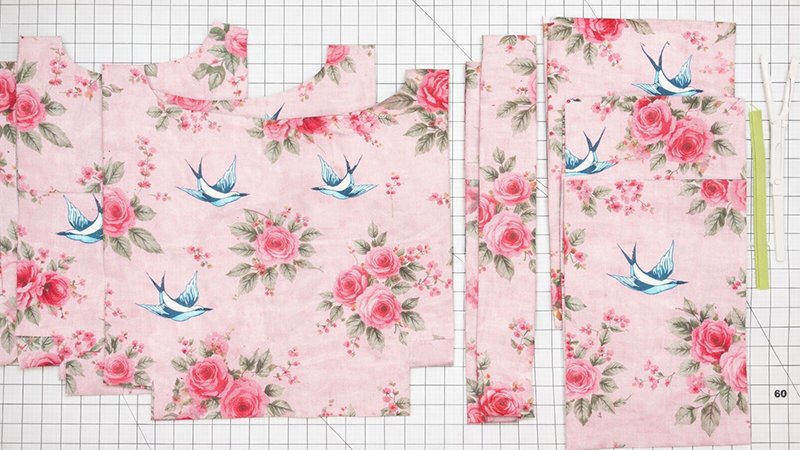
Exterior Fabric
- 2 main bag pieces (cut on fold using template)
- 2 strap pieces: 4″ × 38″
- 1 exterior zipper pocket: 16″ × 11″
- 1 slip pocket: 10½″ × 13″
Lining Fabric
- 2 main bag pieces (cut on fold)
- 1 interior zipper pocket: 16″ × 11″
Interfacing
- 4 main bag pieces (cut on fold)
- 2 strap pieces: 4″ × 37″
Step 1: Apply Interfacing
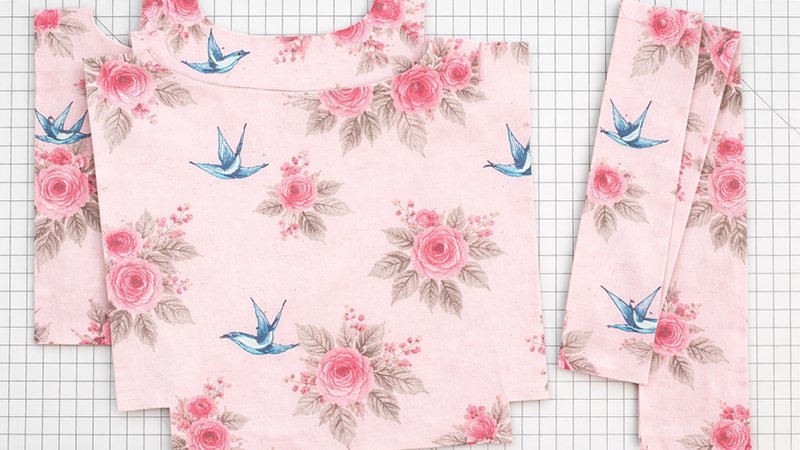
- Fuse interfacing to:
- All exterior pieces
- Strap pieces
- Tip: Leave about ½″ space at strap ends (reduces seam bulk).
- If using zipper-by-the-yard:
- Stitch across zipper ends to secure sliders.
Step 2: Sew Welt Zipper Pockets (Exterior + Interior)
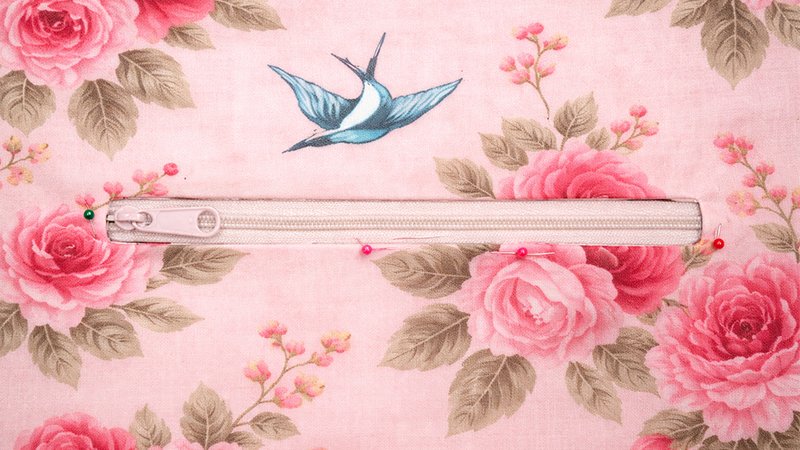
Prepare Pocket Opening
- On wrong side of pocket fabric, draw:
- Rectangle: 9″ × ½″
- Place 1″ from top edge, centered
- Pin pocket piece to bag piece:
- Right sides together
- Position about 2″ below top curve
Stitch & Cut
- Sew exactly along rectangle lines
- Cut center slit
- Clip diagonally into corners (do NOT cut stitches)
Turn & Press
- Pull fabric through to wrong side
- Press flat to form clean opening
Insert Zipper
- Place zipper behind opening
- Topstitch around edge (⅛″ from edge)
Finish Pocket
- Fold pocket piece up
- Sew sides and bottom (¼″ seam)
Do NOT catch main bag fabric
Step 3: Make Interior Slip Pockets
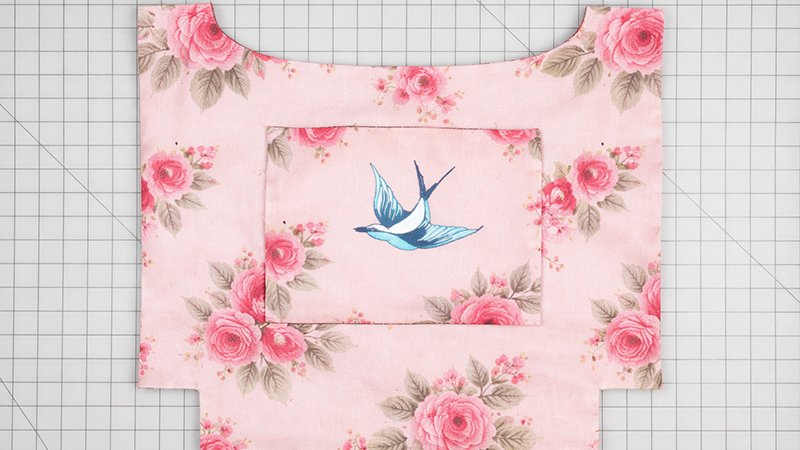
- Fold pocket piece in half (right sides together)
- Sew around:
- Leave 3″ gap for turning
- Trim corners → Turn right side out → Press
- Topstitch along top edge
Attach Pocket
- Position 4″ below top curve
- Sew sides and bottom
- Stitch vertical line in center → creates 2 pockets
Step 4: Install Magnetic Snap
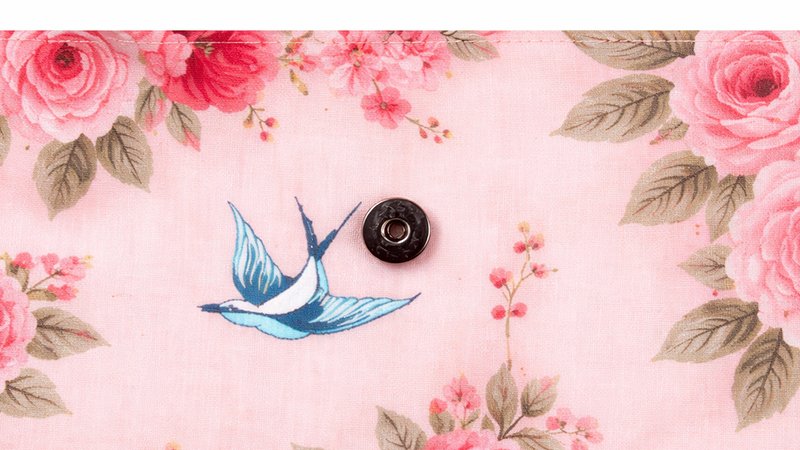
- Mark placement:
- 2″ below top edge (on both lining pieces)
- Cut small slits using seam ripper
- Insert snap prongs through fabric
- Add reinforcement (interfacing or batting circle)
- Attach backing plate and fold prongs outward
Step 5: Make the Strap
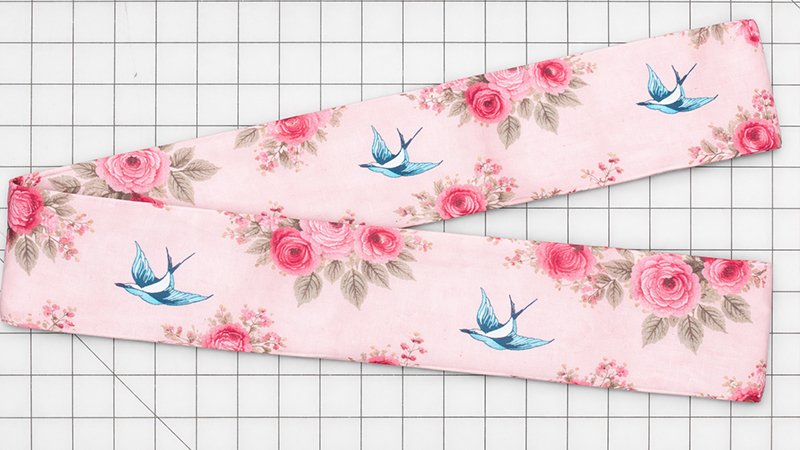
- Place strap pieces right sides together
- Sew long edges (½″ seam)
- Press seams open
- Turn right side out (use safety pin)
- Press flat
- Topstitch both long edges
Step 6: Assemble Bag Body + Boxed Corners
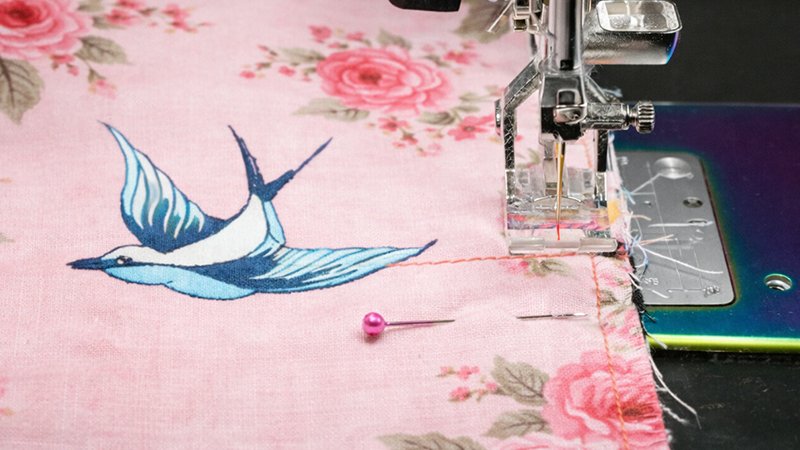
Lining
- Place lining pieces right sides together
- Sew sides + bottom
- Leave 5–6″ gap at bottom
Exterior
- Sew same way (NO gap)
Boxed Corners (Both Exterior + Lining)
- Flatten corners so seams align
- Sew straight across corner
- Repeat for all corners
Step 7: Join Exterior & Lining
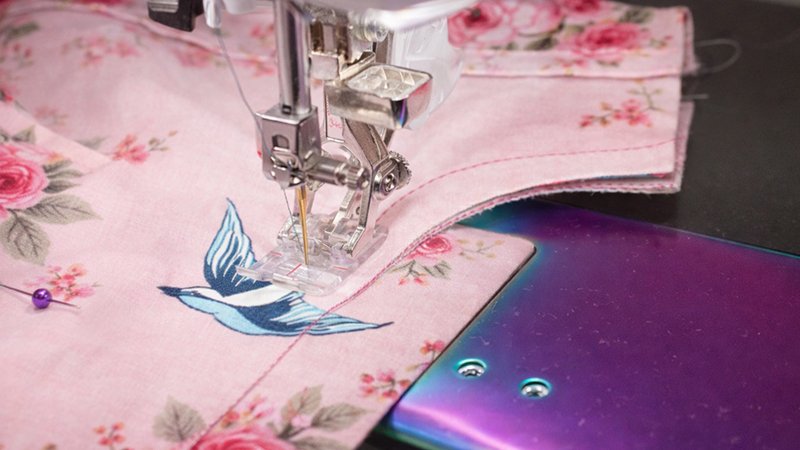
- Turn exterior right side out
- Insert into lining (lining wrong side out)
Right sides should face each other
- Match seams and curves
- Sew along U-shaped top edge ONLY
Step 8: Turn Bag Right Side Out
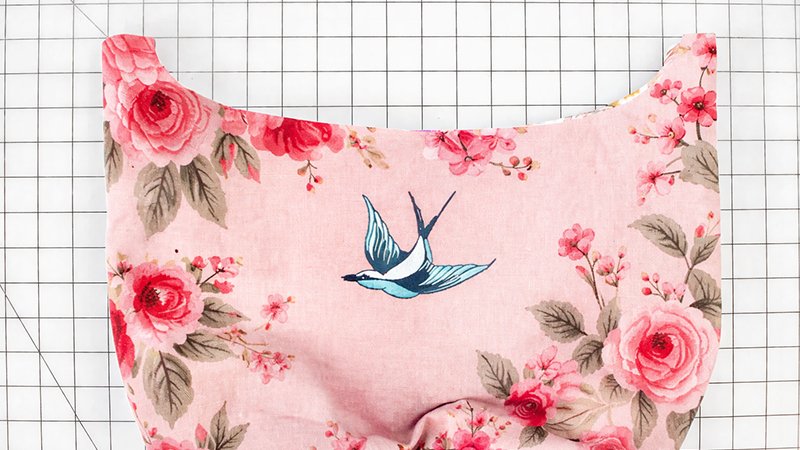
- Pull bag through lining gap
- Push out corners
- Press top edge neatly
Step 9: Attach Strap & Finish Top
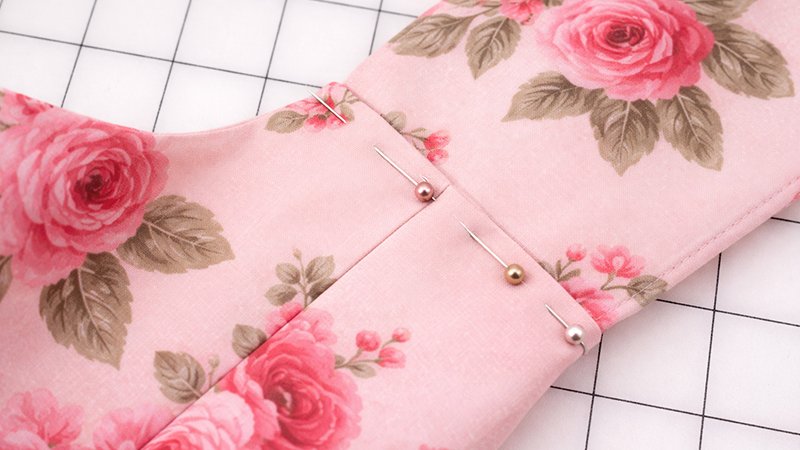
- Fold raw edges of side openings inward (½″)
- Insert strap ends into openings
- Pin securely (check for twists!)
Final Topstitch
- Sew across side (securing strap)
- Continue stitching around curved top edge
- Reinforce strap areas with extra stitching
Step 10: Close Lining
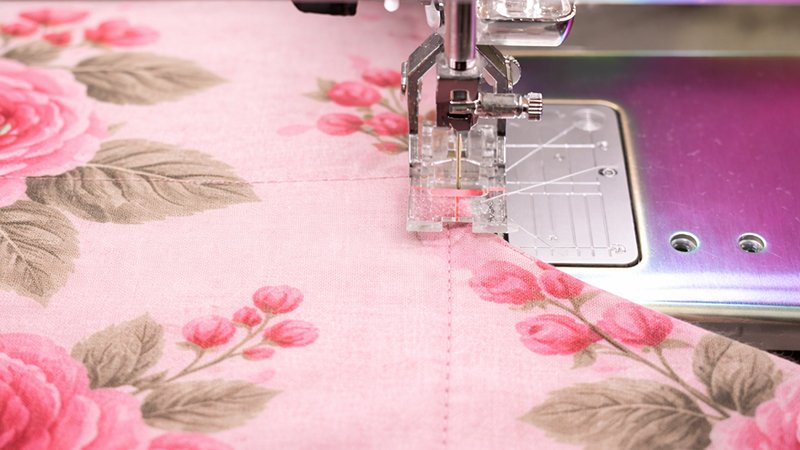
- Fold raw edges of lining opening inward
- Sew closed (machine or hand stitch)
Finished!
You now have a functional, stylish sling bag featuring:
- ✔ Exterior zipper pocket
- ✔ Interior zipper pocket
- ✔ Two slip pockets
- ✔ Magnetic closure
Tips for Best Results
- Press after every step → professional finish
- Use clips for thick layers
- Double-stitch stress points (strap + corners)
Final Thoughts
This sling bag is perfect for:
- Everyday errands
- Books & tablets
- Shopping trips
Customize it with different fabrics to match your style—from soft quilting cotton to structured home décor fabric.