A Practical Scrap Fabric Project for Back-to-School
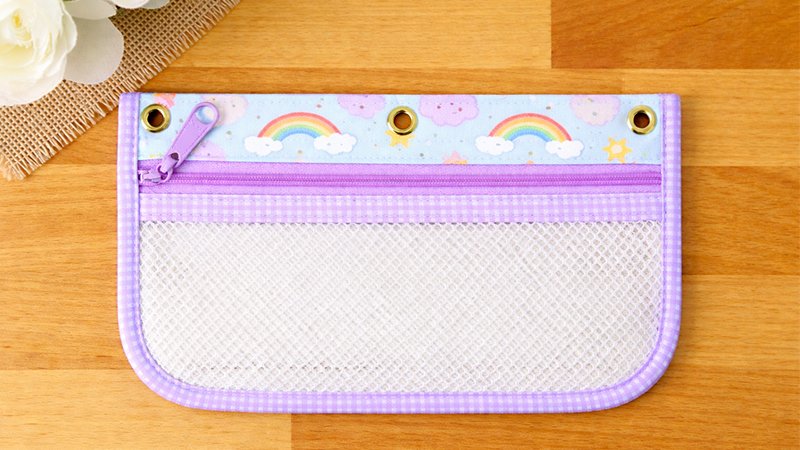
As back-to-school season approaches, staying organized becomes a priority. Instead of buying a cheap plastic pouch that may not last, you can sew a durable, custom 3-ring binder pencil pouch using fabric scraps. This guide walks you through the entire process—from materials to finishing touches.
Project Overview
You will be modifying the Clippie Zippie pouch pattern by:
- Removing the clip tab
- Adding 3 grommets (eyelets) so the pouch fits into a binder
Materials Needed
Prepare the following before starting:
Fabric & Components
- Fabric scraps (for back panel and binding)
- Mesh or clear vinyl (for front panel)
- 1 zipper (7–9 inches works well)
- Bias binding (store-bought or handmade)
- 3 large or extra-large grommets/eyelets
Tools
- Sewing machine
- Thread
- Pins or clips
- Fabric scissors / rotary cutter
- Ruler
- Fabric marker or pencil
- Hole cutter (or small scissors)
- Hammer + eyelet setting tool
Step 1: Cut Your Pieces
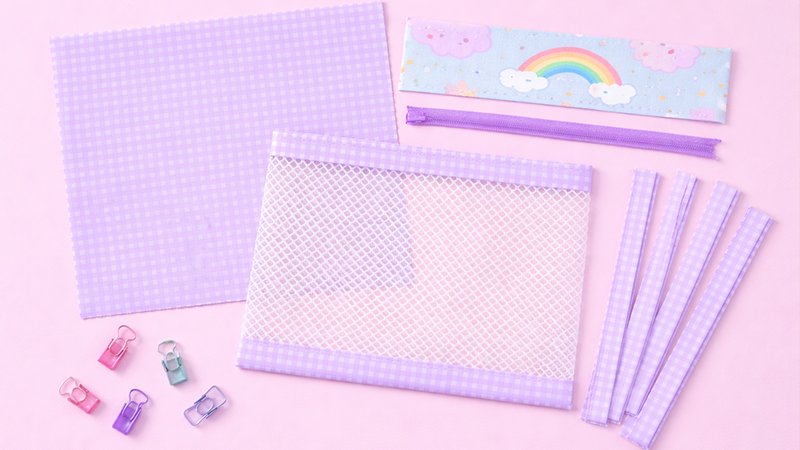
Follow the Clippie Zippie pattern dimensions, or use this general guide:
- Back fabric: ~9” x 7”
- Front (mesh/vinyl): same size
- Binding strips: enough to go around all edges
Tip: If using vinyl, do not use pins—use clips instead.
Step 2: Attach the Zipper
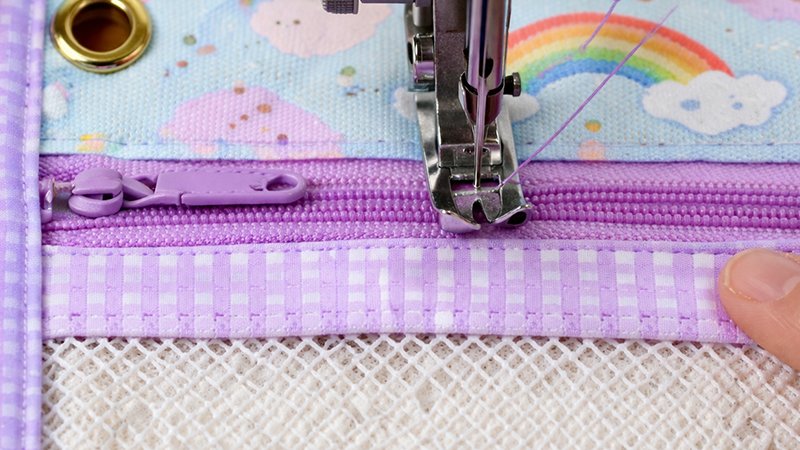
- Place the zipper right side down on the top edge of the front panel.
- Place the fabric right side down on top (sandwiching the zipper).
- Sew along the edge.
- Flip fabrics open and topstitch near the zipper.
Repeat for the other side.
Step 3: Assemble the Pouch
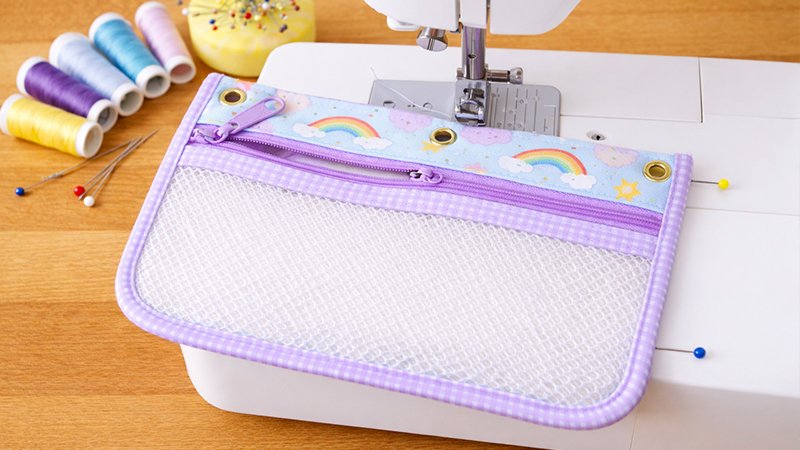
- Open the zipper halfway (important!).
- Align front and back pieces.
- Sew around all edges with a ¼” seam allowance.
Step 4: Add Bias Binding
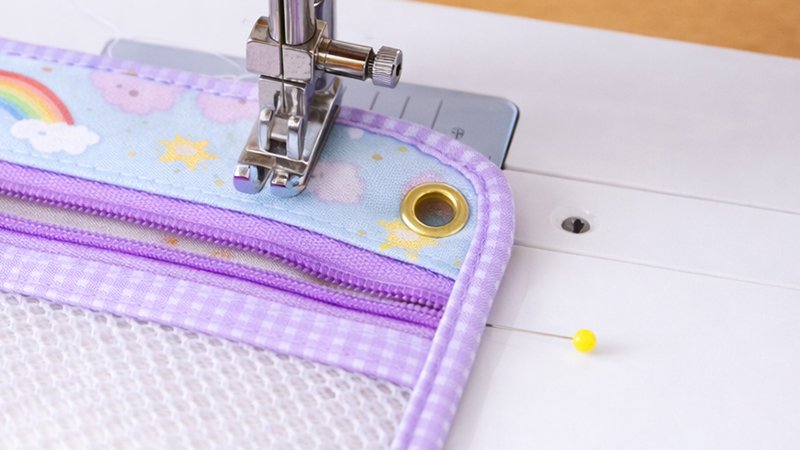
- Wrap the binding around the raw edges.
- Sew slowly around the pouch.
- Miter corners neatly if possible.
Tip: Use contrasting binding for a decorative look.
Important Modification
Do NOT add the clip tab (skip this part from the original pattern).
You want a clean, flat edge for installing grommets later.
Step 5: Mark Grommet Placement (Easy Trick)
- Place your finished pouch inside a 3-ring binder.
- Align it along the edge.
- Use a pencil to mark through the rings onto the pouch.
This ensures perfect alignment—no measuring required.
Step 6: Install Grommets
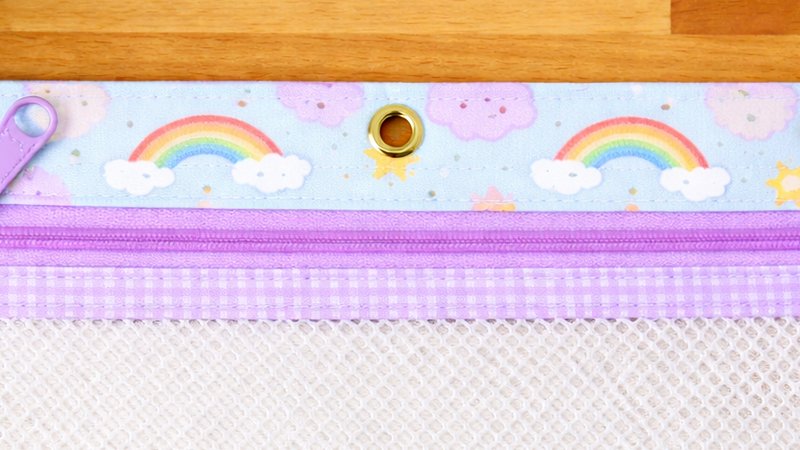
- Cut small holes at the marked spots.
- Insert the front part of the grommet through the hole.
- Place the washer on the back side.
- Use the setting tool and hammer to secure.
Optional Tip: Add a small piece of interfacing behind each hole for extra strength.
Final Check
- Make sure the zipper opens smoothly
- Check grommets fit binder rings
- Trim any loose threads
Your pouch is now complete!