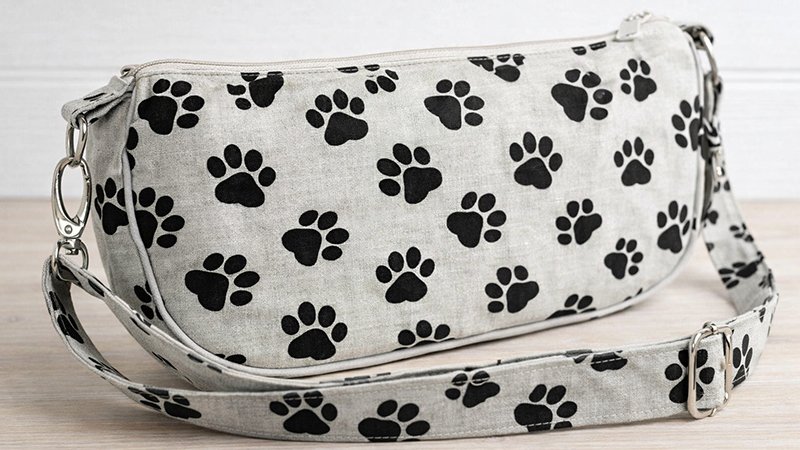
Create one of the most popular handbag styles right now—the Baguette Bag. This compact yet practical purse is perfectly sized to carry your phone, wallet, sunglasses, lipstick, pens, and daily essentials, while still looking sleek and stylish.
This project is beginner-friendly but includes professional techniques like welt pockets, piping, and seam binding, making it a great skill-building sew.
Finished Size
- Width: 10 1/2 inches
- Height: 5 inches
- Depth: 2 inches
Key Design Feature
Instead of traditional interfacing, this bag uses craft felt as interlining, which:
- Gives a soft, luxurious structure
- Eliminates bubbling from fusible interfacing
- Requires no quilting
Materials & Supplies
Fabric
- Exterior + Strap: 1/2 yard (canvas, cotton, cork, leather, vinyl)
- Lining: 1/4 yard
- Binding fabric: 1/4 yard (fat quarter recommended)
Stabilizer
- 1/4 yard craft felt
(Optional if using thick materials like leather)
Notions
- 1 × 12” zipper (main closure)
- 1 × 6” zipper (interior pocket)
- 1 1/4 yards piping
- Hardware:
- 1 rectangle ring (1”)
- 1 D-ring (1”)
- 1 swivel snap
- 1 triglide slider
Tools
- Sewing machine + zipper foot
- Wonder clips
- Fabric marker
- Basting spray
- Sewing stiletto
- Heavy-duty needle (size 100/16)
Cutting Instructions
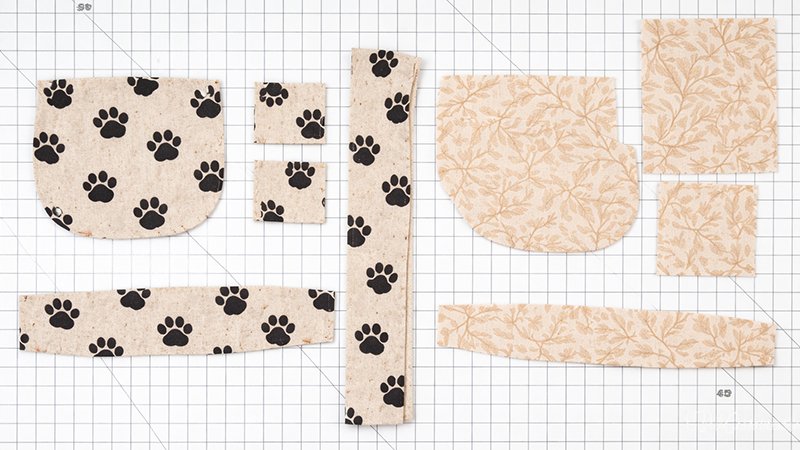
Exterior Fabric
- 2 bag sides (cut on fold)
- 1 gusset (cut on fold)
- 2 tabs (3” × 4”)
- 1 strap (4” × 35”)
Lining Fabric
- 2 bag sides (cut on fold)
- 1 gusset (cut on fold)
- 1 card pocket (5 1/2” × 4 1/2”)
- 1 square (8” × 8”) for zipper pocket
Binding Fabric
- 2 bias strips (2 1/2” × 20”)
- 2 strips (2 1/2” × 3 1/2”)
Felt
- Same pieces as exterior (2 sides + 1 gusset)
Sewing Instructions
1. Prepare the Gusset
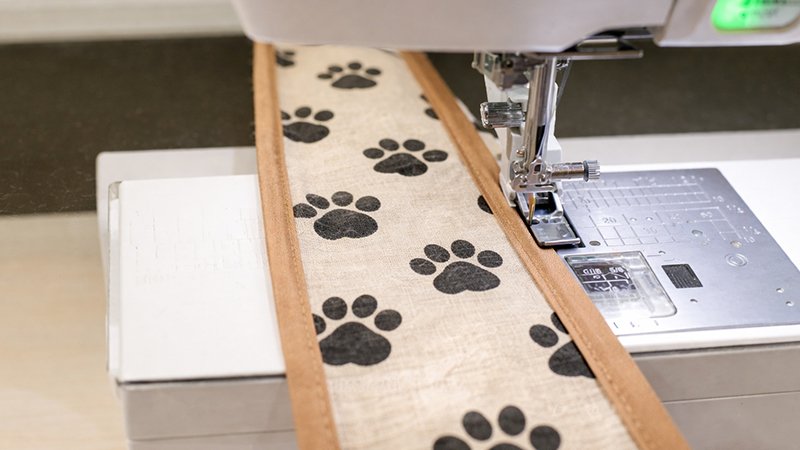
- Layer your gusset like this:
- Exterior fabric (right side out)
- Felt (middle)
- Lining (right side facing inward)
- Use basting spray to hold layers together.
- Attach piping:
- Sew piping along both long edges
- Use a zipper foot
- Stitch directly on piping seam line
Tip: This ensures tight, professional piping edges.
2. Make Interior Pockets
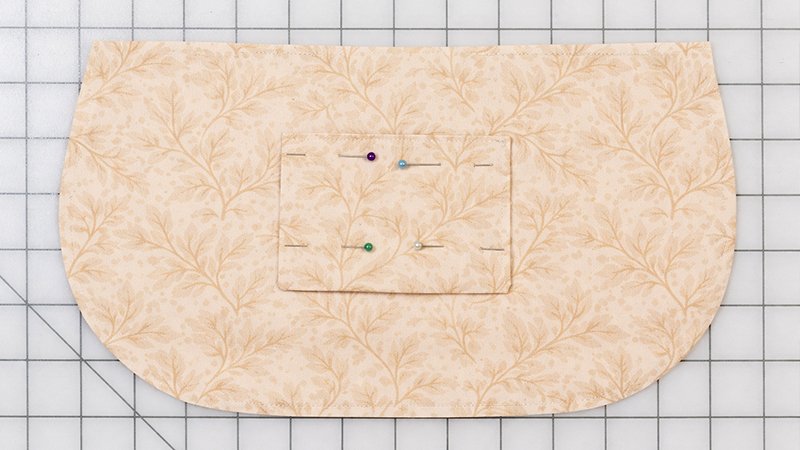
Card Pocket
- Fold pocket piece in half (right sides together)
- Sew around edges, leaving a small gap
- Turn right side out and press
- Topstitch top edge
- Attach to lining:
- Place 1 1/2” below top edge
- Sew sides and bottom
Welt Zipper Pocket
- Draw a rectangle (1/2” × 6”) on wrong side of 8” square
- Place it on lining (right sides together)
- Stitch exactly on drawn rectangle
- Cut center slit and clip corners
- Turn fabric through opening and press
- Place zipper behind opening
- Topstitch around rectangle to secure zipper
- Fold pocket piece upward
- Sew sides to form pocket pouch
3. Install Main Zipper
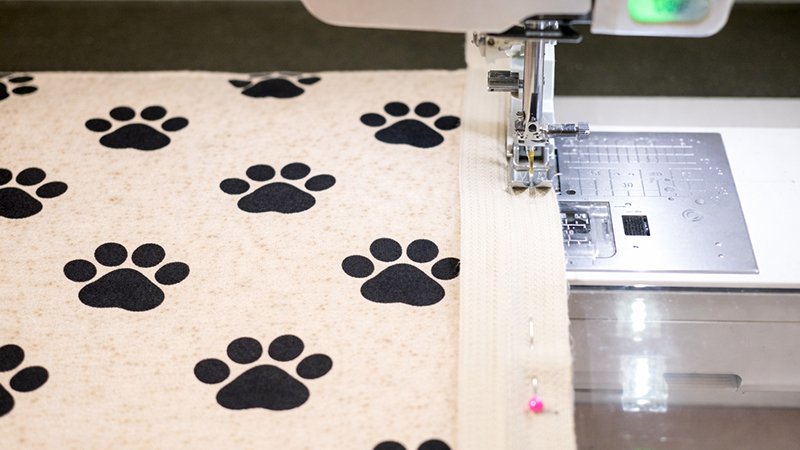
- Create bag side “sandwich”:
- Exterior + felt + lining
- Place zipper:
- Face down on exterior top edge
- Sew with 1/4” seam allowance
- Trim bulk behind zipper (remove ~1/8”)
- Fold and topstitch:
- Press zipper toward lining
- Topstitch 1/8” from zipper edge
- Repeat for second side
4. Make and Attach Tabs
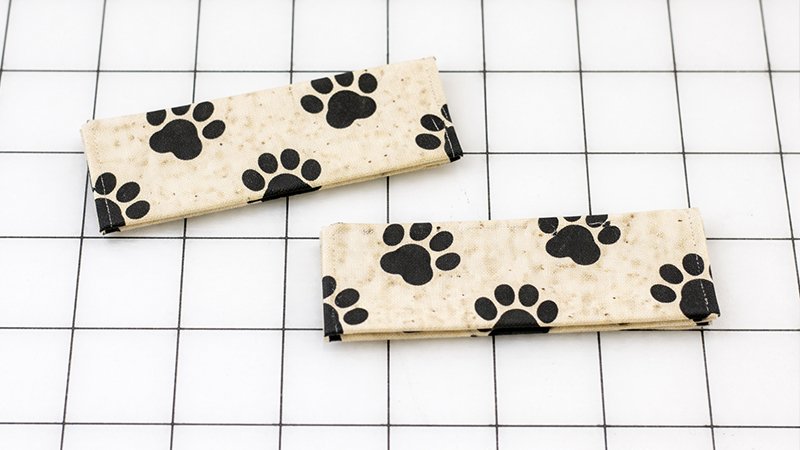
- Fold tab pieces into 1” strips
- Topstitch edges
- Insert:
- One through rectangle ring
- One through D-ring
- Attach to gusset ends:
- Place between piping layers
- Stitch securely
Important: Keep piping edges facing inward.
5. Assemble the Bag
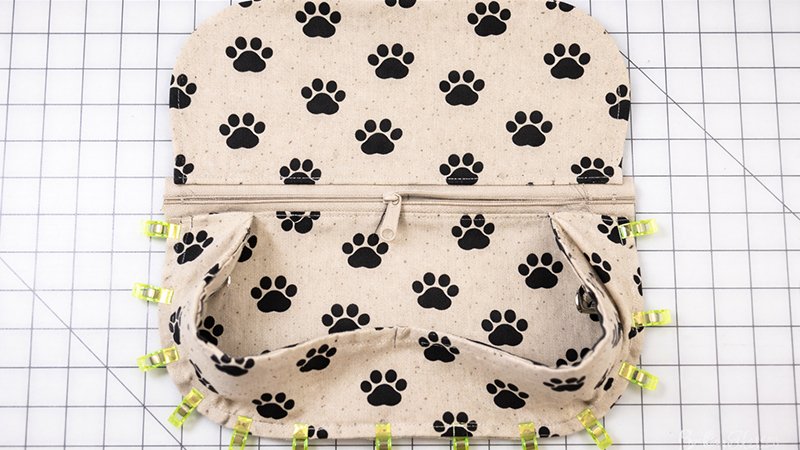
- Mark center points on:
- Gusset
- Bag sides
- Clip gusset to bag side (right sides together)
- Sew carefully:
- Gusset should sit just below zipper
- Do NOT sew into zipper
- Clip notches in curved areas (every 1/2”)
- Sew along piping line using zipper foot
- Repeat for second side
- Before closing:
- Open zipper halfway
- Close ends:
- Flatten gusset ends
- Trim excess zipper
- Sew across ends
6. Bind Interior Seams
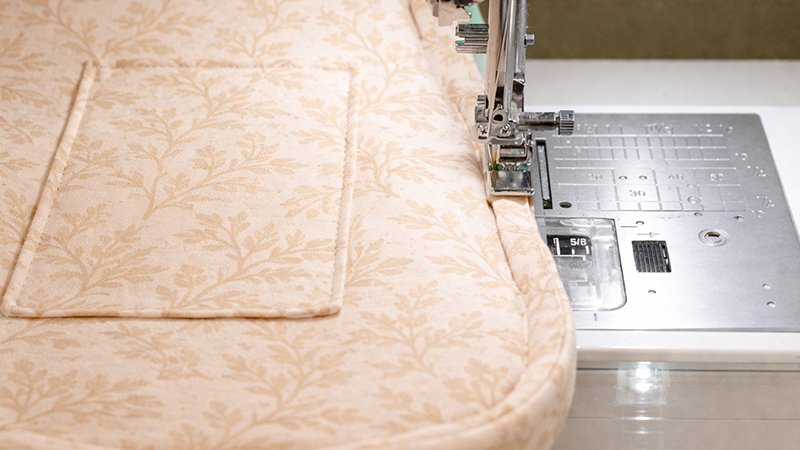
- Trim seams to 1/4” to reduce bulk
- Fold binding strips in half
- Sew binding to seam edge
- Wrap binding over raw edge
- Stitch down neatly
Use a sewing stiletto for thick areas
7. Make Adjustable Strap
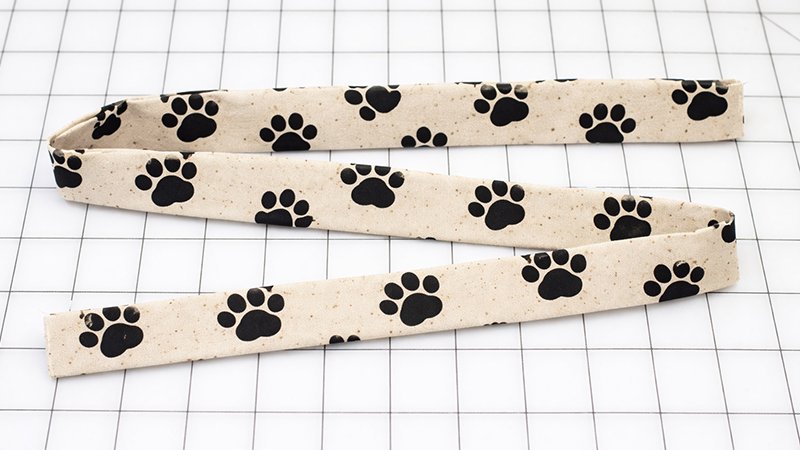
- Fold strap into 1” width
- Topstitch both edges
Assemble Hardware:
- Slide triglide onto strap
- Fold end and sew securely
- Add swivel clip
- Feed strap back through triglide
- Attach to bag:
- Thread through rectangle ring
- Fold and stitch securely
Final Result
Your Baguette Bag is complete!
You now have a stylish, functional purse with:
- Professional piping
- Interior pockets
- Clean bound seams
- Adjustable strap
Tips for Customization
- Use leather or vinyl for a high-end look
- Add foam stabilizer for extra structure
- Experiment with bold prints or color blocking