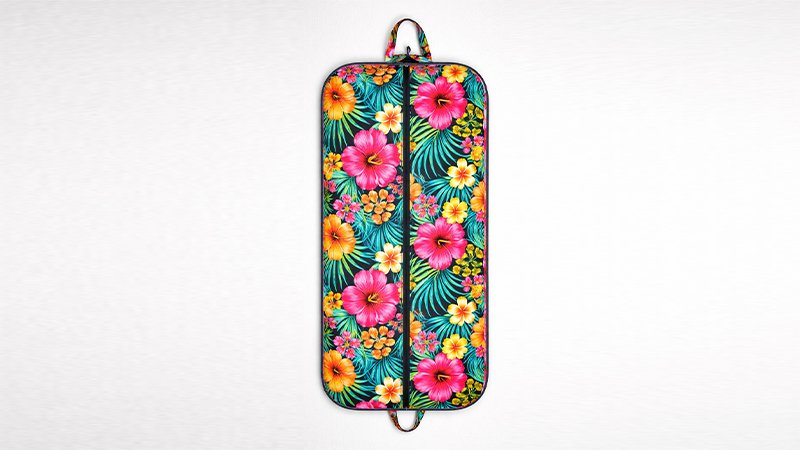
Create a stylish, durable garment bag that protects your clothes while traveling. This beginner-friendly project combines practical features with a professional finish, making it perfect for weekend trips or longer journeys.
Overview
This garment bag is designed to:
- Fit full-length garments (dresses, suits, coats)
- Open fully with a long zipper for easy packing
- Include a large back pocket for shoes or accessories
- Offer multiple carrying options (handles + optional strap)
- Keep hangers secure with built-in ties
Finished size: Approximately 24” wide × 40” tall
Materials & Supplies
Fabric
- Exterior Fabric: 2 ¼ yards (medium-weight cotton or canvas recommended)
- Interior Fabric (Lining): 2 yards
Stabilizer & Interfacing
- Foam Stabilizer: 2 yards (e.g., ByAnnie Soft & Stable)
- Alternative: quilt batting (softer) or fusible fleece
- Fusible Interfacing: 1 yard (medium weight, e.g., Pellon SF101)
Zippers
- 1 long zipper (approx. 43”) for front opening
- 1 zipper (approx. 26”) for back pocket
- Or use zipper-by-the-yard (2 yards total)
Hardware
- (2) D-rings (1”)
- (2) Swivel snap hooks (1”)
- (1) Tri-glide slider (1”)
Additional Supplies
- ½ yard fabric for bias binding (makes ~4 yards)
- Quilt basting spray (505 or similar)
- Wonder clips or pins
- Sewing stiletto (optional but helpful)
- Thread matching fabric
Optional Decoration
- 48” ribbon (for handles or accents)
Cutting Instructions
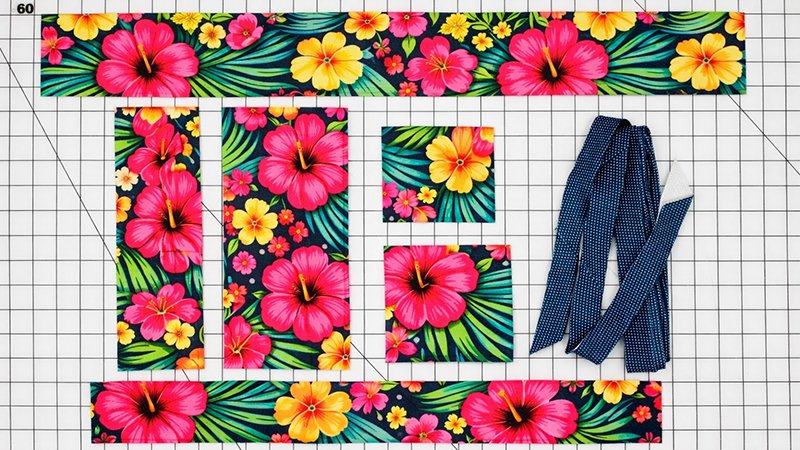
Exterior Fabric
- (2) 44” × 26” — Main panels
- (1) 16” × 26” — Pocket
- (1) 4” × 24” — Pocket top panel
- (2) 4” × 12” — Handles
- (2) 4” × 5” — D-ring tabs
- (1) 2” × 21” — Hanger tie
- (1) 4” × 42” — Shoulder strap
Interior Fabric
- (2) 44” × 26” — Lining panels
- (1) 16” × 26” — Pocket lining
Foam Stabilizer
- (2) 44” × 26.”
- (1) 16” × 26.”
Interfacing
Cut matching pieces for:
- Handles
- D-ring tabs
- Pocket top panel
- Strap
Step-by-Step Instructions
1. Prepare & Quilt Panels
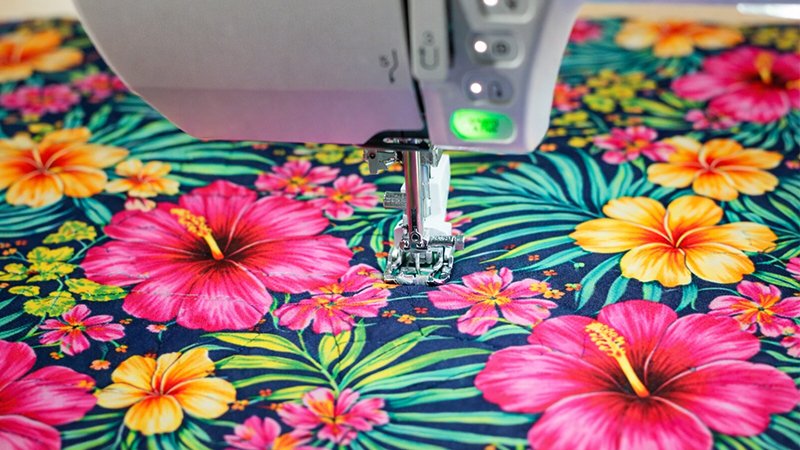
- Fuse interfacing to:
- Handles
- D-ring tabs
- Pocket top panel
- Strap
- Layer each main panel:
- Exterior fabric (right side down)
- Foam stabilizer
- Lining fabric (right side up)
- Secure layers:
- Use basting spray OR sew around edges (⅛” seam)
- Quilt the panels:
- Use straight lines, grid, or free-motion quilting
- Quilt all 3 large panels (2 main + pocket)
- Trim to final sizes:
- Back panel: 42” × 24”
- Front panels: 2 pieces at 42” × 12”
- Pocket: 14” × 24”
2. Shape the Panels
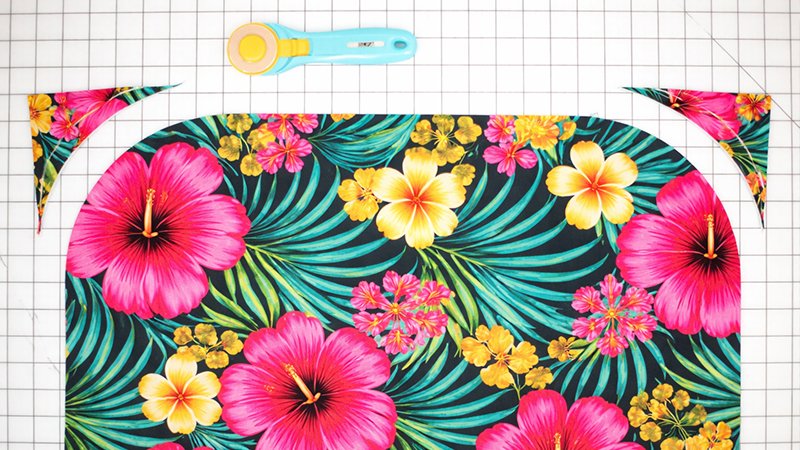
- Back panel:
- Round top corners using a large curve
- Round bottom corners (3” radius)
- Front panels:
- Measure:
- 1” down from the top inner corner
- 4” inward from the edge
- Draw a gentle curve and cut
- Measure:
- Pocket piece:
- Round bottom corners (3” radius)
3. Install the Front Zipper
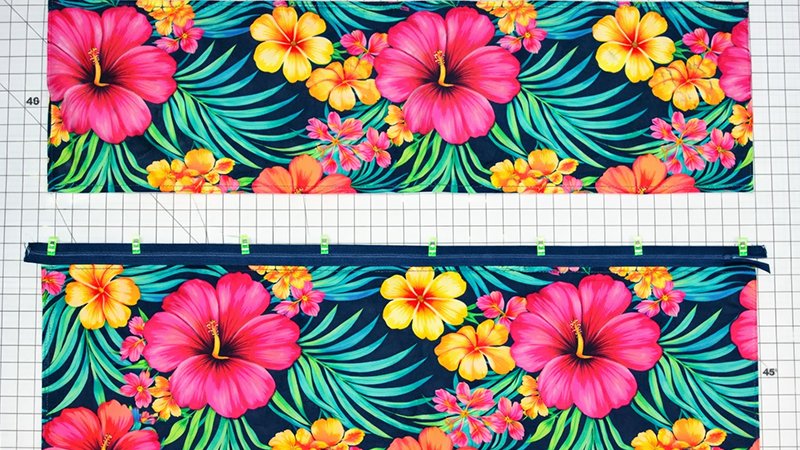
- Attach the zipper slider if needed
- First side:
- Place the zipper right side down on the inner edge of the front panel
- Sew with ¼” seam
- Trim foam slightly from seam allowance (avoid zipper tape)
- Flip the zipper out and topstitch
- Repeat for the second front panel
- Bind the top curved edges using bias binding
4. Create Back Pocket & Add Hardware
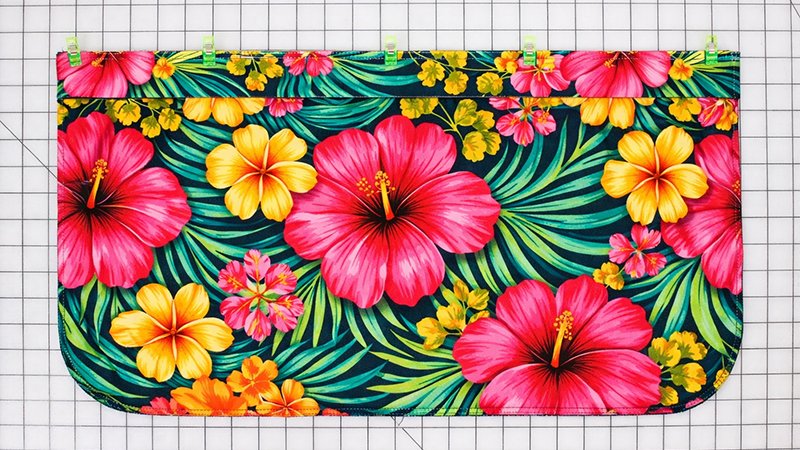
D-Ring Tabs
- Fold each tab:
- Fold long edges inward
- Fold in half again
- Stitch to create a 1” wide strip
- Thread the D-ring through and secure
- Attach tabs:
- Center on each long side of the back panel
- Stitch securely
Back Pocket
- Attach zipper to top of pocket piece
- Sew pocket top panel above zipper
- Topstitch for clean finish
- Position pocket on back panel (bottom area)
- Stitch along:
- Sides
- Bottom edge
5. Add Hanger Ties & Handles
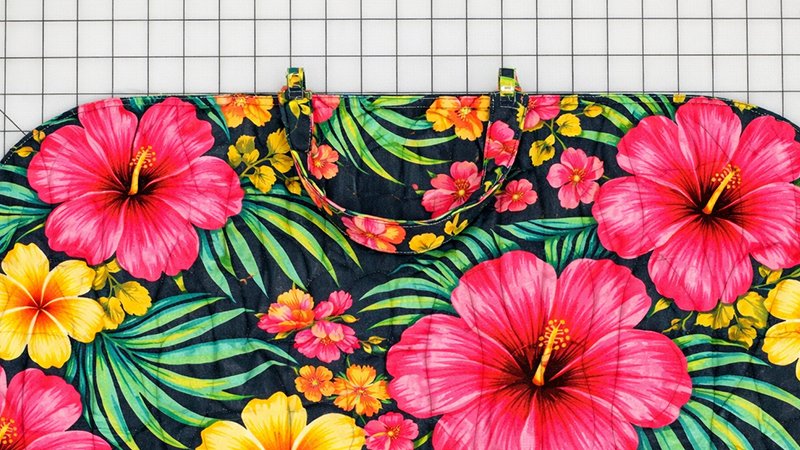
Hanger Tie
- Fold strip:
- Fold edges inward
- Fold again to form a narrow strap
- Topstitch
- Cut in half
- Attach both pieces to the top inside of the bag
Handles
- Fold each handle:
- Fold long edges inward
- Fold again
- Insert ribbon (optional)
- Topstitch
- Attach:
- One at the top center of the bag
- One at the bottom (over the pocket)
6. Assemble the Bag
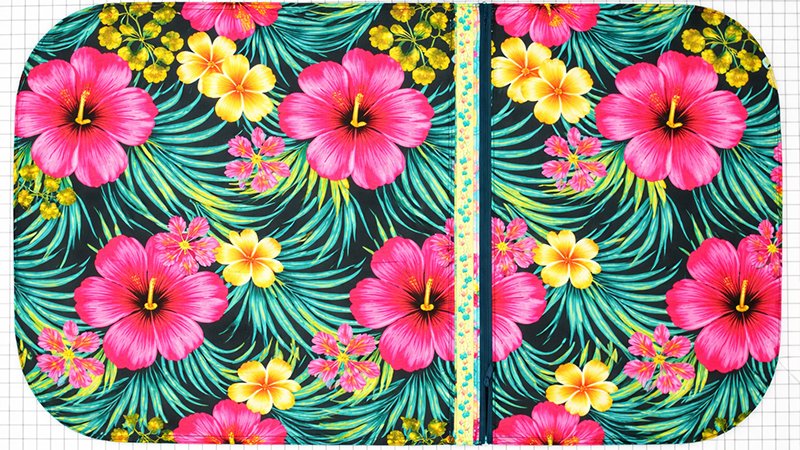
- Lay pieces:
- Front panel (lining side up)
- Back panel (exterior side up)
- Ensure:
- Hanger ties are tucked inside
- Edges are aligned
- Sew around entire perimeter (¼” seam)
7. Bind the Edges
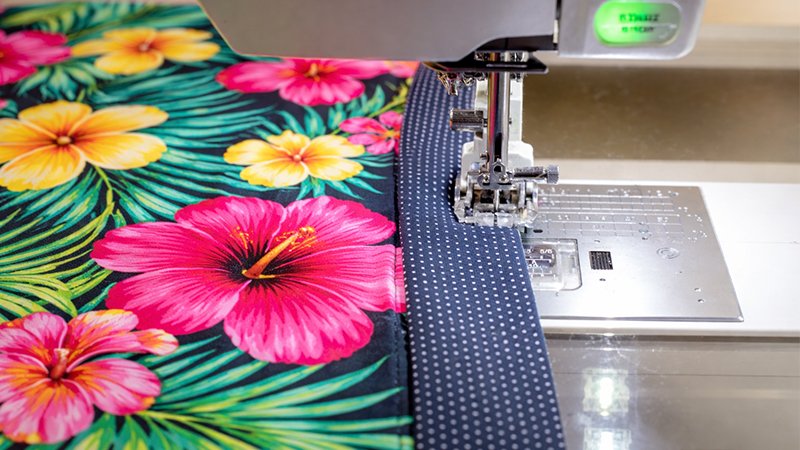
- Create bias binding (2¼” wide strips)
- Attach binding around entire edge:
- Clip or pin carefully
- Sew slowly around curves
- Join ends neatly for a continuous finish
8. Make the Adjustable Strap
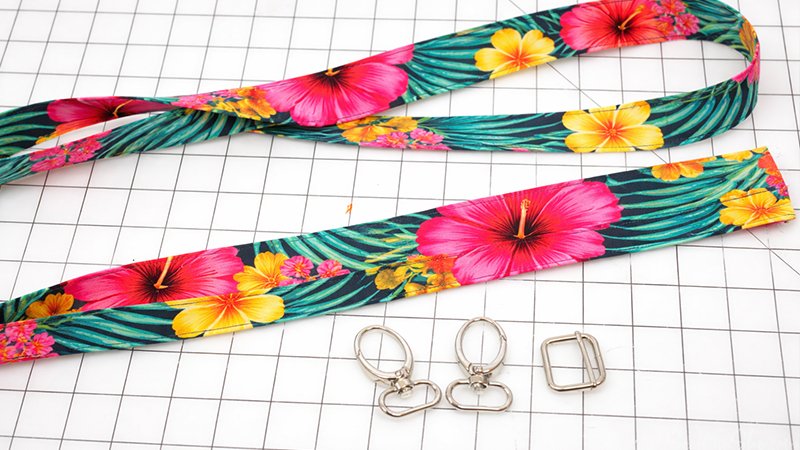
- Fold strap:
- Fold edges inward
- Fold again to 1” width
- Topstitch
- Add hardware:
- Thread through tri-glide
- Attach swivel clips
- Clip onto D-rings
Final Result
You now have a durable, professional-quality garment bag with:
- Smooth zipper access
- Spacious storage pocket
- Secure hanger system
- Multiple carrying options
Perfect for travel, storage, or gifting!