If your closet is overflowing or your sewing space needs serious organization, these sturdy quilted storage totes are the perfect solution.
Designed for durability and visibility, they can store bulky quilts, seasonal clothes, or fabric collections while protecting them from dust, moths, and pests.
This guide walks you through everything—from choosing the right size to final assembly.
Choose the Right Tote Size
Before starting, decide which size best suits your needs:
Large Tote
- Dimensions: 24” W × 16½” D × 14” H
- Capacity: Fits a king-size quilt + pillow shams
- Best for: Bedding, bulky fabrics, winter clothes
Medium Tote
- Dimensions: 18” W × 11” D × 9” H
- Best for: Sweaters, fabric bundles, smaller items
Beginner Tip: Start with the medium tote if you’re new. It uses less fabric and is easier to handle.
Gather Materials
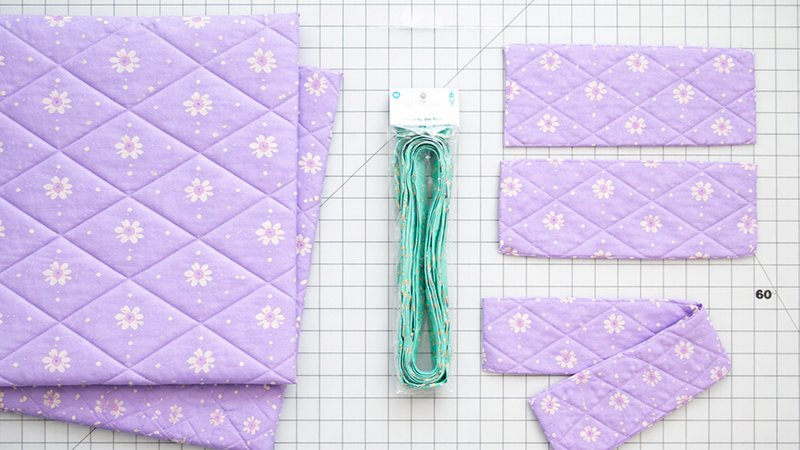
For Medium Tote:
- 1 yard exterior fabric
- 1 yard of lining fabric
- ¼ yard binding + handles
- 1 yard foam stabilizer (e.g., Soft and Stable)
- 41” zipper (YKK #4.5, double pull)
- ¼ yard 12-gauge vinyl
- ¼ yard fusible interfacing
For Large Tote:
- 1½ yards exterior fabric
- 1½ yards of lining fabric
- ⅓ yard binding + handles
- 1½ yards foam stabilizer
- 58” zipper (double pull)
- ¼ yard vinyl + interfacing
Pro Tip: Use zippers by the yard so you can cut the exact length needed.
Create Quilted Panels (Foundation of Structure)
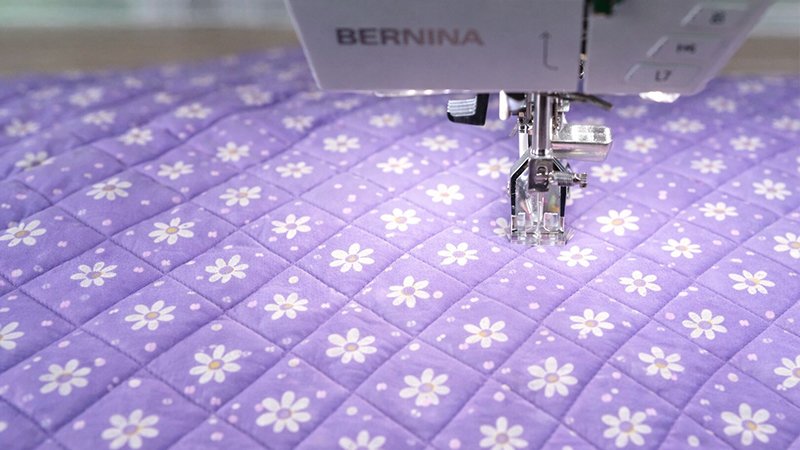
This is what makes your tote sturdy.
Steps:
- Layering (Quilt Sandwich):
- Exterior fabric (top)
- Foam stabilizer (middle)
- Lining fabric (bottom)
- Baste Layers:
- Use spray adhesive to prevent shifting.
- Quilt the Layers:
- Use a walking foot.
- Sew straight lines or follow your fabric pattern.
- Trim & Stabilize Edges:
- Cut panels to the required sizes.
- Sew ⅛” around edges to secure layers.
Tip: Following geometric prints eliminates the need for marking lines.
Make the Vinyl Window Panel
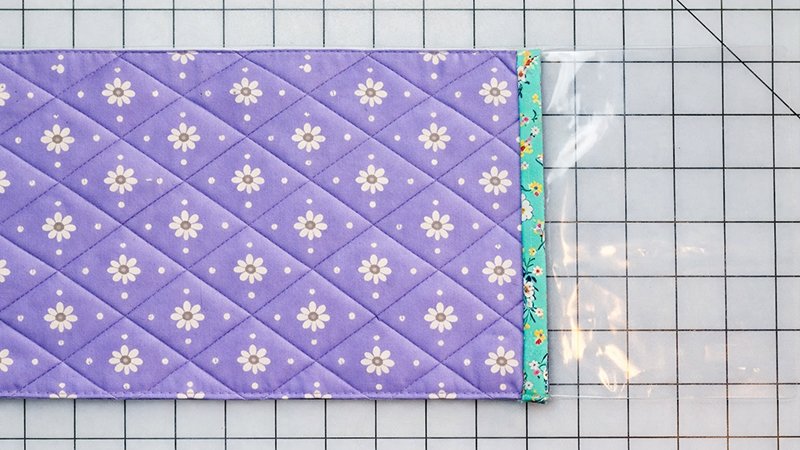
This panel lets you see what’s inside—and even label it.
Steps:
- Cut a vinyl window piece.
- (Optional) Add a second vinyl layer to create a label pocket.
- Attach vinyl between quilted side panels.
- Use binding strips to finish edges.
- Topstitch for a clean, professional look.
- Trim the wrap-around panel:
- Medium: 40”
- Large: 57”
Install the Zipper

A long zipper may seem tricky, but preparation makes it easy.
Steps:
- Prepare Zipper:
- Use double sliders (“kissing pulls”).
- Stitch ends to prevent sliders from slipping off.
- Attach Zipper:
- Align the zipper with the top edge of the wrap panel.
- Sew using zipper foot (¼” seam).
- Finish Seam:
- Trim bulk behind zipper (do NOT cut zipper).
- Topstitch from the front.
Assemble the Tote Body

Steps:
- Mark Centers:
- Helps align panels correctly.
- Attach Wrap Panel to Back Panel:
- Sew around edges.
- Stop stitching ¼” before each corner.
- Turn Corners:
- Pivot fabric for clean edges.
This step prevents distortion and ensures a boxy, professional shape.
Add Reinforced Handles
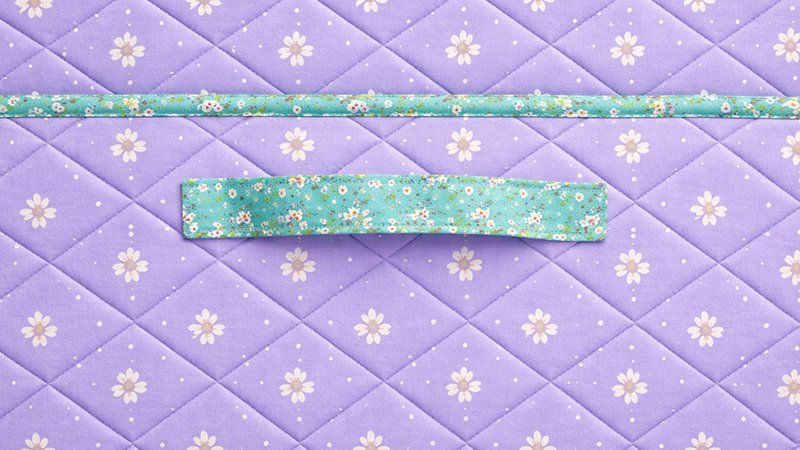
Steps:
- Interface handle fabric for strength.
- Position handles evenly on the sides.
- Sew using a box + X stitch pattern.
This reinforcement ensures the tote can carry heavy loads.
Finish with Binding
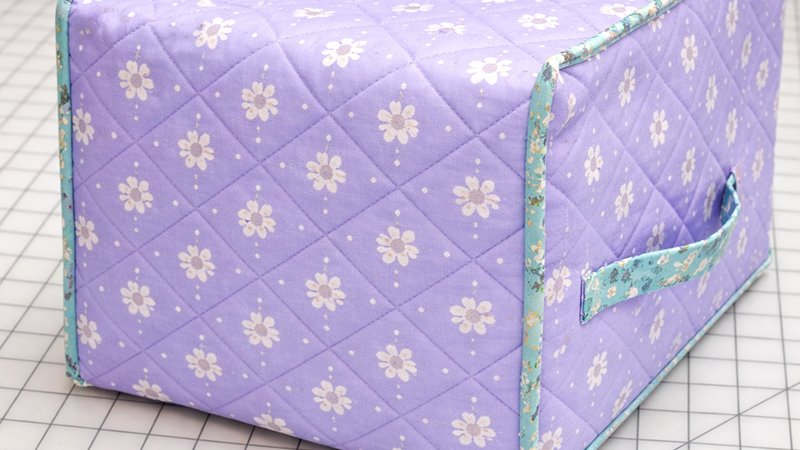
Because of thick layers, seams are finished with external binding.
Steps:
- Clip binding around raw edges (wrong sides together).
- At corners:
- Snip a small ¼” cut to ease turning.
- Fold binding over edges.
- Topstitch in place.
Use a stiletto tool to guide thick layers safely and neatly.
Final Result
You’ll end up with:
- A durable, structured tote
- A clear vinyl window for easy identification
- A professional finish with reinforced handles and clean binding
Perfect for:
- Quilts and bedding
- Fabric storage
- Closet organization