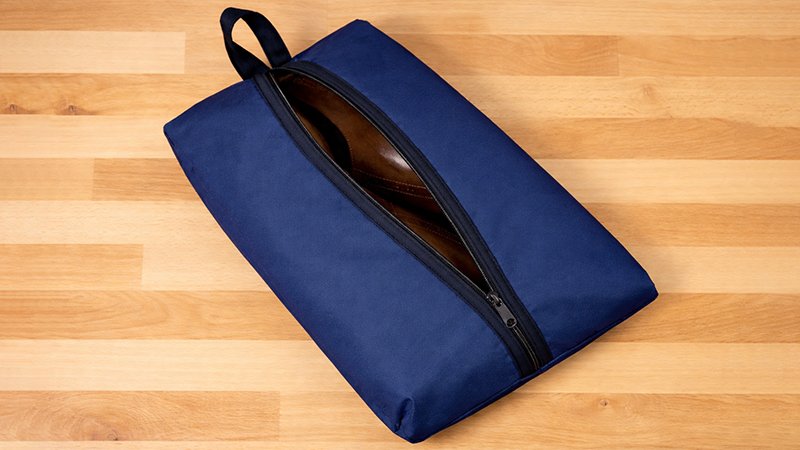
Tired of dirty shoes messing up your clean clothes in your suitcase? Or struggling to keep your closet organized? This simple sewing project solves both problems.
With just half a yard of fabric, you can create a lay-flat storage bag that protects your belongings, packs easily, and folds down small when not in use.
Although designed for shoes, these bags are incredibly versatile—you can use them for clothes, toiletries, gym gear, or travel accessories.
Choosing Fabric and Supplies
This project is beginner-friendly and flexible, meaning you can use materials you already have.
Fabric Options
- Cotton-linen blend canvas (recommended):
- Durable yet easy to sew
- Holds shape well
- Great for everyday use
- Medium-weight nylon:
- Water-resistant
- Easy to clean
- Ideal for gym shoes or outdoor gear
- Other options:
- Quilting cotton (lighter, less structured)
- Cotton duck (heavier, more rugged)
Supplies You’ll Need
- 1/2 yard of fabric total
- You can use one fabric or mix two for contrast
- Zipper (minimum 14 inches)
- Recommended: YKK size 4.5 handbag zipper
- Wondertape (optional but helpful)
- Helps hold the zipper in place while sewing
- Sewing machine, thread, pins/clips, iron
Choosing the Size
This pattern is easy to customize using a 1:2 height-to-width ratio.
Standard Sizes:
- Small (5″ × 4″)
- Best for small accessories or sewing notions
- Medium (13″ × 8.5″)
- Ideal for women’s shoes
- Large (17″ × 10″)
- Fits men’s shoes or bulkier items
Tip: To create your own size, simply double the height to get the width.
Cutting Your Fabric
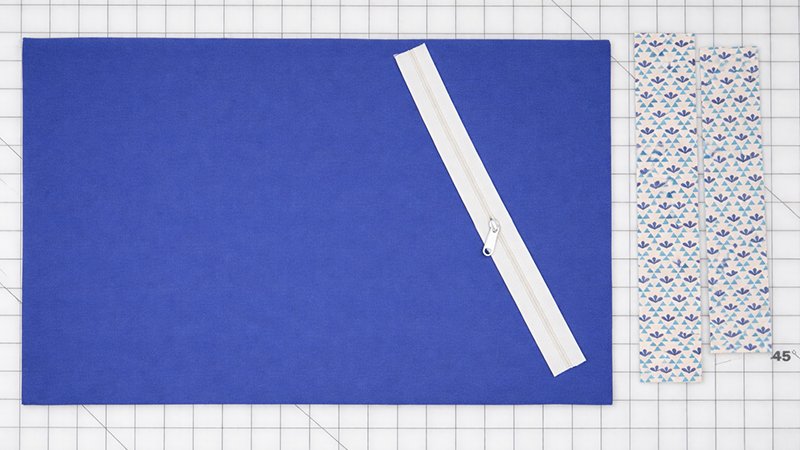
Medium Bag (example)
- Main fabric: 14″ × 30″ (1 piece)
- Binding strips: 2.5″ × 14″ (2 pieces)
- Hanging loop: 3″ × 8″ (1 piece)
Large Bag
- Main fabric: 18″ × 36″
- Binding strips: 2.5″ × 18″ (2 pieces)
- Loop: 3″ × 8″
Small Pouch
- Main fabric: 6″ × 12″
- Binding strips: 2.5″ × 6″ (2 pieces)
- Loop: 2.5″ × 6″
Binding the Short Edges
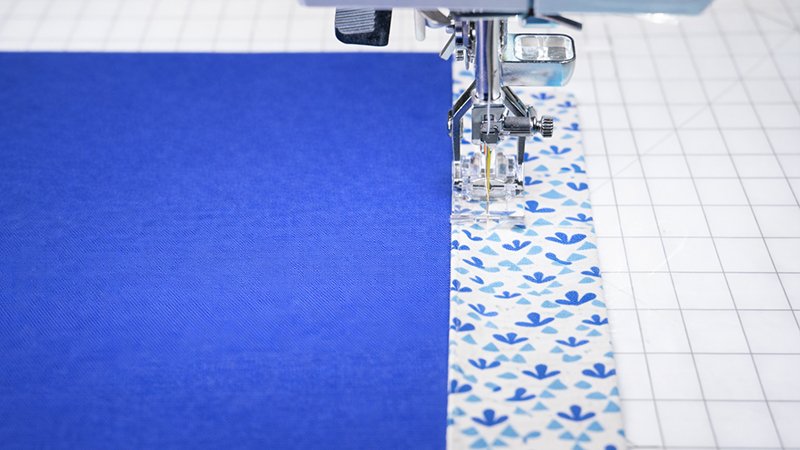
This step finishes the raw edges neatly.
Steps:
- Fold each binding strip in half lengthwise, wrong sides together, and press.
- Place the binding strip on the wrong side of the fabric along a short edge.
- Align raw edges and stitch using a ¼” seam allowance.
- Fold binding outward, press flat.
- Wrap it over to the right side, covering the raw edge.
- Press again to keep it flat (about ½” wide).
- Topstitch 1/8″ from the folded edge.
Repeat for the other short side.
Attaching the Zipper
Preparation:
- If using Wondertape, stick it along the zipper edge.
- If the adhesive is weak, press lightly with an iron to reactivate.
Steps:
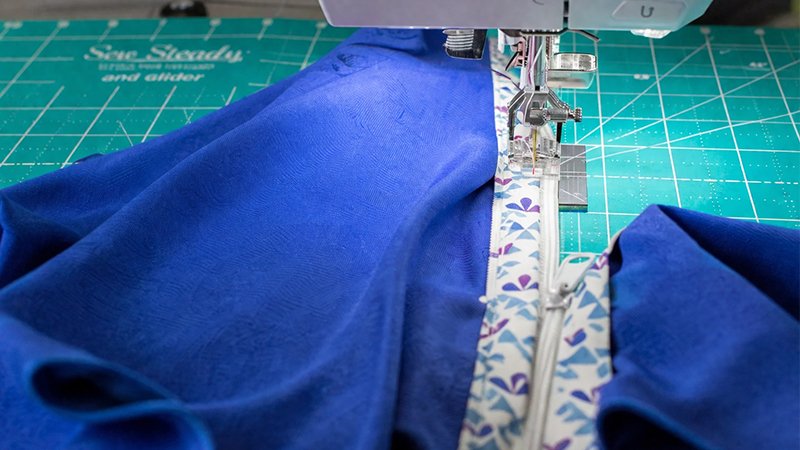
- Align one bound edge of the fabric with the zipper.
- Keep zipper teeth about 1/8″ away from binding.
- Stitch close to the edge (about 1/8″ seam).
- Repeat with the other side of the zipper.
- Open the zipper halfway before finishing (important for turning later).
- Trim excess zipper if needed.
- Sew across zipper ends to create stoppers.
Making the Hanging Loop
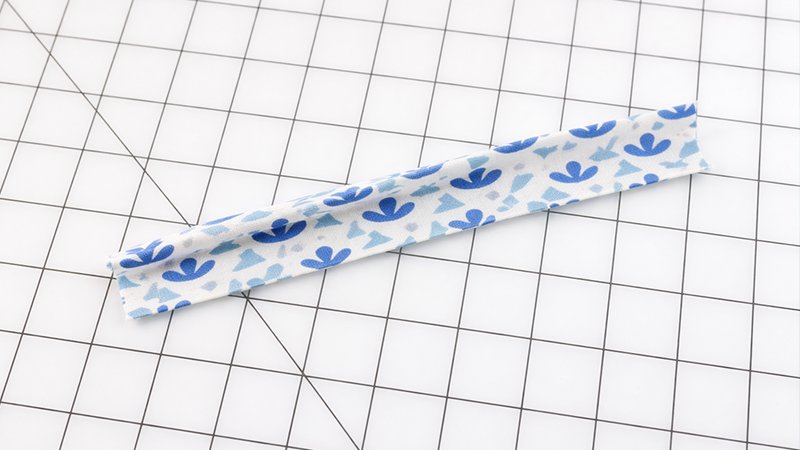
Steps:
- Fold the strip in half lengthwise and press.
- Open it and fold both long edges toward the center.
- Fold in half again and press.
- Topstitch along both edges (about 1/8″ from the edge).
- Fold the strip in half to form a loop.
- Attach raw ends to the top edge of the bag (over the binding).
- Stitch securely using a ¼” seam.
Final Assembly & Adjusting Depth
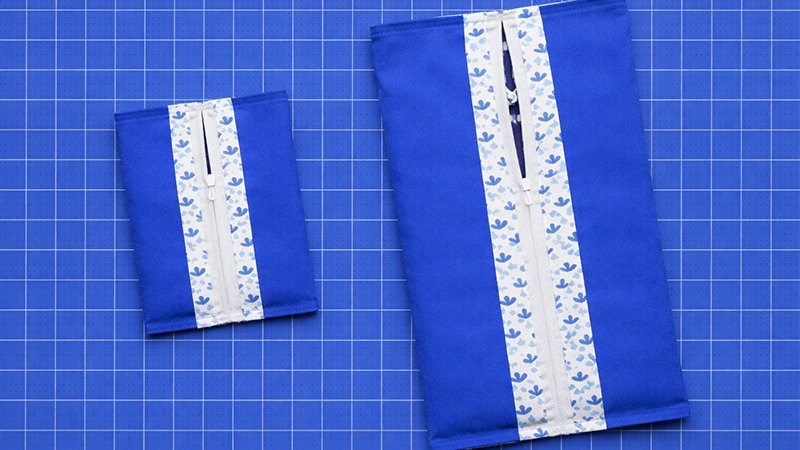
This is where the bag takes shape.
Steps:
- Turn the bag inside out.
- Lay it flat with the zipper on one side.
- Mark the center of the opposite side.
- Reposition so the underside of the zipper faces up.
- Align the zipper center with your marks.
Customizing Depth:
- Deeper bag (for shoes):
- Fold the side edges all the way toward the zipper
- Shallower bag:
- Fold edges only about 2/3 of the way
- Pin folds in place.
- Sew across the top and bottom edges using a 3/8″ seam allowance.
- Finish raw edges:
- Zig-zag stitch
- Overcast stitch
- Or bind edges
- Turn the right side out through the zipper opening.
Finished Bag
Your lay-flat storage bag is now complete!
Features:
- Opens flat for easy packing
- Expands for bulkier items
- Folds compact when empty
- Durable and reusable
Final Thoughts
This project is perfect for:
- Using leftover fabric
- Practicing zipper installation
- Creating practical, reusable storage