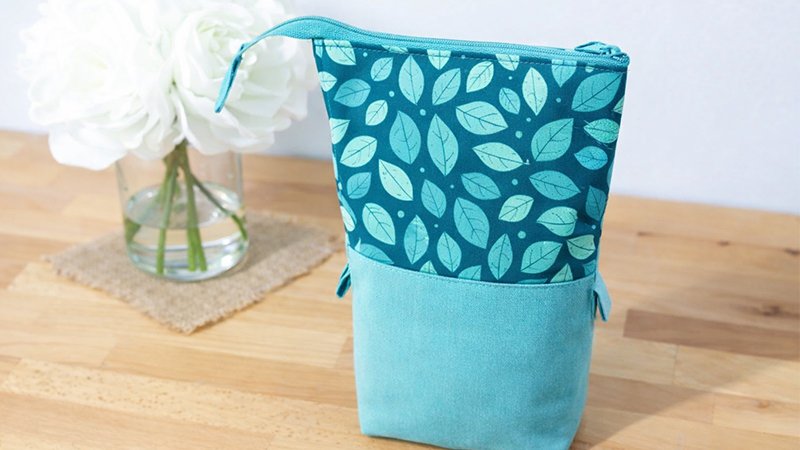
Tired of digging through a messy pencil case? This stand-up, slide-down pouch solves that problem beautifully. It holds tall tools like pens, scissors, and rotary cutters upright—and when you unzip and push it down, everything becomes instantly accessible.
This version is larger and sturdier than typical store-bought pouches, making it perfect for sewists, artists, and students alike.
Key Design Tip: Fabric Choice Matters
The success of this pouch depends heavily on your fabric selection:
- Exterior: Quilting cotton works great for style.
- Upper lining (CRUCIAL): Must be slippery so the pouch slides smoothly.
- Best option: Ripstop nylon
- Alternative: Polyester lining (slipperier but harder to sew)
Avoid cotton for the upper lining—it creates friction and prevents smooth movement.
Materials & Supplies
Finished size: approx. 10” tall × 6” wide
Fabric:
- Upper exterior: < 1 fat quarter cotton
- Lower exterior: 1 fat eighth cotton
- Lining: 1/4 yard ripstop nylon (or similar slippery fabric)
Structure:
- Medium-weight fusible interfacing (1/2 yard)
- Foam stabilizer (2 pieces, 7” × 7”)
Notions:
- 20” zipper (use ONE side only) + 1 zipper pull
- Thread, pins, scissors, ruler, sewing machine
Tip: Buy zippers by the yard to save money.
Cutting Instructions
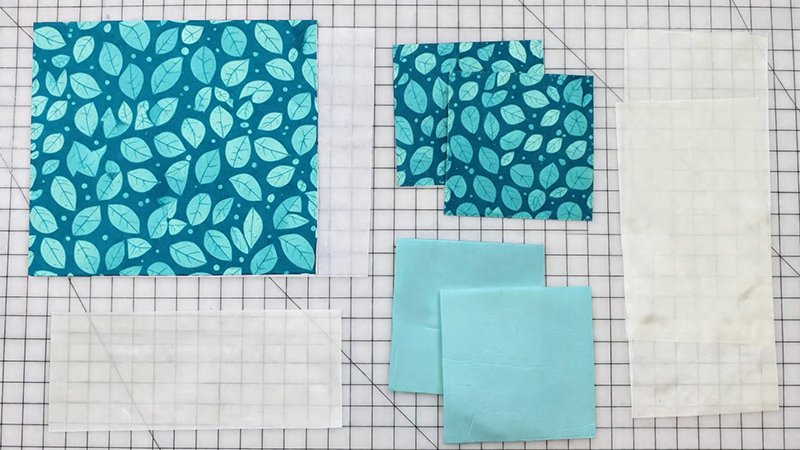
(All measurements = height × width)
Upper Exterior (cotton)
- 1 piece: 12” × 13 1/2”
- 2 pieces: 4” × 3” (pull tabs)
Lower Exterior (cotton)
- 2 pieces: 7” × 7”
- 1 piece: 2 1/2” × 3” (zipper tab)
Lining (ripstop nylon)
- Upper lining: 5 1/2” × 13 1/2”
- Lower lining: 2 pieces, 15” × 7” (for pockets)
No pockets? Cut 2 pieces at 7” × 7” instead.
Interfacing & Foam
- Interfacing: 12” × 13 1/2”
- Foam: 2 pieces, 7” × 7”
Step-by-Step Instructions
Step 1: Attach Zipper to Upper Lining
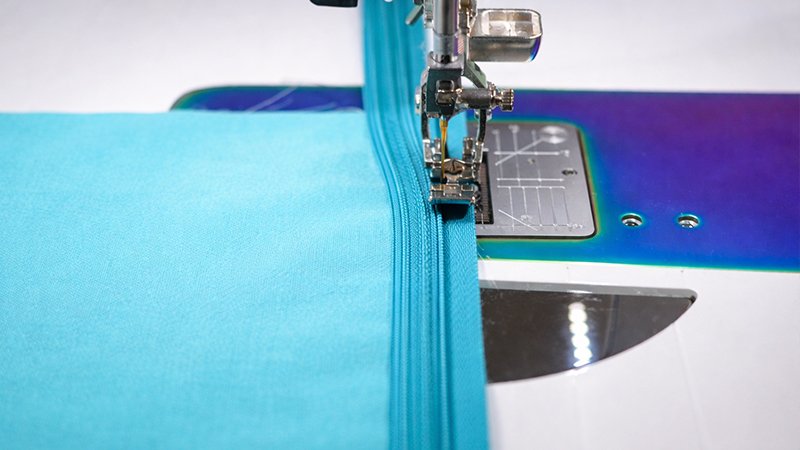
- Place the zipper along the top edge of the upper lining (right side up).
- Position pins 1 1/2” from each side edge.
- Angle zipper ends slightly downward (~1/2”) and pin out of the way.
- Sew using a 1/4” seam allowance with a zipper foot.
- Leave about 1” at each end unattached.
- Fold the lining down and press gently.
- Fold short ends inward and sew them together (1/4” seam).
- Press seam open.
Step 2: Create Lower Lining (Optional Pockets)
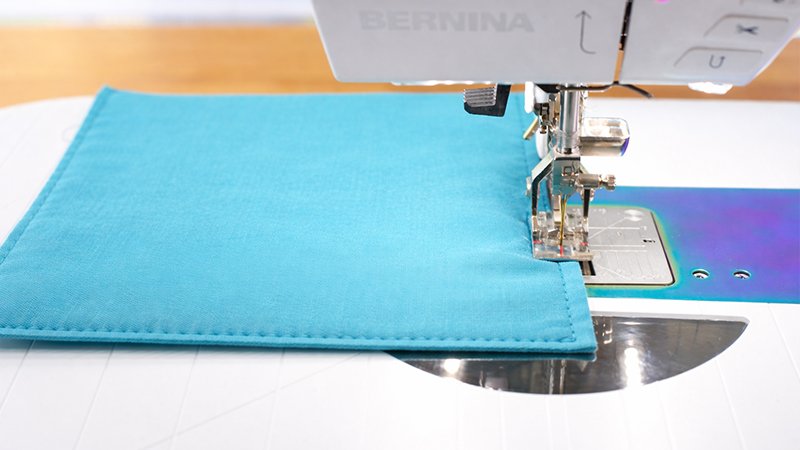
- Mark:
- 6” from the bottom
- 5” from top
- Fold into an accordion shape to form pockets.
- Baste sides to hold folds in place.
- Sew vertical lines to divide pockets (optional).
- Trim sides slightly so the bottom is 1/2” narrower than the top.
- Sew both lining pieces right sides together.
- Leave a gap at the bottom for turning.
- Cut out 1 1/4” squares from the bottom corners.
- Box corners:
- Align seams
- Sew across
Step 3: Build Lower Exterior
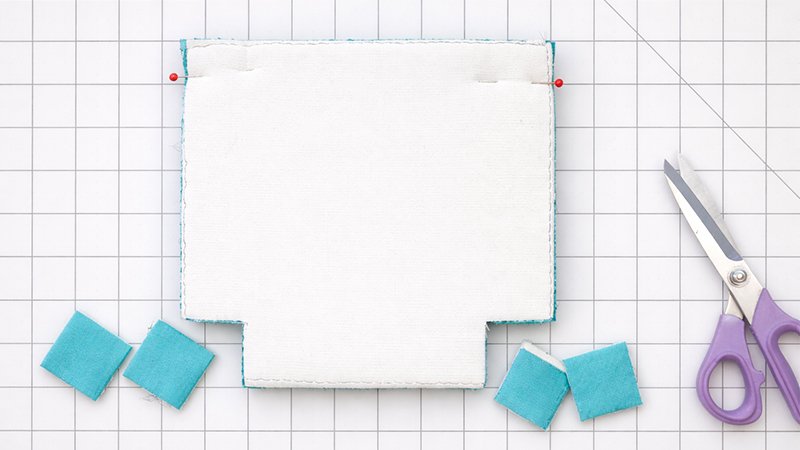
- Shape cotton and foam pieces like the lining (slight taper).
- Baste fabric to foam.
- Sew sides together (right sides facing).
- Cut 1 1/4” squares from the bottom corners.
- Box corners are the same as the lining.
- Turn right side out → forms a sturdy “cup.”
Step 4: Join All Sections
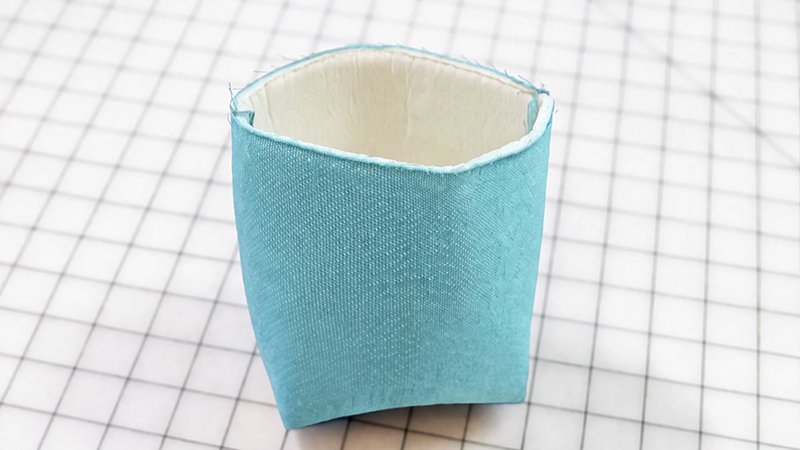
- Place upper lining over lower exterior (right sides aligned).
- Insert both into the lower lining (inside out).
- Align all raw edges.
- Sew around the top edge (1/4” seam).
Use your sewing machine’s free arm for easier stitching.
- Turn the right side out through the lining gap.
- Close the gap (hand stitch or machine stitch).
Step 5: Create Upper Exterior Cuff
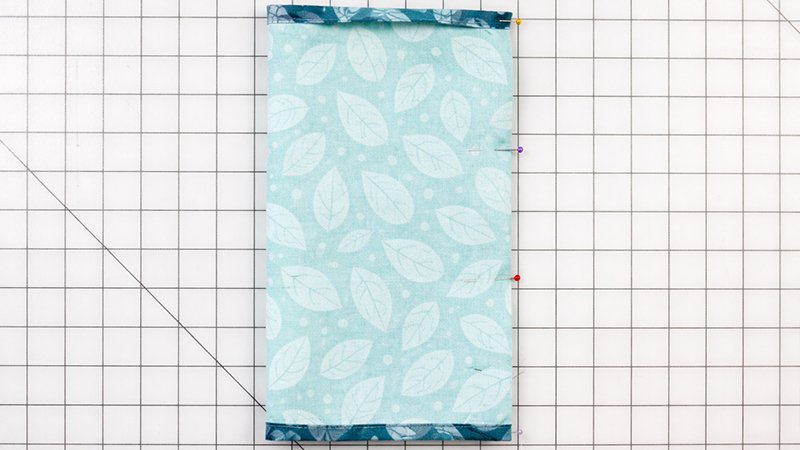
- Fuse interfacing to the upper exterior fabric.
- Fold long edges inward by 1/2” and press.
- Sew short ends together → forms a loop.
- Fold in half to create a cuff shape.
Step 6: Add Pull Tabs
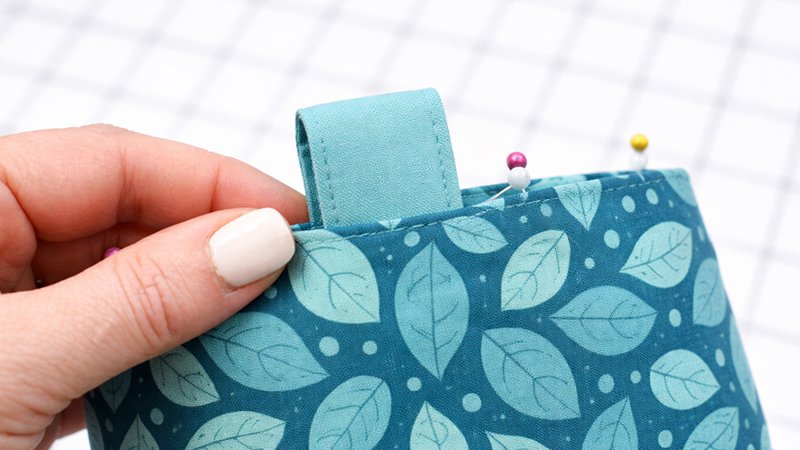
- Fold tab pieces into 1” × 3” strips.
- Insert into cuff edges.
- Topstitch to secure.
Step 7: Attach Cuff to Pouch
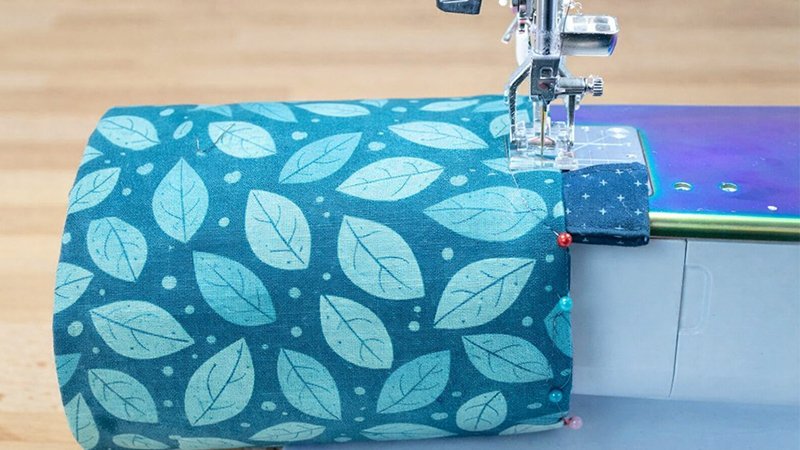
- Slide the cuff over the upper lining.
- Align so zipper extends 1/8”–1/4” above edge.
- Topstitch around the top edge.
Step 8: Finish Zipper
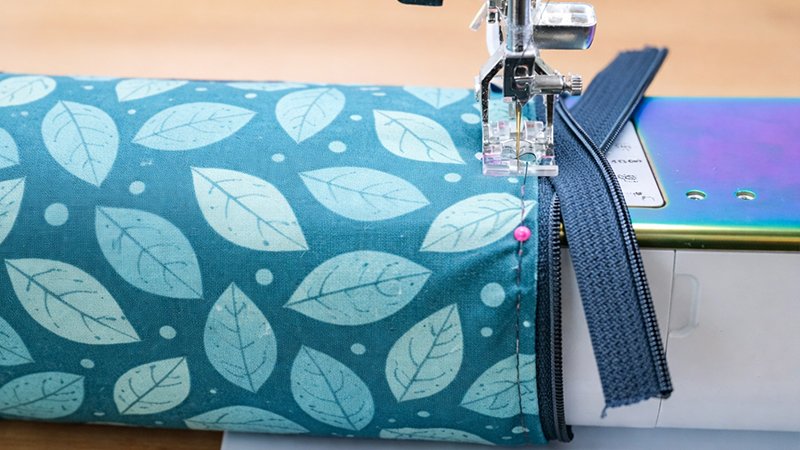
- Trim zipper ends evenly.
- Remove a small section of teeth (~1/4”) to help install the pull.
- Slide on the zipper pull.
Step 9: Add Zipper End Tab
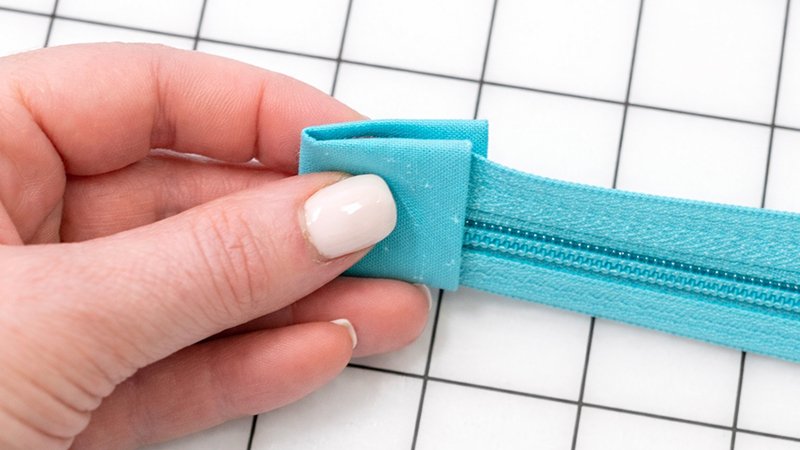
- Fold a small rectangle into a 1 1/4” × 1” tab.
- Wrap around zipper end.
- Topstitch to secure.
Finished!
You now have a stand-up, slide-down pouch that:
- Holds tools upright
- Collapses for easy access
- Looks clean and professional