A Detailed Step-by-Step Sewing Guide
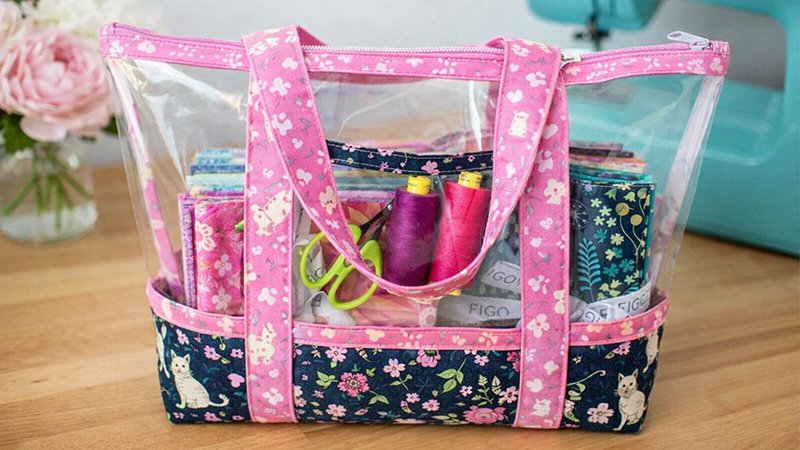
If you want a project that combines style, structure, and practicality, this see-through vinyl tote is an excellent choice. It’s perfect for stadiums, beaches, or everyday use—and designed to be both durable and beginner-friendly with guidance.
Finished Size
- Height: 10 inches
- Width: 16 inches
- Depth: Boxed corners for structure
Materials & Tools
Fabric & Vinyl
- ¼ yard exterior bottom fabric
- ¼ yard lining fabric
- ¼ yard strap fabric
- ¼ yard binding fabric
- ¼–½ yard clear vinyl (12–16 gauge)
- 12 gauge = easier to sew
- 16 gauge = sturdier but thicker
Stabilizers
- ¼ yard foam stabilizer (Soft & Stable recommended)
- ½ yard woven interfacing (SF101)
Hardware
- 16” handbag zipper (YKK size 4.5 recommended)
Tools
- Wonder Clips (no pins on vinyl!)
- Wonder Tape (double-sided adhesive)
- Blue masking tape
- Rotary cutter + ruler
- Sewing machine with a heavy-duty needle
- Optional: Teflon foot (for smooth sewing on vinyl)
Cutting Instructions
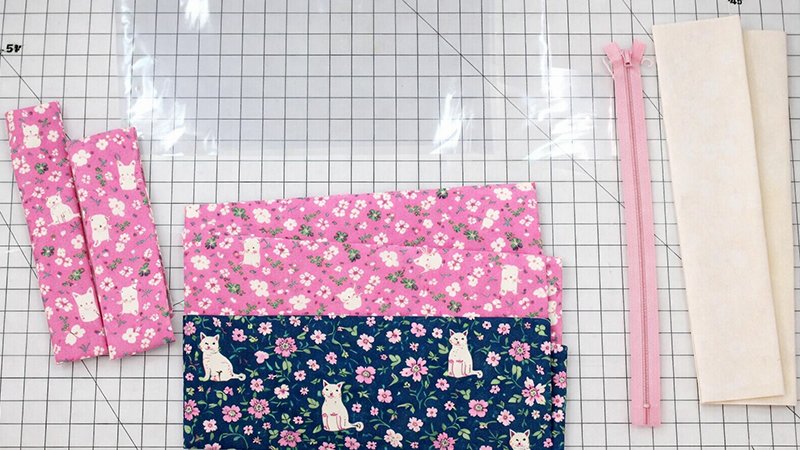
Fabric Pieces
- Bottom exterior: 5¼” x 17”
- Bottom lining: 5¼” x 17”
- Binding strips: ½” wide (multiple strips as needed)
- Straps:
- Cut 2 strips: 3” x 42” (or longer if preferred)
Vinyl Pieces
- Main panels: 2 pieces – 7½” x 17”
- Pockets: 2 pieces – 5” x 6”
Step 1: Prepare Vinyl Edges

- Cut binding strips (½” wide).
- Wrap the binding around the top edge of each vinyl piece.
- Clip in place (do NOT pin).
- Stitch close to the edge to secure.
This step:
- Prevents stretching
- Gives a clean, finished look
Step 2: Quilt the Bottom Panel
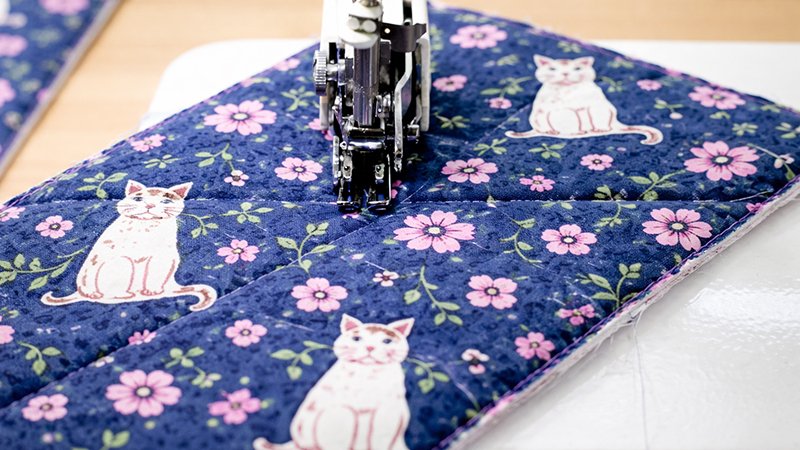
- Layer:
- Exterior fabric (top)
- Foam stabilizer (middle)
- Lining fabric (bottom)
- Baste layers together.
- Quilt:
- Use diagonal lines (about 2” apart)
- Mark lines with a Hera marker or chalk
Quilting adds:
- Strength
- Structure
- Professional finish
Step 3: Attach Vinyl to Bottom
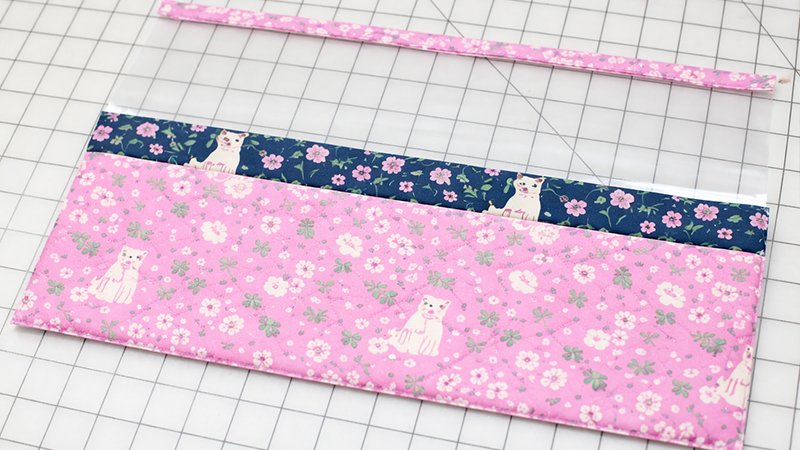
- Place the vinyl panel right side up.
- Align with the quilted bottom edge.
- Use a binding strip to join:
- Wrap the binding over the seam
- Clip in place
- Stitch through all layers
Important:
- Do NOT iron vinyl (it melts!)
- Use finger pressing only
Step 4: Add Exterior Pockets
- Position pockets centered on each vinyl panel.
- Place the bottom edge under the binding seam.
- Tape in place using masking tape.
- Stitch around the sides and the bottom.
Step 5: Create & Attach Straps
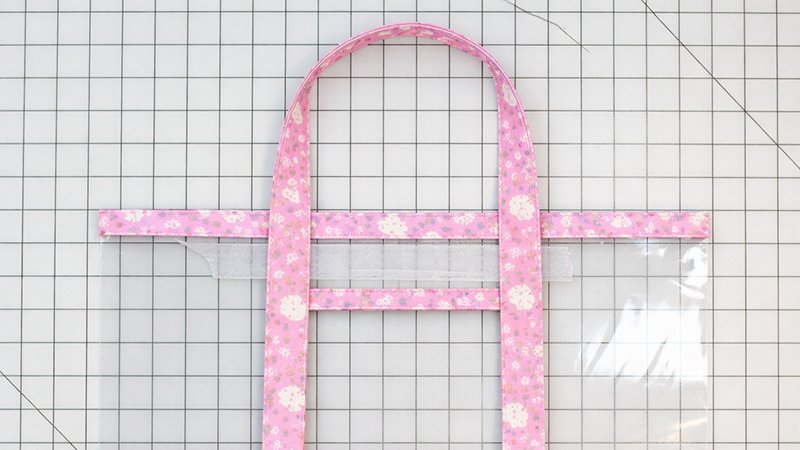
Make Straps
- Fold long edges inward.
- Fold again in half.
- Stitch along both edges.
Attach Straps
- Position straps:
- About 4” from each side
- Ends aligned with the bottom edge
- Stitch:
- From bottom → up → across → down
- Reinforce the above pocket edge with a box stitch
This distributes weight and prevents vinyl tearing.
Step 6: Install the Zipper
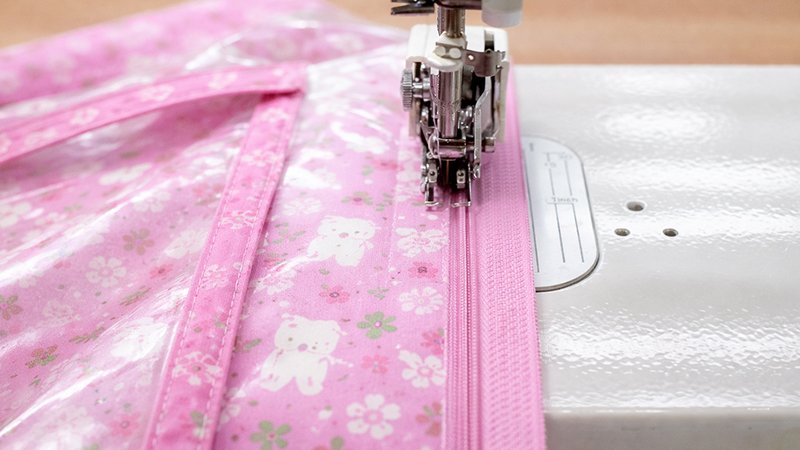
- Finish zipper ends with fabric tabs.
- Apply Wonder Tape along zipper edges.
- Align zipper with top edge of bag (about ⅛” from teeth).
- Stitch carefully along the edge.
Wonder Tape keeps vinyl from shifting.
Step 7: Assemble the Bag
- Turn the bag inside out (lining facing out).
- Sew:
- Side seams
- Bottom seam
- Cover seams with binding:
- Wrap binding over raw edges
- Stitch down
This gives a clean, professional interior.
Step 8: Box the Corners
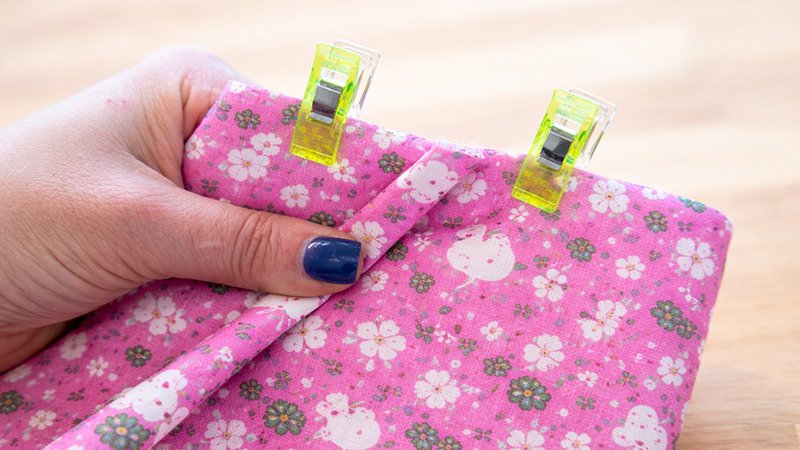
- Flatten the corner so the side seam meets the bottom seam.
- Align carefully.
- Stitch straight across.
- Trim excess if needed.
- Cover the raw edge with the binding.
Tip:
Press seam allowances in opposite directions to reduce bulk.
Step 9: Turn & Finish
- Turn the bag right side out.
- Push out corners neatly.
- Check all seams.
Your tote is complete!