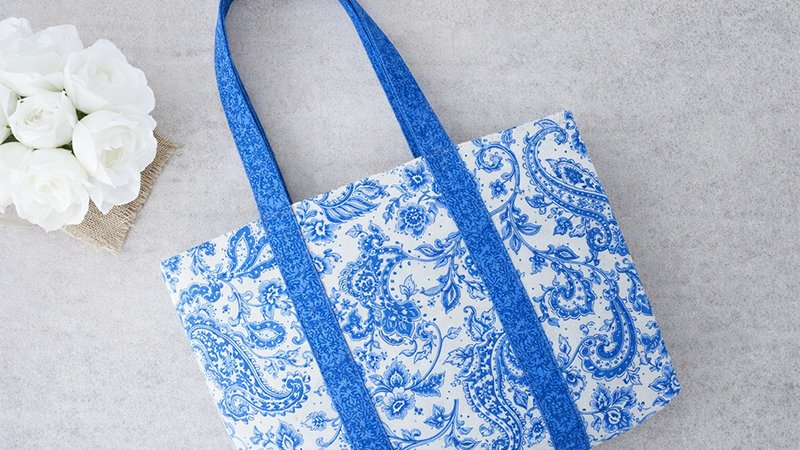
If you want a large, sturdy tote bag with a professional finish and secure zipper closure, this guide walks you through the entire process—from materials to final touches.
The finished bag measures approximately:
- 14 inches tall
- 19 inches wide
- 4 inches deep
Materials You’ll Need
Prepare all supplies before starting:
Fabric & Structure
- 1 yard main fabric (bag exterior + lining)
- 1/2 yard fabric (straps)
- 1/2 yard foam stabilizer (minimum 40″ wide; e.g., Soft and Stable)
- 1/2–1 yard fusible interfacing (for straps)
Zipper & Notions
- 48″–50″ handbag zipper (size 4.5 YKK recommended)
- OR Zipper by the Yard + 1 pull
- Small fabric piece (2.5″ x 4″) for zipper tab
- Thread, pins, clips, scissors
Tip: If using directional fabric, remember one side will end up upside down inside the bag
Step 1: Cut & Prepare Your Pieces
Follow the original tote pattern for cutting dimensions. Then:
- Cut all fabric pieces.
- Cut the foam stabilizer to match the bag body pieces.
- Fuse stabilizer to the wrong side of the exterior fabric.
- Apply interfacing to the strap fabric.
Step 2: Quilt or Topstitch the Bag Body
This step adds structure and a professional look.
- Quilt or topstitch your bag panels as desired.
- IMPORTANT: Sew a straight topstitch line exactly 1/2″ from the top edge.
This line will act as your zipper guide—accuracy matters.
Step 3: Prepare the Zipper
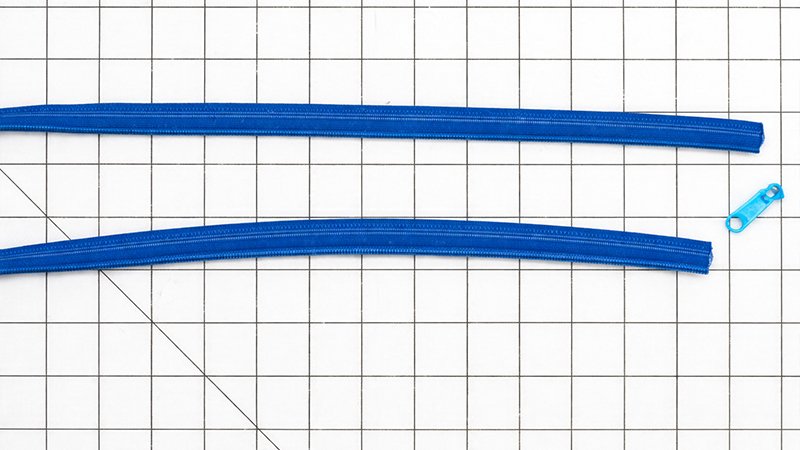
If using a standard zipper:
- Cut off both end stoppers.
- Remove the zipper pull.
- Separate the zipper tape.
- Use only one side of the zipper tape (approx. 48″–52″ long).
If using zipper-by-the-yard, simply cut your desired length and add a pull later.
Step 4: Attach the Zipper Tape
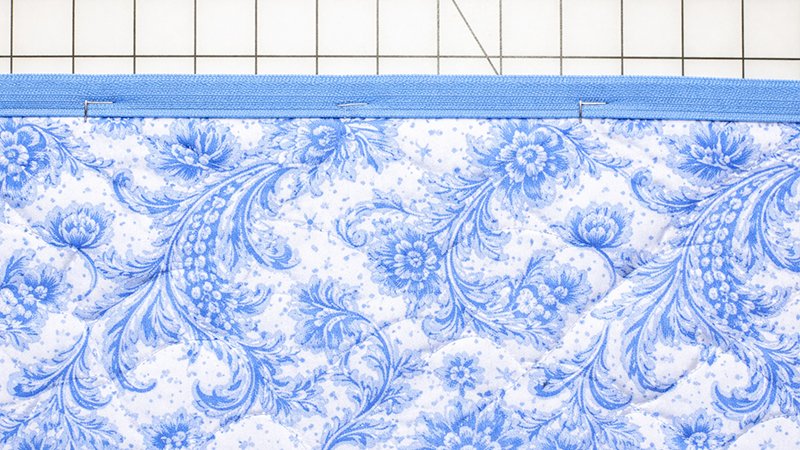
Positioning
- Place the bag body interior side facing up.
- Lay zipper tape along the top edge:
- Right side of the zipper facing the bag
- Teeth aligned with the top edge
Pinning Method
- Add a few pins on the interior side.
- Flip the bag so the exterior side faces up.
- Pin along the topstitch line (this is key).
- Ensure:
- Zipper teeth are flush with the edge
- Pins catch about 1/8″ into the zipper tape
- Add vertical pins 2″ from each end (start/stop points)
Step 5: Sew the Zipper
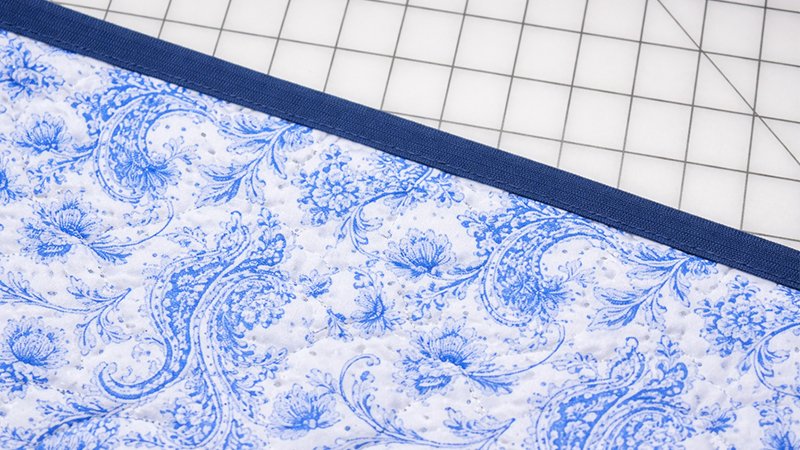
- Begin sewing at one 2″ marker.
- Backstitch to secure.
- Stitch directly on top of the existing topstitch line.
- Stop at the opposite 2″ marker and backstitch.
This hides your zipper stitching for a clean finish.
Check that the zipper tape is fully secured between the start/stop points.
Step 6: Make the Straps
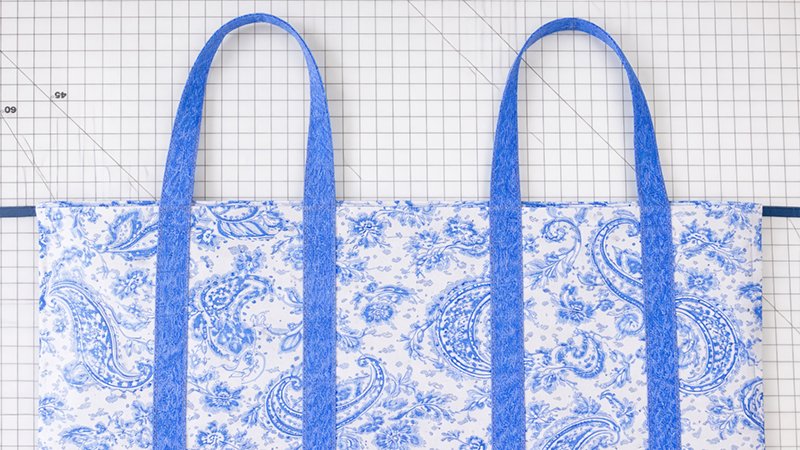
- Fold the strap fabric lengthwise.
- Press edges inward toward the center.
- Fold again and press.
- Stitch along both edges.
Attach straps according to your original tote placement.
Step 7: Sew the Bag Together
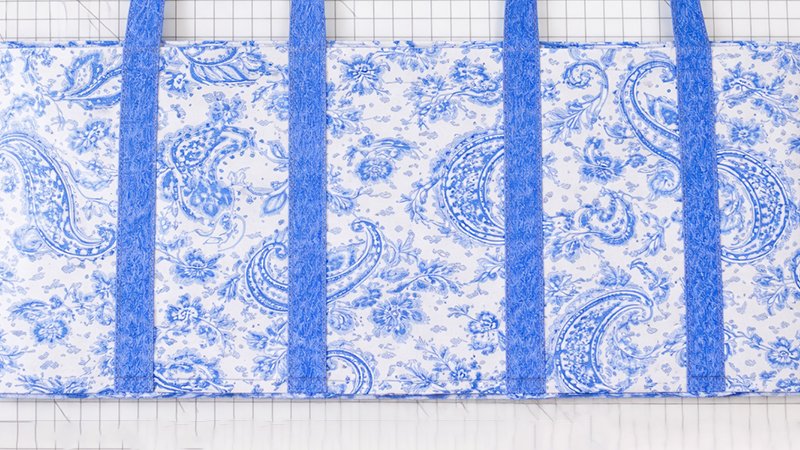
- Fold the bag with the right sides together.
- IMPORTANT: Keep zipper ends pinned away from seams.
- Sew side seams and the bottom seam.
- Box the corners to create depth (4″ base).
Step 8: Install the Zipper Pull
- Align both zipper ends evenly.
- Trim if needed.
- Remove ~1/4″ of zipper teeth from each side (optional, for easier insertion).
- Slide the zipper pull onto both sides.
Test to ensure smooth opening/closing.
Step 9: Create the Zipper End Tab
- Take your 2.5″ x 4″ fabric piece.
- Fold short edges inward by 1/2″ and press.
- Fold long edges toward the center and press.
- Fold in half → final size approx. 1.25″ x 1.5″.
Step 10: Attach the Tab
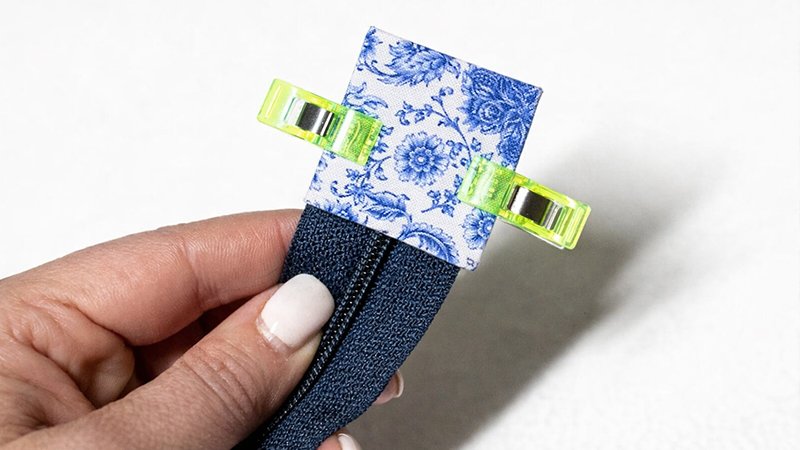
- Insert the raw zipper end into the folded tab.
- Clip in place.
- Sew around all edges (about 1/8″ seam allowance).
This gives a clean, professional finish.
Final Result
You now have a:
- Spacious
- Structured
- Zipper-secured
- Professional-quality tote bag