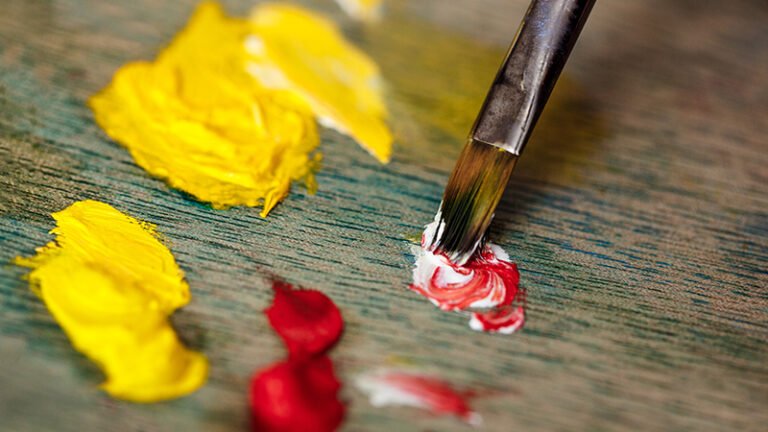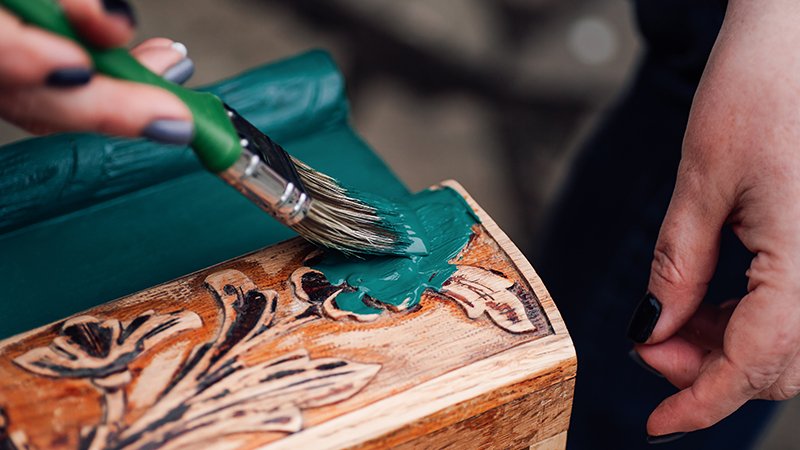
Painting on wood has surged in popularity, offering a unique way to infuse rustic coziness into any space while transforming ordinary objects into beautiful objets d’art.
While many enthusiasts wonder if acrylic paint is compatible with wood, it is widely considered the superior choice for its versatility and diverse finishes, including matte, satin, and metallic.
However, achieving professional-level results requires more than just pigment; it demands a strategic multi-step preparation process involving meticulous cleaning, sealing, and priming to prevent issues like wood rot or warping.
This guide explores top-tier acrylic brands, essential high-quality brushes, and advanced techniques to ensure your hand-painted furniture, ornaments, or heirloom toys truly withstand the test of time.
Executive Summary: Why Acrylics Rule the Woodwork Domain
When asked, “Can you paint wood with acrylic paint?” the answer is a resounding yes. However, the distinction between a “craft project” and a “professional masterpiece” lies in the execution.
Acrylic paint is the gold standard for woodwork due to its versatility, rapid drying times, and the vast array of finishes available—ranging from matte and satin to metallic and stone textures.
The primary challenge of wood is its organic nature; it is porous, prone to warping, and reactive to environmental shifts. By following a data-driven preparation and application strategy, you can mitigate these risks and create pieces that serve as lasting heirlooms.
Material Intelligence: Selecting Your Professional Arsenal
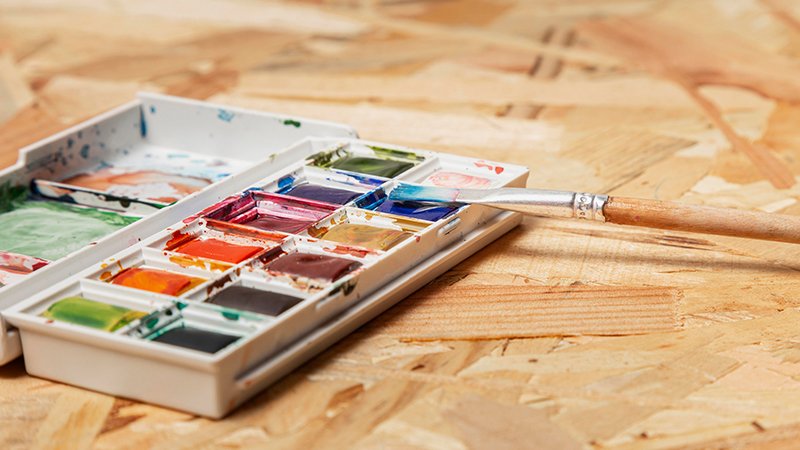
Woodworking success is 50% strategy and 50% tool selection. You cannot achieve premium results with sub-standard materials.
1. The Chemistry of Paint Selection
To ensure your work stands the test of time, you must select paint specifically formulated for woodwork; generic alternatives often fail to adhere properly to the fibrous surface.
- Consistency Control: Professional strategists match paint viscosity to project scale. Use thinner paint for expansive surfaces (like furniture) to avoid visible drag marks, and thicker paint for smaller, intricate pieces to ensure opaque coverage.
- The “True Color” Hack: Never trust the label on the front of a bottle. Professional artists check the bottom of the bottle to see the actual pigment density and hue.
2. Tiered Product Recommendations
Based on market performance and user reliability, we have categorized the top acrylic systems for your projects:
- The Premium Standard: ESRICH Acrylic Paint Set. For those seeking a comprehensive, “all-in-one” solution, this 46-piece professional-grade kit is the industry benchmark. It includes not just pigments, but the necessary structural tools—easels, palettes, and knives—required for high-level artistry. While the color range is curated for versatility, its quality makes it the best entry point for serious hobbyists.
- The High-Utility Choice: BENICCI Complete Acrylic Set. This set is favored for its “velvet glide” technology and quick-dry capabilities. It is non-toxic, making it the preferred choice for family-oriented projects or educational environments where safety and speed are paramount.
- The Strategic Value Option: Crafts 4 All. For large-scale projects requiring high volumes of pigment without compromising brilliance, this set offers maximum color clarity and a consistency optimized for sophisticated blending and layering.
The Foundation: A Masterclass in Wood Preparation
Most failures in wood painting occur because the artist rushed the foundation. Wood is a living medium that “breathes.” Without proper sealing, your paint will be absorbed into the grain, potentially leading to wood rot or warping caused by thermal expansion and contraction.
The Critical Distinction: Sealer vs. Primer
A common industry gap is the confusion between these two layers. A sealer protects the wood from the environment, while a primer ensures the paint adheres to the sealer. You must apply the sealer first, followed by the primer.
The 5-Step Professional Prep Sequence
- Industrial Cleaning: Use a damp, lint-free cloth for small items. For furniture or large panels, utilize a vacuum or air pressure hose to ensure every microscopic particle of debris is removed from the grain.
- The Initial Barrier: Apply a glossy sealer. Glossy finishes are non-absorbent, creating the perfect moisture barrier between the organic wood and the water-based paint.
- The Grain Reset (Sanding): The first coat of sealer will naturally raise the wood grain, making it feel coarse. Use 180-grit to 220-grit sandpaper to smooth the surface. This step requires a light touch; your goal is smoothness, not stripping.
- The Secondary Seal: Apply a second coat of sealer to ensure total coverage. Two coats are the professional standard for ensuring long-term durability.
- The Adhesion Layer (Priming): Once the sealer is bone-dry, apply your primer. This creates the “grip” necessary for the acrylic to bond. For a gold-standard result, the Rust-Oleum Painter’s Touch 2X Ultra Cover is recommended, leveraging 100 years of chemical expertise to provide a chip-resistant, low-odor foundation.
Execution: Application Techniques for High-End Results

1. Design Transfer
For intricate designs, do not rely on freehand work. Use graphite and tracing paper to transfer your blueprints directly onto the primed wood. This ensures symmetry and professional precision before the first drop of paint is applied.
2. Brush Ergonomics and Maintenance
Cheap brushes are the enemy of quality; their bristles shed and become embedded in your finish. Invest in natural hair (sable) or high-grade non-shedding synthetics.
- The Half-Dip Rule: Never submerge your brush entirely. Dip only halfway into the paint to maintain control and prevent “clumping” at the ferrule.
- Hydration Strategy: Acrylics dry rapidly. Keep a water jar nearby and dip your brush every few applications—wiping off excess moisture—to keep the pigment fluid and workable.
Preservation: Sealing the Legacy
While some modern acrylics feature built-in sealers, a dedicated topcoat is non-negotiable for items subject to use or outdoor exposure.
- The Professional Choice: Minwax Polycrylic Protective Wood Finish is the industry leader for a reason. It is water-based, low-odor, and offers a crystal-clear shield that won’t obscure your colors.
- Cautionary Note: Be mindful of light exposure; some sealers can yellow over time if placed in direct, harsh sunlight.
Strategic Project Inspiration: ROI on Your Craft

To maximize the impact of your new skills, consider these high-engagement projects:
- Bespoke Holiday Heirlooms: Personalized ornaments that can be brought out year after year, outlasting fragile plastic alternatives.
- Furniture Restoration: Revitalize a porch swing or backyard table. With proper priming and sealing, these pieces can withstand the “rough and tumble” of outdoor life.
- Artisanal Toys: Hand-painted dollhouses or wooden trains serve as timeless gifts that carry a “special” emotional weight.
Enhanced FAQ: Expert Troubleshooting
Q: Can I use any acrylic paint found in a craft store?
A: No. It must be specially formulated for woodwork to ensure proper adhesion and flexibility.
Q: Why does my wood feel rough after the first coat of sealer?
A: This is a natural reaction called “raising the grain.” It is easily fixed by light sanding with 180-220 grit sandpaper.
Q: Is a final sealer mandatory?
A: While not strictly compulsory for indoor decorative items, it is essential for durability and weather resistance, especially for furniture or toys.
Conclusion: Start Your Journey with Confidence
Painting on wood offers a unique opportunity to infuse rustic coziness into your home while transforming ordinary objects into beautiful objets d’art.
As we have explored, the secret to professional results lies in meticulous preparation: cleaning the wood, applying two coats of sealer, and finishing with a quality primer to ensure strong adhesion.
By selecting the right acrylics and utilizing high-grade tools like non-shedding brushes, you can prevent common issues like warping or wood rot.
Whether you are reviving old furniture or crafting personalized holiday decorations, a final protective layer of sealer like Minwax ensures your creations remain durable heirlooms.
With these expert strategies, you are now equipped to start your next woodworking project with confidence and artistic excellence.
.