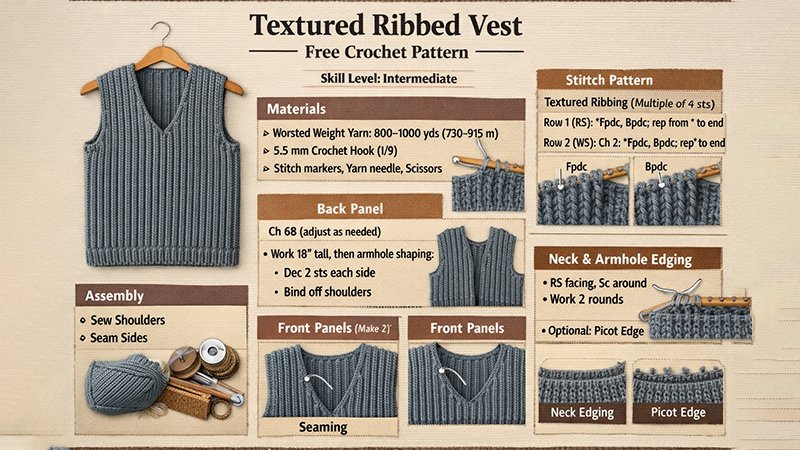
Skill Level: Intermediate
Finished Measurements: Chest 36–44 in (91–112 cm), Length 24 in (61 cm)
Gauge: 16 sts × 20 rows = 4 in (10 cm) in textured rib pattern
Materials:
- Worsted weight yarn – 800–1000 yards (730–915 m) depending on size
- Crochet hook: 5.5 mm (US I/9)
- Stitch markers
- Yarn needle for weaving ends
- Scissors
Abbreviations:
- ch = chain
- sc = single crochet
- dc = double crochet
- hdc = half double crochet
- sl st = slip stitch
- st(s) = stitch(es)
- sk = skip
- rep = repeat
- RS = right side
- WS = wrong side
Pattern Overview
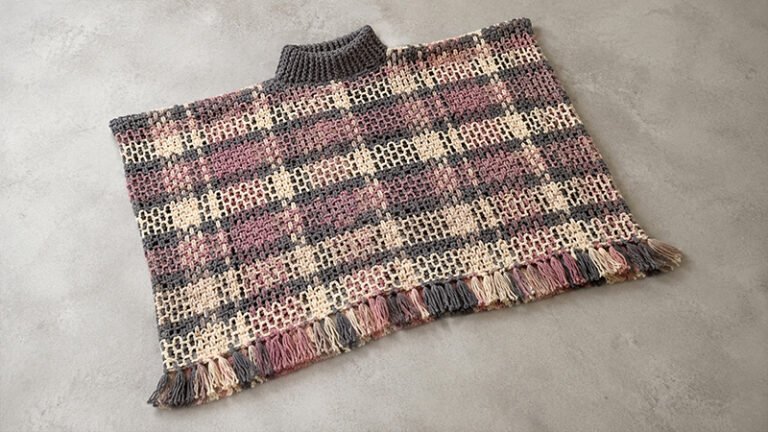
The Textured Ribbed Vest is a versatile, modern wardrobe staple designed to be flattering on all body types. Featuring a vertical ribbing pattern created through alternating front post and back post stitches, this vest provides natural stretch and subtle structure.
The construction is worked in pieces with minimal seaming, allowing you to focus on texture and detail. Its lightweight, slightly oversized silhouette makes it perfect for layering over blouses, t-shirts, or dresses in both casual and semi-formal looks.
The ribbing is achieved by alternating post stitches to create pronounced vertical lines that mimic traditional knit ribbing. This not only enhances the garment’s visual interest but also ensures a cozy, form-fitting stretch without using elastic.
Sizing & Adjustments
This pattern is designed to fit a chest circumference of 36–44 inches (91–112 cm). To customize:
- Width Adjustment: Add or subtract multiples of 4 sts to maintain rib pattern continuity.
- Length Adjustment: Continue rib pattern until desired length before shaping armholes or neckline.
Stitch Pattern
Textured Ribbing (multiple of 4 sts):
Row 1 (RS): *Fpdc around next st, bpdc around next st; rep from * to end.
Row 2 (WS): Ch 2, *Fpdc around next st, bpdc around next st; rep from * to end.
Note: Fpdc = Front Post Double Crochet, Bpdc = Back Post Double Crochet. This sequence creates vertical ribs with a soft, stretchy texture.
Back Panel
- Ch 68 (adjustable for size).
- Work Textured Ribbing for 2 inches to form bottom border.
- Continue in rib pattern until panel measures 18 inches from start (or desired length before armhole shaping).
Armhole Shaping:
- Row 1: Dec 2 sts at each edge. (Ch 2 counts as first st)
- Row 2–4: Work in rib pattern, maintaining decreases every RS row.
- Continue until armhole measures 8 inches.
Shoulder Shaping:
- Bind off 6 sts at beginning of next 2 RS rows, repeat until 16 sts remain for neck opening.
- Bind off remaining sts.
Front Panels (Make 2)
Ch 34 (or half of back panel + 2 for balance).
- Work Textured Ribbing for 2 inches for bottom border.
- Continue rib pattern to match back panel length minus armhole.
Neckline Shaping:
- On inner edge: Bind off 2 sts at beginning of every RS row 3 times.
- Dec 1 st at neck edge every RS row 5 times.
- Continue until front panel matches back panel height at shoulder.
Shoulder Shaping:
- Bind off 6 sts at beginning of RS rows for shoulder, matching back panel.
Assembly
- Lay panels flat with RS facing.
- Seam shoulders using mattress stitch or sl st for minimal visibility.
- Align side seams and sew from bottom edge to start of armhole.
- Weave in all ends securely.
Neckline & Armhole Edging
- RS facing, attach yarn at shoulder seam.
- Ch 1, sc evenly around neckline.
- Repeat for 2 rounds for sturdy finish.
- Repeat same edging for both armholes.
Optional: Add a delicate picot edge for a subtle decorative touch.
Finishing Touches
- Block the vest lightly to even out stitches and enhance rib texture.
- Check all seams for security; weave in any loose ends.
- Try on over your favorite shirt or dress; the vest should have a relaxed yet structured fit.
Styling Tips
- Pair with a crisp white blouse for office-ready chic.
- Layer over a long-sleeve tee and skinny jeans for casual, cozy vibes.
- Accessorize with belts or long necklaces to add dimension and style.
- The vertical rib pattern elongates the torso, making it flattering for all shapes.
Care Instructions
- Hand wash or machine wash on gentle cycle with cold water.
- Lay flat to dry to preserve shape and rib texture.
- Store folded to prevent stretching along vertical ribs.
Pattern Notes
- Front post and back post stitches create reversible texture; the RS shows prominent ribs while the WS remains smooth.
- Maintaining consistent tension is key to keeping ribs aligned.
- Adjust armhole depth according to personal preference for fit.
- Multiple of 4 stitches ensures rib continuity.
Optional Variations
- Chunky Version: Use a bulky yarn and 6.5 mm hook for a cozy, winter-ready vest.
- Open-Front Cardigan Style: Add extra chain stitches at front edges for a flowing open design.
- Colorwork: Alternate yarn colors every 4 rows to create subtle striped ribs.
Troubleshooting Tips
- Ribs twisting: Ensure Fpdc and Bpdc are worked around the correct posts.
- Uneven edges: Count stitches each row and use stitch markers at start/end.
- Too tight or loose: Adjust hook size by ±0.5 mm to achieve correct gauge.