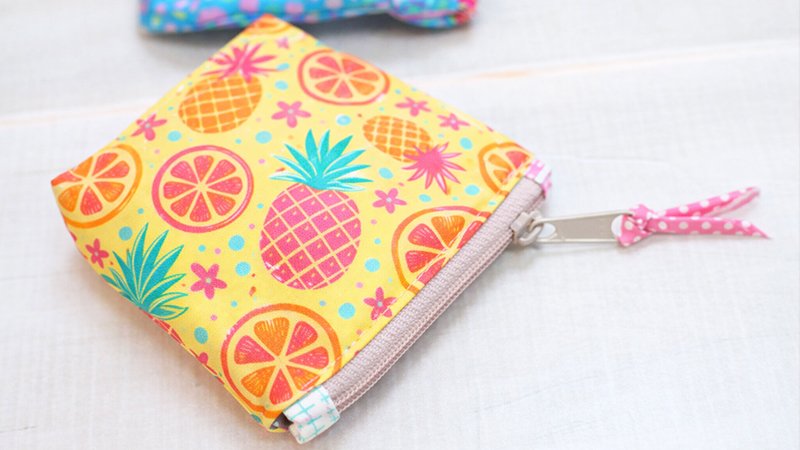
If you have a stash of 5” charm squares waiting to be used, this Tiny Zipper Bag project is one of the best ways to turn them into something practical and beautiful. These mini pouches are quick to sew, beginner-friendly, and perfect for organizing small essentials.
Each finished bag measures approximately 4” x 4”, making it ideal for coins, cards, sewing notions, earbuds, or travel-sized items. With just five squares per bag, this project is also a great way to highlight favorite fabrics or designer collections.
Materials Needed (Per Bag)
Fabric
- 2 × 5” charm squares (exterior)
- 2 × 5” charm squares (lining)
- 1 × 5” charm square (for zipper ends + pull tab)
Notions
- 1 × 4” zipper (handbag zipper recommended, e.g., YKK 4.5)
- Matching thread
Recommended Tools
- Wonder clips or pins
- Zipper foot
- Sewing stiletto (very helpful for small pieces)
- Fabric marking pen
- Iron
Cutting Instructions
From your fabrics:
Exterior & Lining
- Leave all four charm squares uncut (5” x 5”)
From the 5th Charm Square
- Cut 2 rectangles: 2” x 2¼” (zipper end tabs)
- Cut 1 strip: 1” x 5” (zipper pull tie)
Step 1: Bind the Zipper Ends
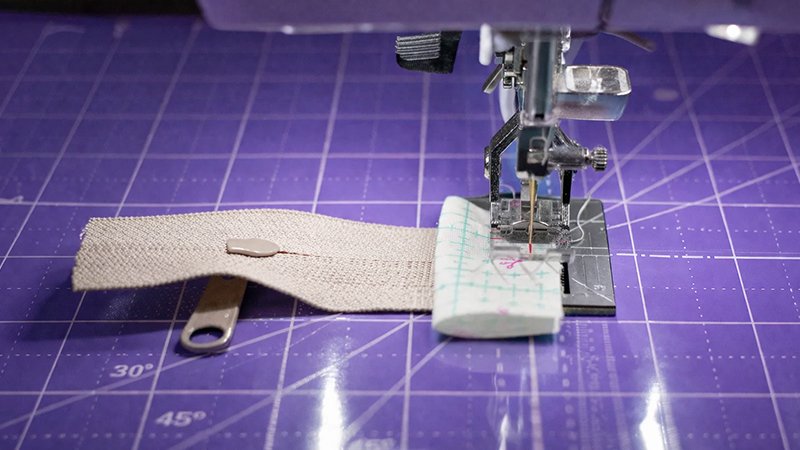
This step gives your pouch a neat, professional finish.
- Fold one 2” x 2¼” piece in half (short edges together).
- Place it on the back side of the zipper end, aligning raw edges.
- Stitch across using a ¼” seam allowance.
- Fold the fabric over to the front side of the zipper.
- Topstitch close to the folded edge.
- Repeat for the other end of the zipper.
- Trim excess so the fabric is flush with zipper edges.
Step 2: Make the Zipper Pull Tie
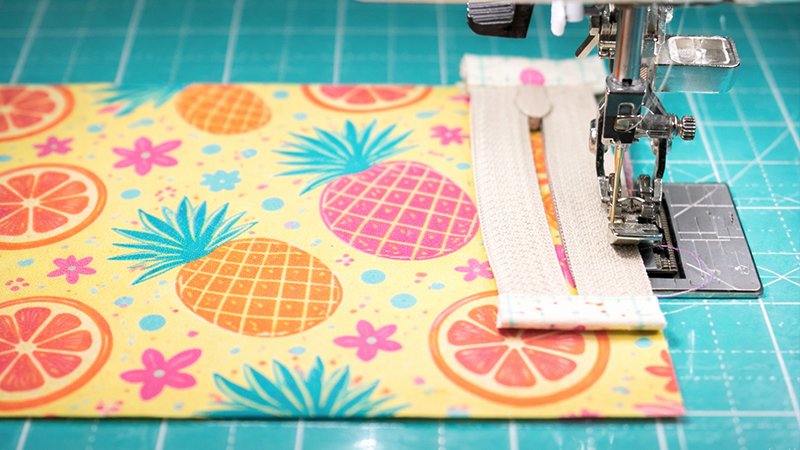
- Fold the 1” x 5” strip in half lengthwise and press.
- Open it, then fold both long edges into the center crease.
- Fold again in half to create a narrow strip (~¼” wide).
- Press well.
- Topstitch along the long edge.
Tip: Move your needle position to help guide the narrow strip smoothly.
Set aside.
Step 3: Attach the Zipper
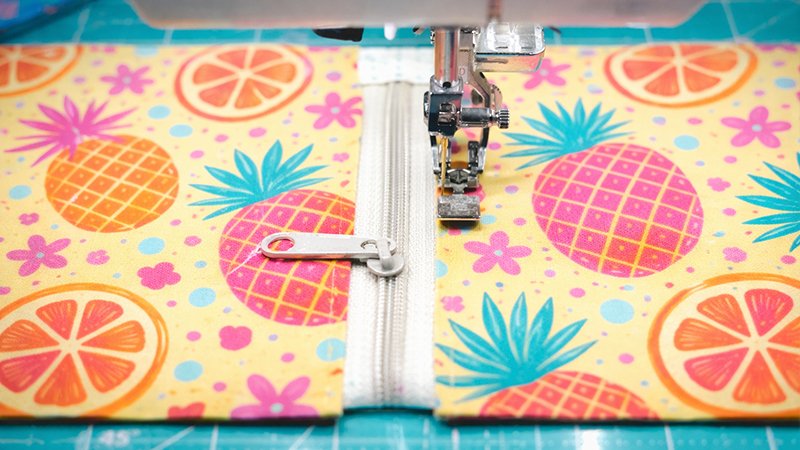
Switch to your zipper foot.
First Side
- Place the exterior fabric right side up.
- Place the zipper face down along the top edge.
- Baste using a scant ¼” seam.
- Place the lining fabric, face down, on top (sandwiching the zipper).
- Sew with a ¼” seam allowance.
- Flip fabrics away from the zipper and press.
- Topstitch near the fold.
Second Side
- Place the second exterior square right side up.
- Lay the zipper face down along the top edge.
- Baste.
- Add a second lining piece face down.
- Sew with a ¼” seam.
- Flip, press, and topstitch.
Step 4: Sew Around the Bag
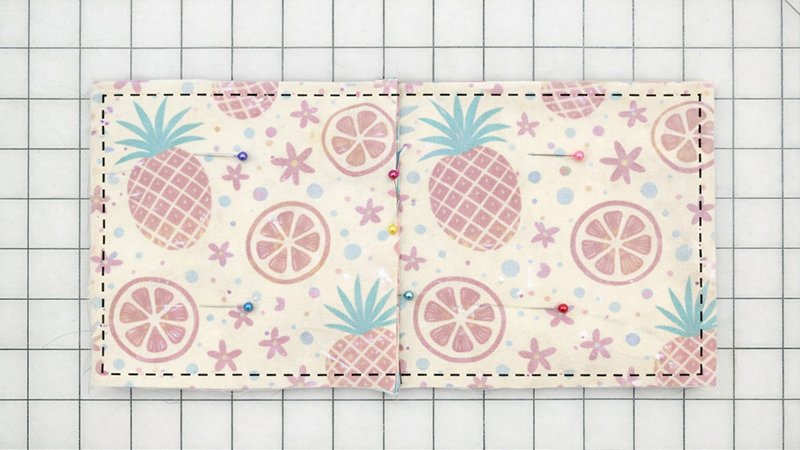
- Open pieces so:
- Exterior fabrics are right sides together
- Lining fabrics are right sides together
- Center and flatten the zipper.
- Pin all edges.
Important: Leave a 2” gap in the lining bottom for turning.
- Sew around the entire perimeter using a ¼” seam allowance.
Tip: Carefully sew past zipper ends—avoid stitching directly over them.
Step 5: Box the Corners
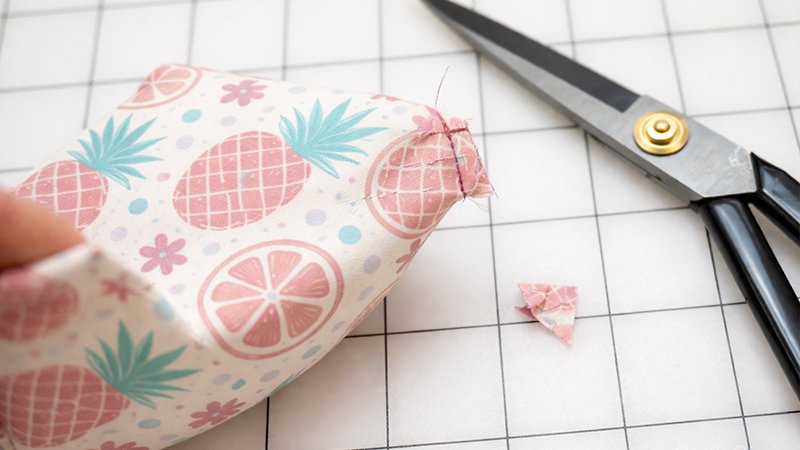
This creates depth in your bag.
- Clip each corner slightly (not through stitching).
- Pull the corner open so the seams align (side seam meets bottom seam).
- Flatten and pin.
- Draw a line ½” from the tip.
- Stitch across the line and backstitch.
- Repeat for all 4 corners (2 exterior + 2 lining).
- Trim excess, leaving about ¼” seam allowance.
Step 6: Turn and Finish
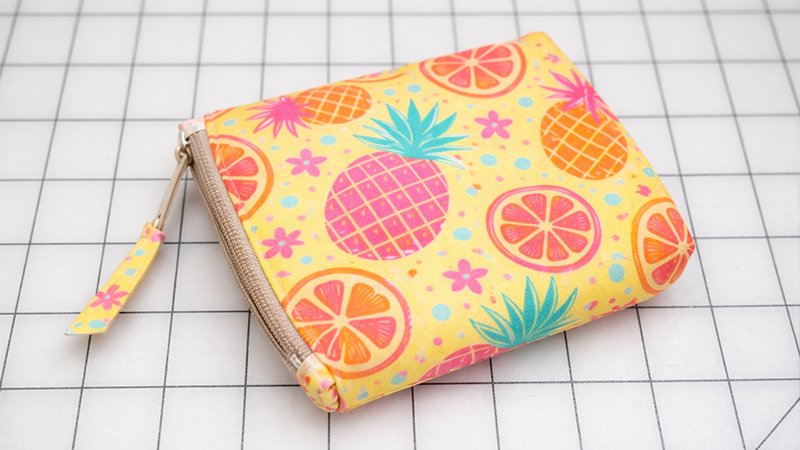
- Turn the bag right side out through the lining gap.
- Push out corners neatly.
- Fold lining opening edges inward (~¼”).
- Stitch closed (machine or hand stitch).
- Push the lining inside the bag.
Step 7: Attach the Pull Tie
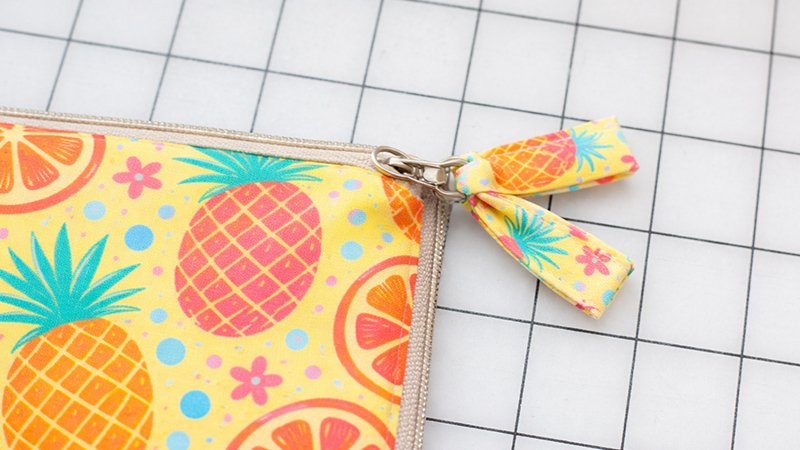
- Cut ends of tie at an angle.
- Fold the tie in half.
- Thread the loop through the zipper pull.
- Pull ends through the loop to secure.
Finished!
Your Tiny Zipper Bag is complete
These little pouches are so quick and satisfying to make that you can easily sew multiple in one sitting. With one charm pack and zipper tape, you can make up to 14 bags—perfect for gifts, craft fairs, or personal use.