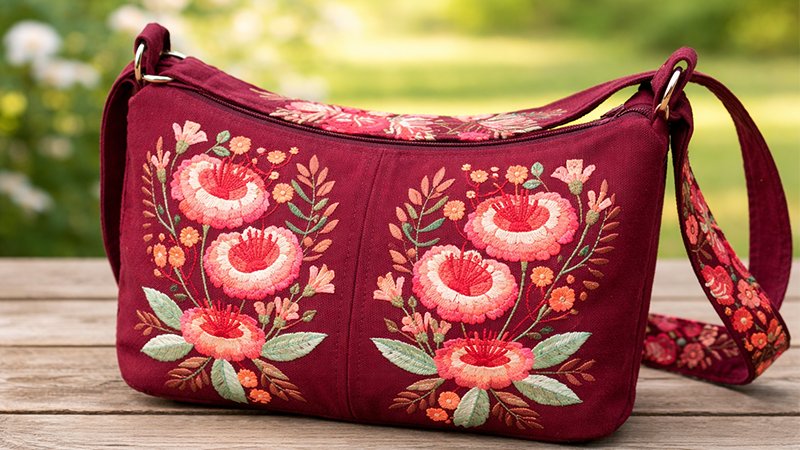
This tutorial will walk you through making a stylish, slouchy hobo bag with a professional finish—all in about a day. The bag measures approximately:
- Height: 8 inches
- Width: 12 inches
- Depth: 4½ inches
The design uses bottom pleats to create a relaxed shape while keeping the interior spacious and practical.
1. Materials and Supplies
Fabrics
- Exterior (½ yard): Use sturdy fabric like canvas, twill, or sateen
- Lining (½ yard): Quilting cotton, linen, or similar
Interfacing
- 1 yard medium-weight fusible interfacing (e.g., Pellon SF101)
Notions
- 1 × 16” zipper (top closure)
- 1 × 8” zipper (optional interior pocket)
- 2 × 1½” D-rings
- Optional: 1 × small D-ring or swivel clip (key holder)
Tools
- Fabric marker or chalk
- Pins or Wonderclips (recommended)
- Sewing machine & iron
2. Cutting Your Fabric
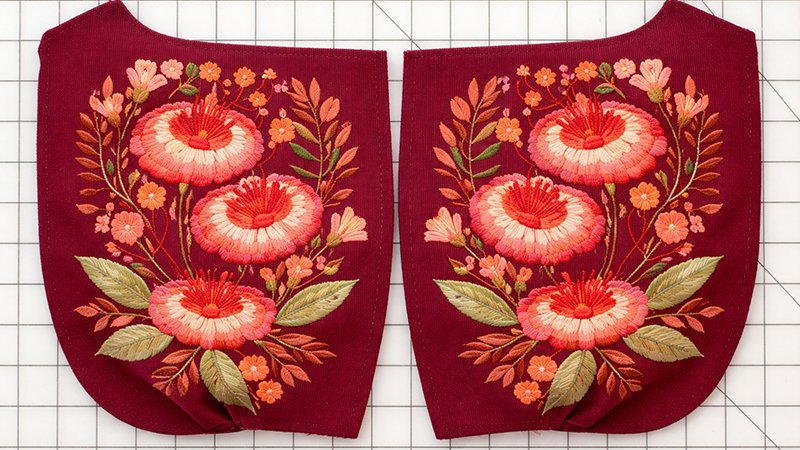
Exterior Fabric
Cut:
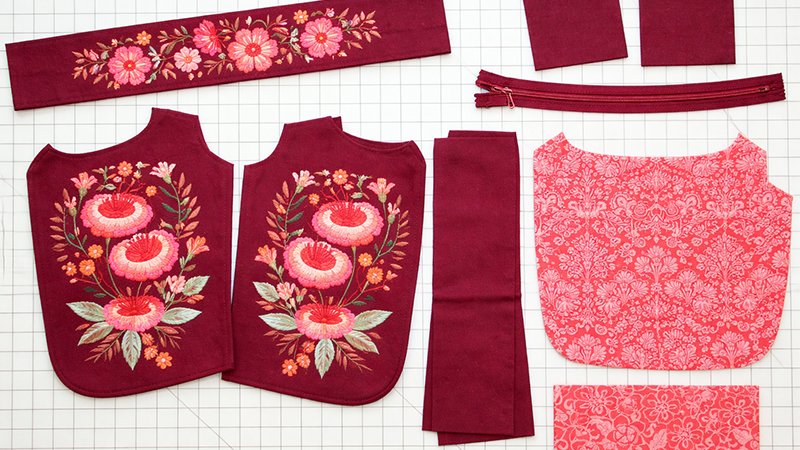
- 4 × exterior panels (2 mirrored)
- 2 × gusset pieces (1 mirrored)
- 1 × strap: 3¾” × 36”
- 2 × strap tabs: 3¾” × 4”
Lining Fabric
Cut:
- 2 × lining panels (on fold)
- 1 × gusset (on fold)
- 2 × binding strips: 1½” × 5”
Interfacing
Cut:
- Same pieces as exterior (excluding strap)
Optional
- Exterior pockets: 4 pieces
- Interior zipper pocket: 13” × 8½”
- Key clip tab: 2” × 6”
3. Apply Interfacing
- Fuse is interfacing to the wrong side of all exterior pieces
- Use medium heat and press firmly
- Let pieces cool completely before handling
4. Create the Bottom Pleats
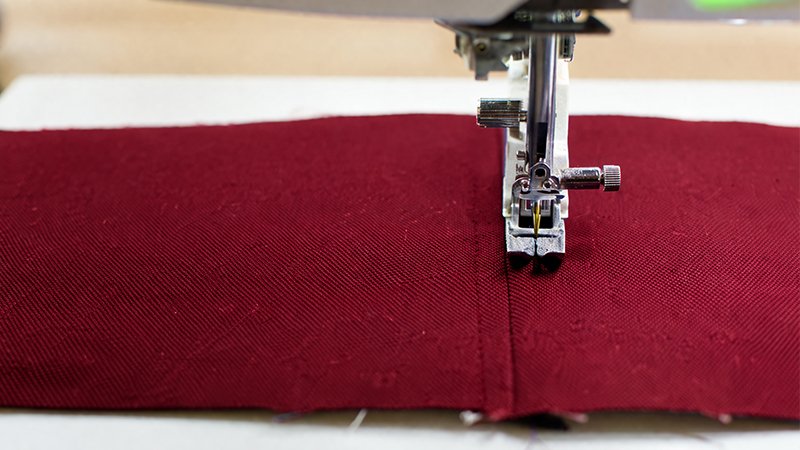
- Mark pleat lines on each exterior panel
- Fold:
- Bring the outer marking line to the inner line
- Fold inward toward the center
- Pin securely
- Stitch across the bottom using ¼” seam allowance
Repeat for all 4 exterior pieces.
5. Assemble Exterior Panels
- Take 2 exterior pieces
- Place the right sides together
- Sew the center seam using ⅜” seam allowance
- Press seam open
- Topstitch:
- Stitch ¼” on each side of the seam
Repeat for:
- Remaining exterior panels
- Gusset pieces
6. Optional: Add Side Pockets
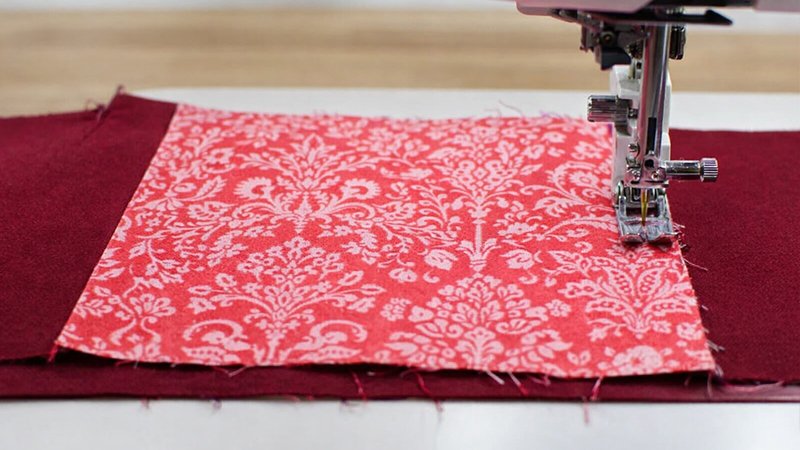
- Place pocket + lining piece right sides together
- Sew the top edge
- Turn the right side out and press
- Topstitch top edge
Attach to gusset:
- Position 7” from the end
- Sew the bottom edge
- Fold the pocket upward
- Topstitch the bottom to secure
- Baste the side edges
7. Attach Gusset to Bag Body
- Clip small ¼” notches along gusset curves
- Align the gusset with the bag sides
- Use clips to hold in place
- Sew slowly using ⅜” seam allowance
Tip: Curves require patience—sew slowly and adjust fabric as needed.
8. Install the Zipper
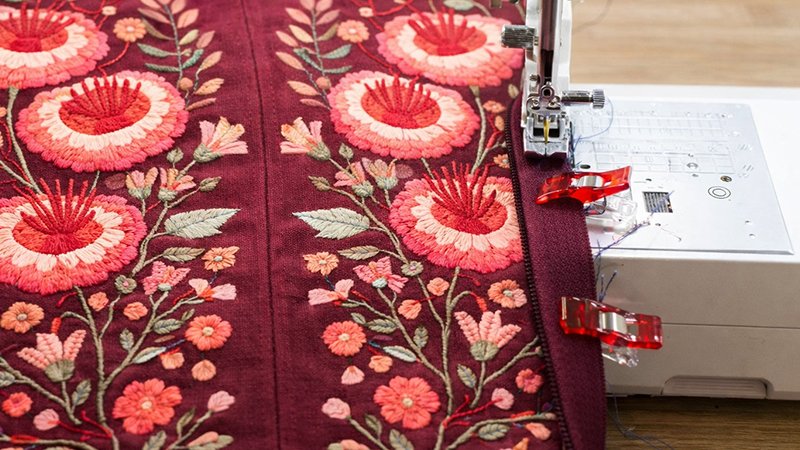
- Mark:
- Center of the zipper
- Center of the bag
- Attach zipper:
- Place the right sides together with the bag edge
- Clip in place along the curve
- Sew with ¼” seam allowance
- Repeat for the other side
Important: Test zipper alignment before sewing fully!
9. Construct the Lining
Optional: Add Interior Zipper Pocket
- Install a pocket on one of the lining panels before assembly
Assemble Lining
- Sew lining panels and gusset the same as the exterior
10. Join Lining and Exterior
- Turn the exterior right side out
- Place lining over it (right sides together)
- Sandwich zipper between layers
- Sew along the top edge
Turn the bag right side out through the zipper opening.
Finish Top Edge
- Press carefully
- Topstitch ¼” from zipper
11. Make Strap Tabs
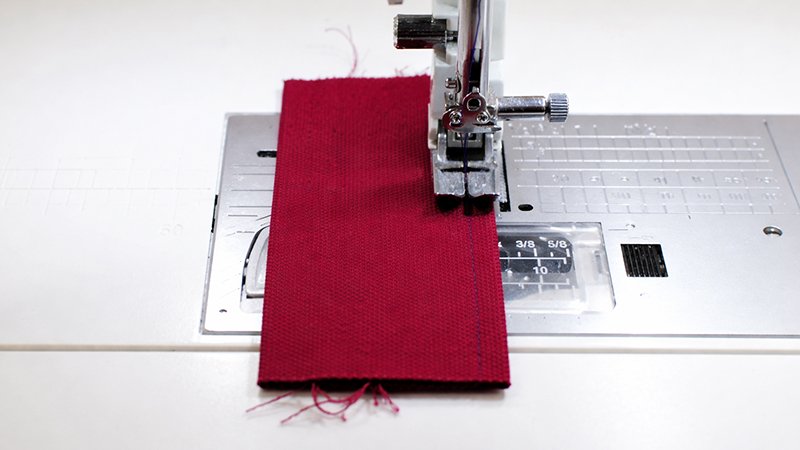
- Fold tab pieces right sides together
- Sew and turn right side out
- Press flat
- Insert the D-ring into each tab
- Clip to bag sides at top
Sew across the top to secure.
12. Close Bag Ends
- Turn the bag inside out
- Stitch across both ends
- Trim seam allowance to ¼.”
Add Binding
- Sew the binding strip to the raw edge
- Fold over seam
- Stitch down
This creates a clean interior finish.
13. Make the Strap
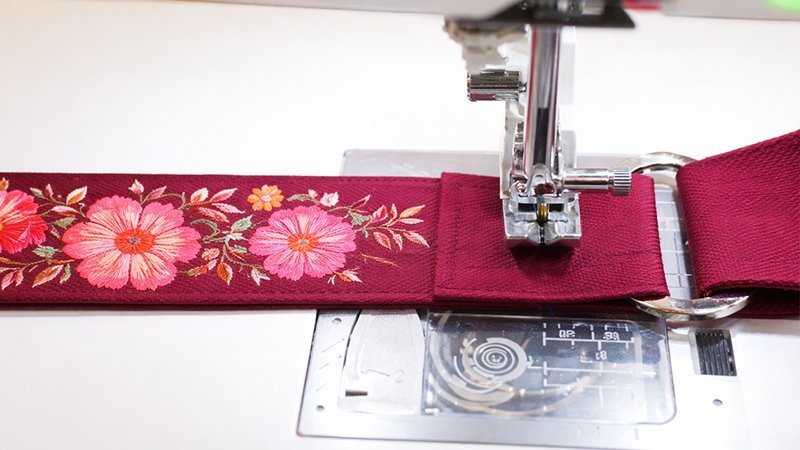
- Fold the strap lengthwise (right sides together)
- Sew the long edge
- Turn the right side out
- Press with seam centered
- Topstitch both edges
Attach Strap
- Thread through D-rings
- Fold raw edges under
- Sew a secure rectangle
14. Final Check
- Test zipper
- Check seams
- Trim loose threads
Finished!
You now have a professional-quality hobo bag with:
- Stylish pleated shape
- Spacious interior
- Durable construction
Pro Tips
- Use canvas for the best structure
- Wonderclips help with curves
- Always press seams for a polished look
- Go slow on curved stitching