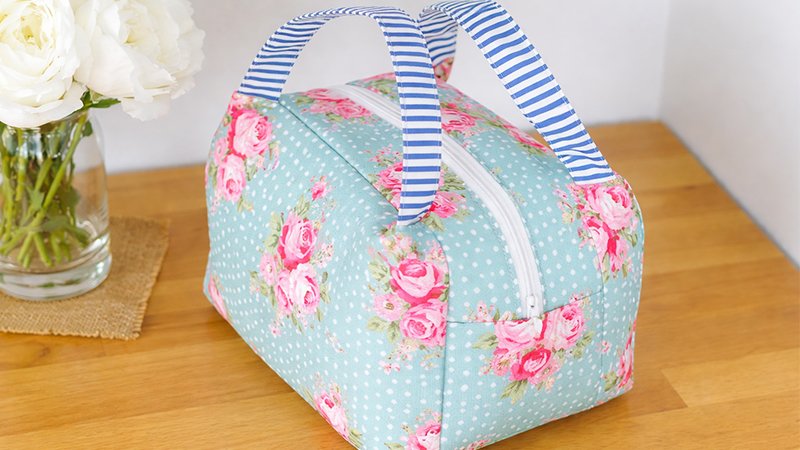
If you’re looking for a beginner-friendly sewing project that looks polished and professional, the Chubby Lunch Tote is a perfect choice. This compact yet roomy bag works as a lunch tote, purse, or travel organizer—and it’s even fat-quarter friendly.
Finished Size
- Height: 7” (excluding handles)
- Width: 8”
- Depth: 6”
This depth gives the tote its signature “chubby” shape and extra storage space.
Materials & Supplies
Fabric
- Exterior Fabric: 1 fat quarter or 1/3 yard (non-directional)
- Lining Fabric: 1 fat quarter or 1/3 yard (non-directional)
- Handle Fabric: 8” × 12” piece
Notions
- Zipper: 12” or longer (nylon coil recommended)
- Stabilizer (choose one):
- Insul-Bright (for lunch bag insulation)
- Fusible fleece (for purse/organizer)
- Quilt basting spray (optional but helpful)
- Bias tape: 2 yards (optional for finishing seams)
Step 1: Cutting Your Pieces
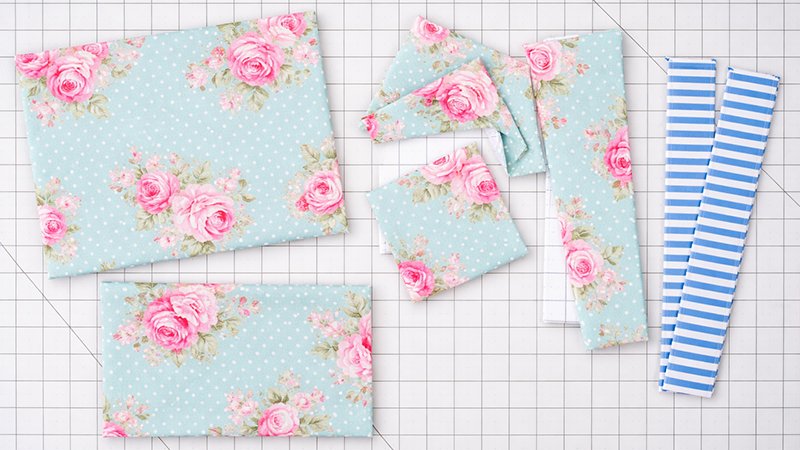
All measurements are Height × Width.
Cut from Exterior, Lining, AND Stabilizer:
- Front & Back: 2 pieces – 7½” × 11”
- Bottom: 1 piece – 6¾” × 8¾”
- Sides: 2 pieces – 5” × 4½”
- Zipper Panels: 2 pieces – 2¼” × 11½”
Cut from Handle Fabric:
- Handles: 2 pieces – 4” × 12”
Tip: Accuracy here is crucial—measure carefully to ensure proper assembly later.
Step 2: Create Fabric “Sandwiches”
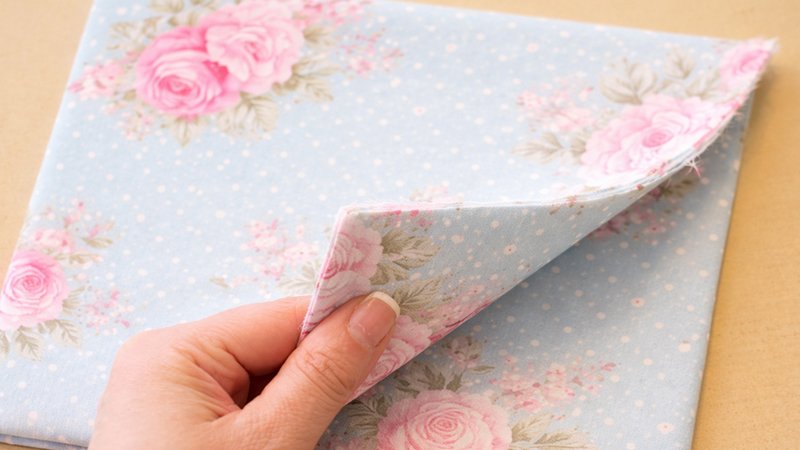
Each main panel will have lining + stabilizer + exterior.
How to Assemble:
- Lay stabilizer flat.
- Spray one side → attach exterior fabric (right side up).
- Spray the other side → attach lining fabric (right side down).
Repeat for:
- Front & back panels
- Bottom panel
For Side & Zipper Panels:
- Attach stabilizer to exterior fabric only (leave lining separate for now).
No spray? Use pins and baste around edges (¼” seam).
Step 3: Sew the Zipper Panel
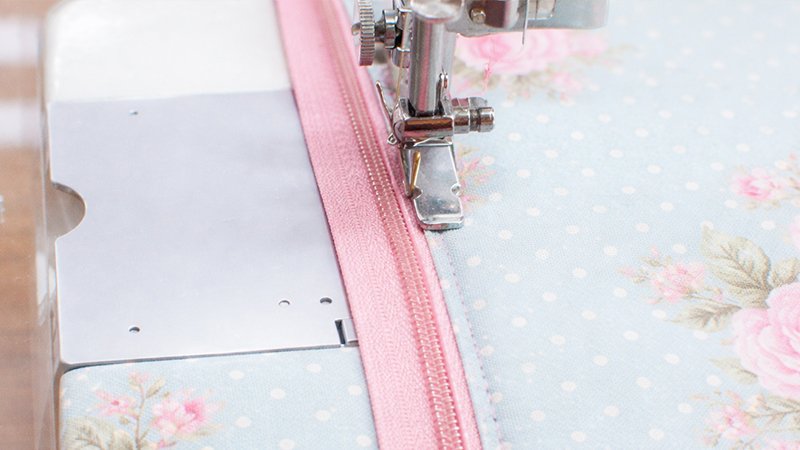
- Place the exterior zipper strip right side up.
- Place the zipper face down along the top edge.
- Place the lining strip right side down on top.
- Sew with ¼” seam allowance.
- Flip the fabric open and press.
- Topstitch close to the zipper.
Repeat for the other side of the zipper.
Result: One complete zipper panel with lining and exterior.
Step 4: Attach Side Panels
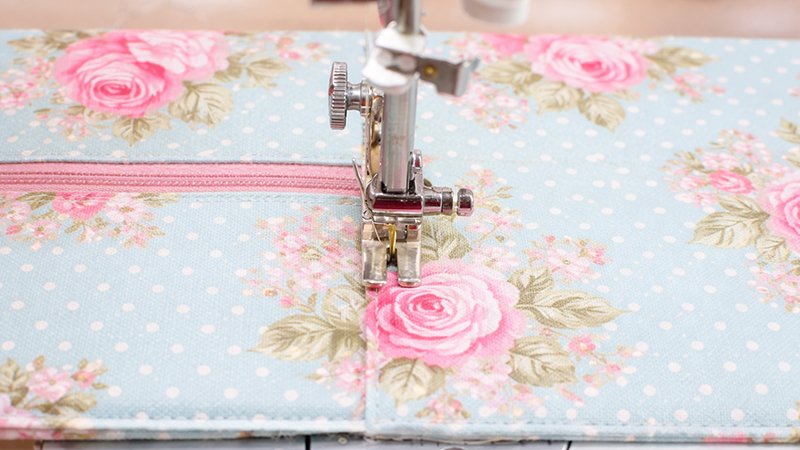
- Trim excess zipper ends.
- Place exterior side piece (right side up).
- Lay zipper panel on top (right sides together).
- Add lining side piece (right side down).
Sew:
- Use 3/8” seam allowance
- Stitch across the edge
- Flip outward and topstitch on the exterior side.
Repeat for the other side.
You now have a zipper unit with both side panels attached.
Step 5: Make the Handles
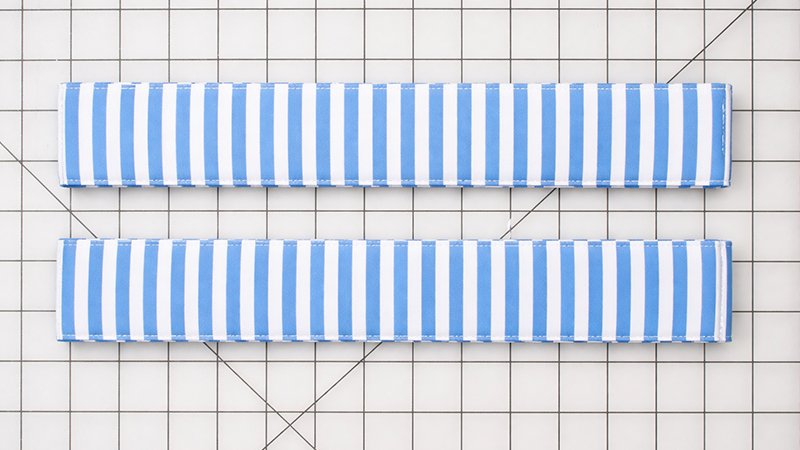
- Fold the handle strip in half lengthwise, press.
- Open and fold both long edges to the center.
- Fold again and press (creating a sturdy strap).
- Topstitch both long edges.
Repeat for both handles.
Step 6: Attach Handles
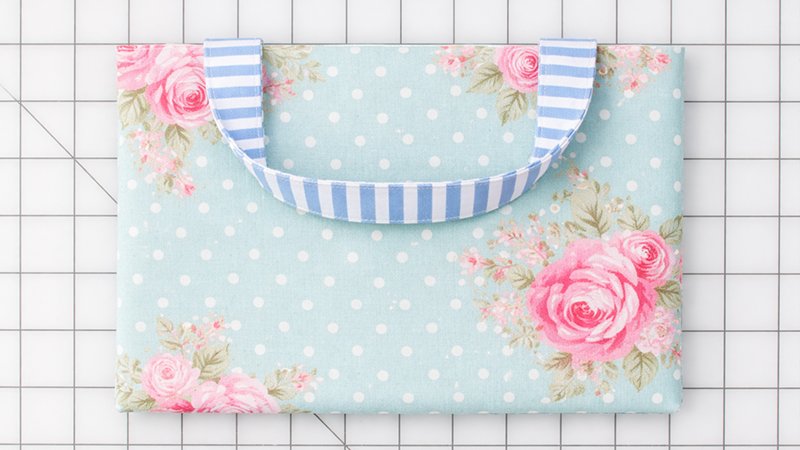
- Place the handle on the front panel:
- Ends should be 1½” from each side edge
- Pin in place.
- Sew ends using ¼” seam allowance
Reinforcement (Important):
- Fold the side edge over the handle ends.
- Sew 1” down from the top fold using 3/8” seam allowance
- Stop before reaching the raw edge (~⅜” gap)
Repeat for:
- The other side of the front panel
- Both sides of the back panel
This gives a clean, professional finish and strong handles.
Final Thoughts
This project is perfect for:
- Lunch bags
- Small purses
- Travel organizers
- Gift items
Once you make one, you’ll likely want to make more!