In the world of high-end customization and DIY restoration, the versatility of your medium is the difference between a masterpiece and a mess.
Acrylic paints are celebrated by both industry experts and beginners for their remarkable versatility and affordability, often serving as the go-to solution for surfaces ranging from wood and denim to clay and plastic.
But when it comes to high-value items like leather shoes, designer handbags, or heirloom furniture, a critical question arises: Can you use acrylic paint on leather?
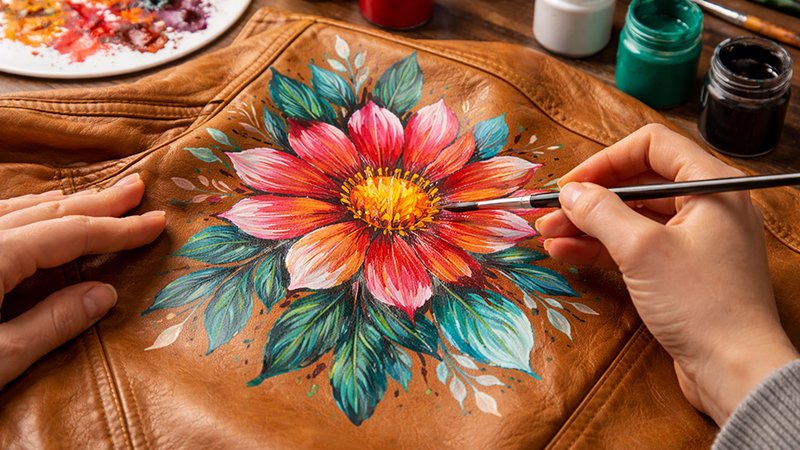
The definitive answer is yes—you absolutely can. It requires an understanding of material science, surface preparation, and specialized media.
This guide serves as your comprehensive strategist’s roadmap to mastering leather customization with acrylics.
Understanding the Canvas: The Science of Leather Adhesion
Before applying a single drop of color, you must understand the substrate. Leather is a unique, porous material that demands a specific interaction with paint to ensure longevity.
The Importance of Absorption
Unlike a static canvas, leather is “alive” in its movement. Proper absorption is the secret to a project that stands the test of time, preventing the paint from looking like a cheap layer that could simply be peeled or chipped off.
When acrylic paint is correctly absorbed into the pores of the leather, the result is a coherent, intentional finish that moves with the material rather than resisting it.
Identifying Your Leather Type
Your choice of acrylic weight is dictated by the leather’s treatment:
- Treated or Dyed Leather: These surfaces are less porous. For the best results, use high-flow acrylic paints, as they allow the leather to retain its natural flexibility.
- Untreated, Unconditioned, or Raw Leather: This leather is “thirsty.” For these surfaces, heavy-bodied acrylics or fluid acrylics mixed with a 1:1 ratio of an acrylic binder (such as Golden Artist Colors’ GAC) are recommended.
- Pro-Tip for Vibrancy: If you are working with dark leather and fluid acrylics, apply a base layer of white paint first; once dry, layer your colors on top to ensure they “pop” against the dark background.
Acrylic Paint vs. Specialized Leather Paint: Making the Strategic Choice
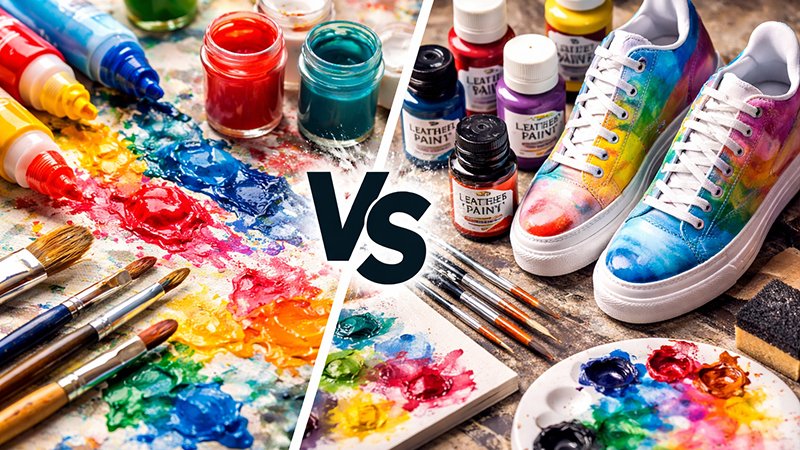
A common gap in DIY knowledge is the distinction between “Standard Acrylic” and “Leather Paint.”
Most specialized leather paints are, in fact, specialized acrylics. However, there are strategic trade-offs to consider:
- Leather-Specific Acrylics: These are engineered to adhere more readily to prepared surfaces and offer higher reliability in terms of adhesion. The downside? They are more expensive, harder to work with if you prefer smooth textures, and often leave you with leftover specialty tubs you may never use again.
- Standard Acrylics: These are more affordable and versatile across multiple hobbies. While they may require some “trial and error” initially, they often absorb into the leather more cohesively once applied correctly, resulting in a more integrated look.
The Essential Toolkit for Professional Leather Painting
To achieve a gallery-quality finish, you must move beyond basic supplies. Here is the professional-grade checklist for your leather project:
- Substrate: Your leather shoes, jacket, or accessory.
- Prep Agents: Isopropyl alcohol, a leather deglazer, and fine-grit sandpaper.
- Application Tools: High-quality paintbrushes, wool daubers, and cotton buds for detail work.
- The Paint: Your chosen acrylics or dual-tip acrylic markers/pens (like BETEM) for fine-line precision.
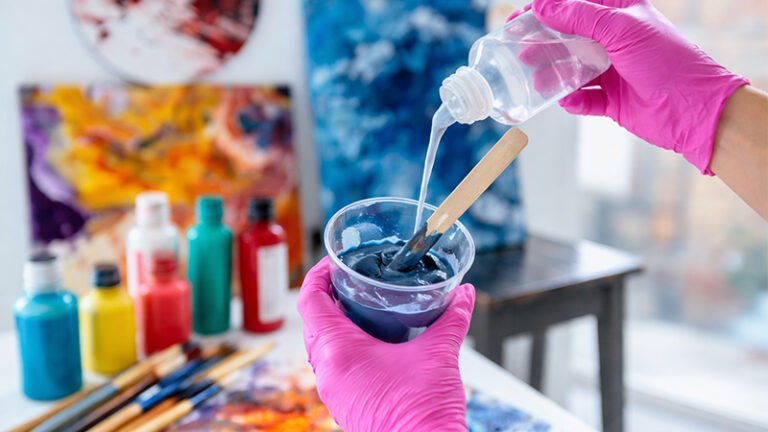
- Advanced Additives: Fabric mediums (such as GAC 900 or Angelus 2-Soft) to enhance flexibility and prevent cracking.
- Protective Gear: Tape for masking and a tarp to protect your workspace.
Step-by-Step Masterclass: Customizing Your Leather
Success in leather painting is 70% preparation and 30% application. Follow this rigorous process to ensure a flawless result.
I: The Strategic Plan
Never jump straight into painting. Sketch drafts and plan your design first. Use digital resources or internet inspiration to visualize how patterns will wrap around the three-dimensional curves of a shoe or bag.
II: Workspace and Material Setup
Prepare a well-ventilated, well-lit workspace away from direct sunlight or heavy wind. Heat and excessive air movement can interfere with the acrylic’s ability to bond properly with the leather fibers. If you are using a fabric medium, mix it with your paint now according to the manufacturer’s instructions.
III: The Critical Surface Preparation
This is where most projects fail. You must remove the factory “finish” to allow the paint to bite into the surface.
- Clean: Wipe the surface with a damp paper towel to remove dirt.
- Degloss: Use a cotton dauber soaked in isopropyl alcohol or a professional leather deglazer. Repeat this process until the leather is no longer glossy.
- Abrade (Optional): For stubborn finishes, lightly sand the area with fine sandpaper to create a “tooth” for the paint. Always dust off the surface thoroughly before proceeding.
IV: Execution and Application
Precision is paramount.
- Masking: Use tape to protect areas you don’t want to paint, creating sharp, clean lines.
- Thin Layers: Apply paint in thin, even layers. Thick coats are the primary cause of unpleasant cracking and peeling.
- Directional Painting: Always paint in the same direction as the natural creases in the leather (e.g., the flex point of a shoe).
- The “Flex” Technique: Between layers, once the paint has dried, gently flex the leather along its natural crease lines. This prevents the paint from hardening into a stiff, brittle sheet that will eventually crack.
Preventing Technical Failure: Why Acrylics Crack
Cracking is the most common complaint in leather painting. To maintain a professional standard, adhere to these “golden rules”:
- Brand Consistency: Avoid mixing different brands of paint, as varying chemical consistencies can lead to blending issues and structural failure.
- Dry Time Management: Allow each layer to air dry naturally. Do not use fans or heat guns to speed up the process, as this prevents proper absorption into the leather pores.
- Environmental Factors: Be aware that humidity and temperature can extend drying times from a few minutes to two hours per layer.
The Final Seal: Protecting Your Investment
Once your design is complete, you must protect it from the elements. Wait at least 4 to 6 hours for the piece to fully dry before applying a sealant.
Choosing Your Finishing Agent
- Liquid Paint Finisher: Highly recommended for its ease of use and affordability. It typically provides a matte finish that prevents cracking and can be applied with a brush, sponge, or spray gun.
- Sealant Spray: An excellent option for those comfortable with spray cans. Apply in short, light bursts to avoid blotching.
- Fabric Mediums: While these are mixed into the paint rather than applied over it, they serve as an internal sealer that helps the paint hold more readily. For maximum longevity, use a fabric medium and a topcoat finisher in tandem.
- What to Avoid: While items like Mod Podge, hairspray, or waterproofing sprays are sometimes used by hobbyists, they are not recommended for wearable items. Hairspray, in particular, should only be used on flat, rigid leather surfaces and is not a permanent solution for jackets or shoes.
Troubleshooting: Mistakes and Removal
Even at a professional level, errors happen.
- Wet Paint Removal: Immediately use a cotton bud or paper towel to dab away the mistake. If necessary, use warm, soapy water to clean the residue before the paint sets.
- Dry Paint Removal: This is difficult and carries a risk of leather damage. You can gently scratch the paint off with a knife, then use a mild citrus detergent to scrub the remaining pigment.
- Restoration: After removing paint, always follow up with a leather cleaner and conditioner to restore the natural sheen and health of the animal hide.
Strategic Comparison: Painting vs. Dyeing Leather
When deciding on a project’s direction, consider the “Dye vs. Paint” matrix:
- Leather Dyes: These penetrate deep into the fibers and accentuate natural patterns. However, they cannot lighten dark leather or cover stains.
- Acrylic Paints: These offer vibrant, opaque colors that can completely transform a dark item into a light one. Unlike dyes, acrylics can also be used on synthetic materials like pleather or vinyl.
Beyond the Shoe: Expanding Your Leather Craft Portfolio
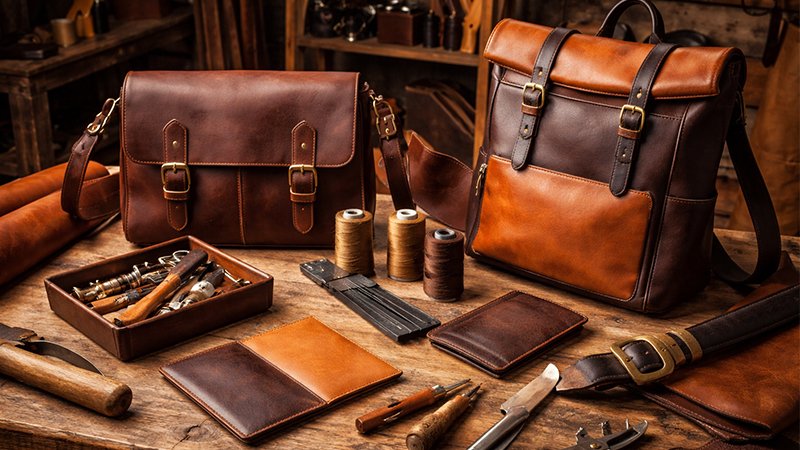
The techniques mastered here are scalable. Once you have perfected your skill on shoes, consider these high-impact projects:
- Apparel: Customizing leather jackets, belts, and handbags.
- Lifestyle: Leather-bound books or photo albums as bespoke gifts.
- Home Decor: Revitalizing leather furniture or even car seats.
- Fine Art: Creating leather murals as unique, hanging wall art.
Frequently Asked Questions
Q: Can I use spray paint on leather?
A: Yes, provided the paint is suitable for leather. However, it requires experience to avoid blotches and ensure thin, even layers.
Q: Do I need to dye the leather before I paint it?
A: No, but you can. If you do, ensure the dye is completely dry before applying acrylics, as undried dye can cause significant adhesion failure.
Q: Is it better to paint or dye?
A: It depends on your goal. Use dyes for a natural look that penetrates the fiber. Use acrylic paint for vibrancy, opacity, and the ability to lighten the base color.
Conclusion: The Professional Edge
Mastering the use of acrylic paint on leather is a transformative skill for any creator, offering a perfect bridge between affordability and high-end customization.
By prioritizing meticulous surface preparation—specifically cleaning and deglazing—you ensure the paint is properly absorbed, which is the foundational secret to a durable, crack-resistant finish.
Whether revitalizing a pair of shoes or customizing leather furniture, the strategy remains consistent: apply thin, even layers and flex the material to maintain its natural movement.
Finalizing your work with a dedicated sealant, such as a liquid finisher or spray, guarantees that your unique designs stand the test of time.
Ultimately, combining this versatile medium with a durable substrate allows you to produce one-of-a-kind pieces that significantly elevate your overall crafting proficiency.