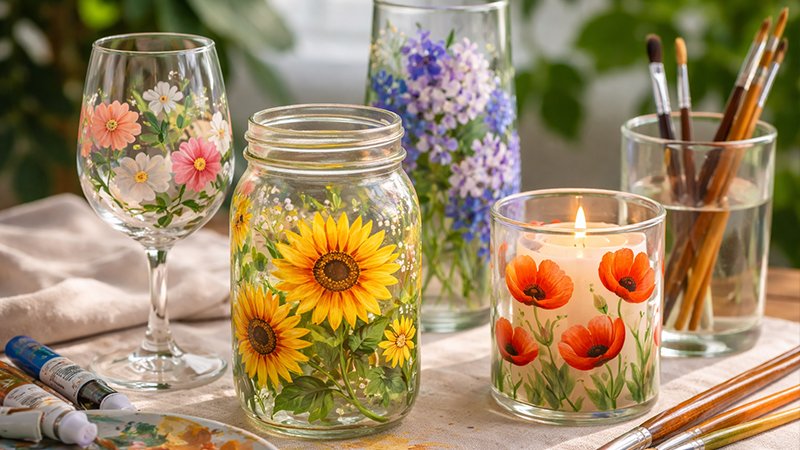
In the world of contemporary DIY and professional artisanry, the demand for high-quality, customized glassware has reached an all-time high.
From bespoke home décor and upcycled mirrors to commemorative wine glasses and architectural panels, the creative possibilities are seemingly limitless.
However, the primary obstacle for many artists—both novice and experienced—is the inherent physical challenge of applying a water-based medium to a non-porous substrate.
Acrylic paint is celebrated globally for its extraordinary versatility, non-toxic nature, and rapid drying time. Yet, while it excels on canvas and wood, glass presents a unique set of adhesion and durability hurdles.
This comprehensive guide serves as a definitive resource for mastering the art of painting on glass, ensuring your creations are not only visually stunning but also professionally durable.
Understanding the Medium: Why Acrylic on Glass?
Acrylics are a preferred choice for glass projects due to their water-resistant properties and ease of cleanup once cured.
Unlike traditional oils, which require hazardous solvents, or specialized glass stains that can be difficult to control, acrylics offer a user-friendly experience for those looking to transform transparent surfaces.
However, a fundamental understanding of surface tension and porosity is required. Glass is non-porous, meaning it lacks the “tooth” or texture that standard acrylics need to “grip”.
Without proper intervention, standard acrylic paint will often slip across the surface or peel away in sheets once dry. Overcoming these challenges requires a strategic approach to product selection and surface preparation.
Strategic Product Selection: Finding the “Best” Paint
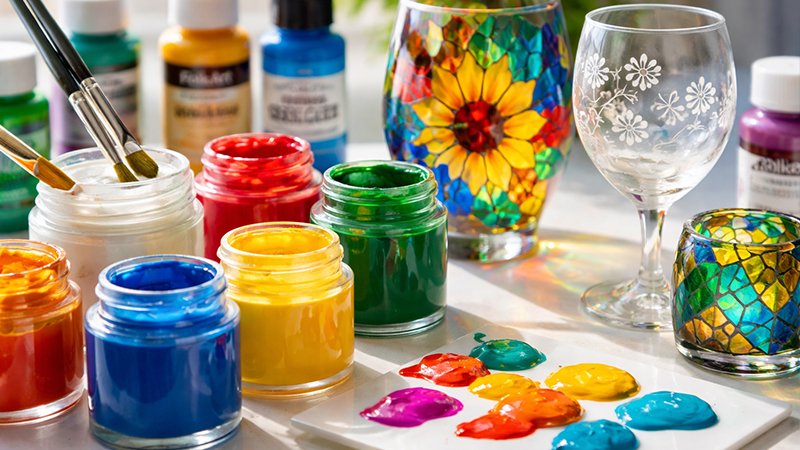
Not all acrylics are created equal. When targeting professional-grade results, you must evaluate paints based on 5 critical criteria:
1. Acrylic Enamel vs. Standard Acrylics
The gold standard for glass is acrylic enamel paint. These specialized formulas are engineered to adhere to smooth, non-porous surfaces without the immediate need for a primer.
They are exceptionally tough and durable. If you choose standard acrylics, they must specifically state they are suitable for glass; otherwise, you risk total project failure.
2. Opacity and Lightfastness
- Opacity: This determines whether your piece will mimic stained glass (transparent/translucent) or appear as a solid, bold graphic (opaque). Opaque paints are essential for blocking light entirely, while fluid acrylics allow for beautiful, tinted light effects.
- Lightfastness: For items intended to be placed in windows or sunny rooms, lightfastness is non-negotiable. Professional-grade paints (like Liquitex) are rated from I to IV; aim for levels I or II to ensure your pigments do not fade under UV exposure.
3. Consistency and Finish
Thick-bodied paints are superior for creating distinct patterns and textured strokes, whereas fluid consistencies are easier to spread for large-area coverage.
The final finish—be it matte, frosted, or high-gloss—drastically alters the aesthetic. While gloss is popular for its vibrancy, many professionals prefer frosted or matte finishes to avoid excessive reflections on the glass surface.
The Foundation: Professional Preparation Protocols
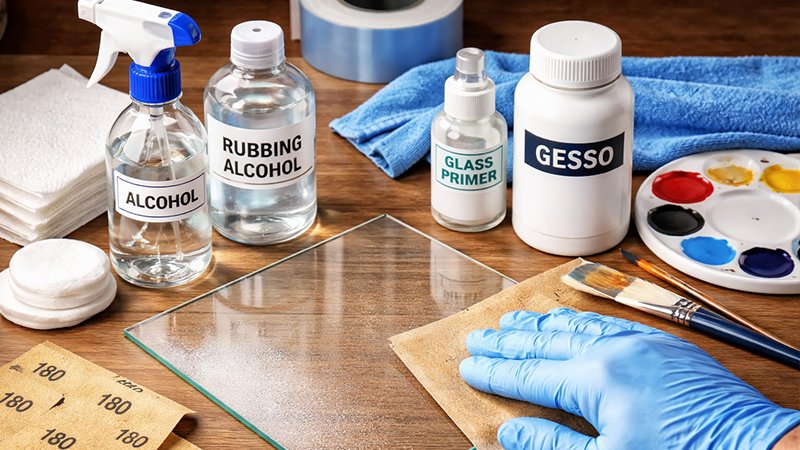
Success in glass painting is 90% preparation, you must follow a rigorous cleaning and “toothing” process.
Step 1: Chemical Cleaning
Skin oils and fingerprints are the enemies of adhesion. Use disposable gloves and clean the glass thoroughly with rubbing alcohol, isopropyl alcohol, or white vinegar. Allow the surface to air dry completely.
Step 2: Creating “Tooth”
To ensure permanent adhesion, you can lightly sand the areas to be painted using 150 to 180 grit sandpaper. This creates microscopic grooves for the paint to settle into.
Step 3: Priming (Optional but Recommended)
Applying a layer of gesso or specialized glass primer acts as a bridge between the glass and the paint. If you are using enamel paints, ensure your primer is also enamel-based to maintain chemical compatibility.
Execution: Advanced Painting Techniques
Once the surface is prepped, the application process requires a delicate touch.
Brush Selection and Stroke Control
Use synthetic, sable, or flat bristle brushes, as they are designed to hold the specific weight of acrylic mediums. When applying the paint:
- Use thin, even layers rather than one thick coat; this prevents the paint from cracking or peeling later.
- Paint toward yourself for maximum control over the line work.
- Avoid blending wet paints on the glass to maintain clean blocks of color.
Pro Tips for Precision
- The White Base Layer: If your colors appear dull, apply a thin white base layer first. This boosts the vibrancy and opacity of the subsequent colors.
- Taping and Stencils: Use painter’s tape to create crisp, geometric lines. Crucial Insight: Remove the tape while the paint is still wet to prevent the dried edge from chipping.
- Correcting Mistakes: If you slip, don’t panic. Use a cotton bud soaked in acetone or rubbing alcohol to wipe away splotches before they cure.
The Sealing Phase: Ensuring Longevity
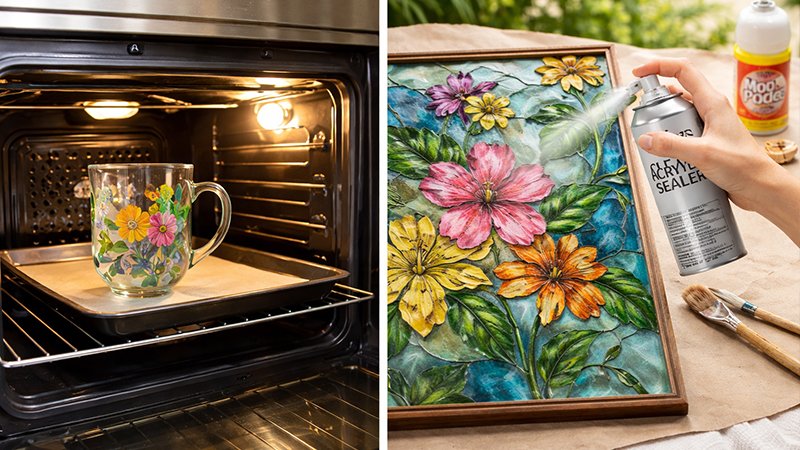
A painting on glass is not finished until it is sealed. There are two primary methods for professional-grade protection:
Method A: The Baking Process (For “Bake-On” Paints)
Baking is the preferred method for items that require higher durability, such as glassware.
- Allow the paint to air dry for at least 24 hours.
- Place the item in a cold oven.
- Heat the oven to 350°F (or per manufacturer instructions).
- Bake for 30 minutes, then turn the oven off.
- Critically important: Let the glass cool completely inside the oven to prevent thermal shock and breakage.
Method B: Transparent Sealants
For decorative items that cannot be baked (like mirrors or large panels), use a spray-on or brush-on varnish.
Spray-on sealants often provide a more even, professional finish without the risk of visible brushstrokes. For a versatile, all-in-one option, Mod Podge can also serve as an effective sealant on glass.
Critical Safety and Maintenance Gap Analysis
One of the most overlooked aspects of glass painting is food safety. Most acrylics and sealants are not 100% food safe.
- The “Lip Line” Rule: Always leave at least 3/4 of an inch of unpainted space at the top of drinking glasses.
- External Application: Only paint the outside of bowls or plates that will hold food.
Maintenance: To preserve your work, hand wash only. Even “top-rack safe” claims should be treated with caution; dishwashers use high heat and abrasive detergents that will eventually wear down the acrylic bond. Additionally, painted glass is never microwave-safe.
Enhanced FAQ: Expert Insights
Q: Will acrylic paint stick to glass without a primer?
A: Yes, it will stick initially, but for long-term durability and to prevent peeling, a primer or sealant is highly recommended.
Q: Can I remove dried acrylic from glass if I change my mind?
A: Yes. Use rubbing alcohol, turpentine, or mineral spirits to dissolve the bond. Avoid scraping, as this can permanently scratch the glass surface.
Q: How do I prevent my paint from drying too fast on the palette?
A: Periodically mist your paints lightly with a spray bottle and avoid mixing more than you can use in a short window.
Final Thoughts: Elevating Your Craft
The art of painting on glass with acrylics transforms ordinary objects into unique, professional masterpieces.
While the non-porous surface presents distinct adhesion challenges, success is guaranteed through meticulous preparation, such as sanding with 180-grit paper or using specialized acrylic enamel paints.
Always prioritize safety by keeping non-food-safe pigments away from contact areas and ensure longevity through proper sealing or oven-curing.
By adhering to maintenance protocols like gentle hand-washing, your creative designs—from upcycled bottles to decorative mirrors—will remain vibrant and durable. With these techniques, the possibilities for glass art are truly endless..