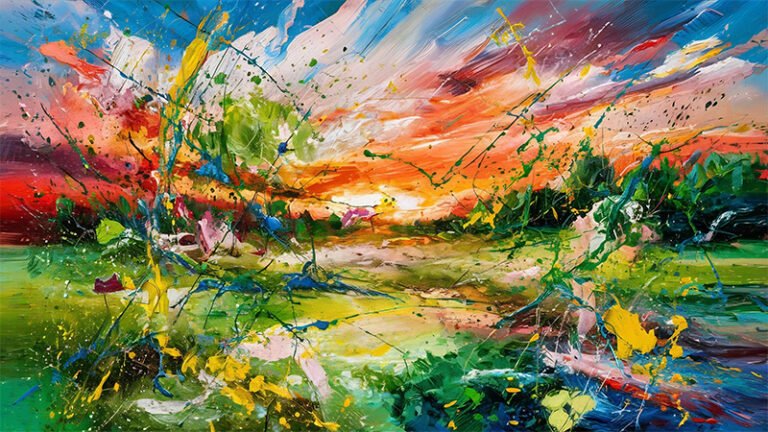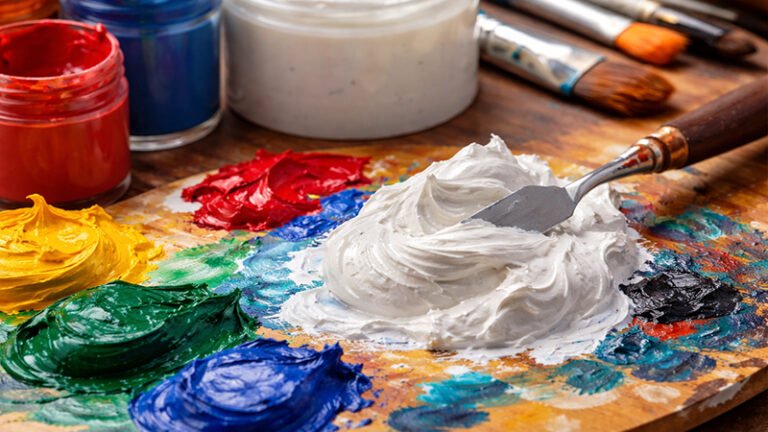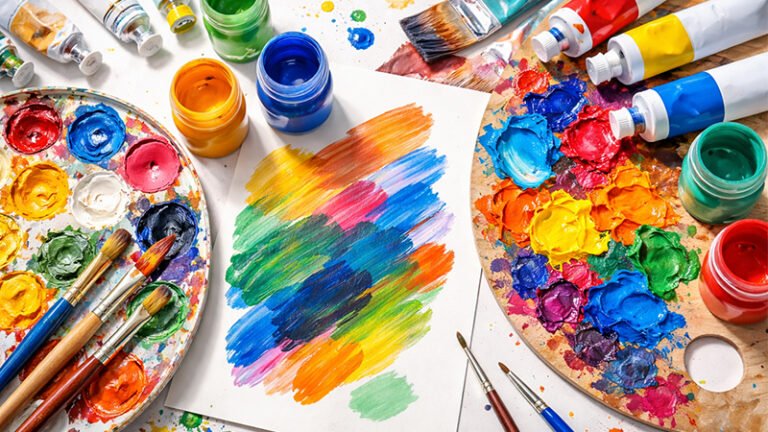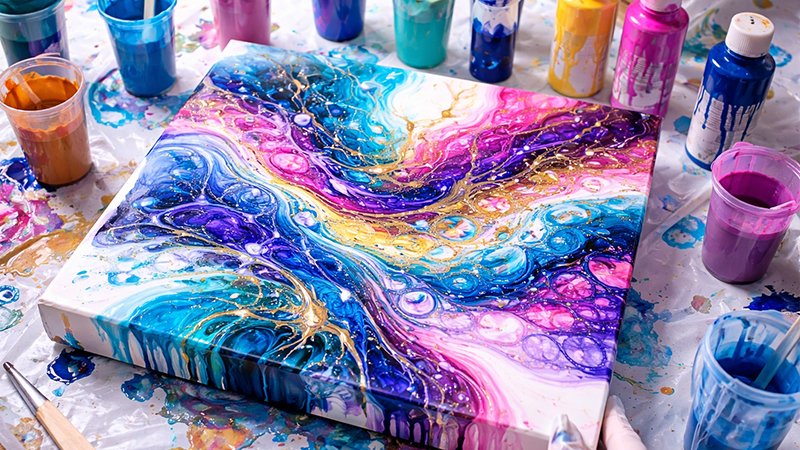
In the modern art landscape, few mediums have captured the collective imagination quite like acrylic pour painting. Often referred to as “fluid art,” this technique represents a perfect synergy between controlled chemistry and chaotic beauty.
Whether you are a seasoned creative professional seeking a therapeutic outlet or a complete novice looking to brighten your home with custom décor, fluid art offers an accessible yet profound entry point into the world of abstract expressionism.
This comprehensive guide serves as your strategic roadmap to mastering the fluid art journey. Drawing on decades of technique evolution and modern material science, we will explore how to transform simple acrylic paints into mesmerizing, marble-like masterpieces.
Understanding the Foundation: What is Acrylic Pour Painting?
At its core, acrylic pour painting is a technique where fluid acrylic paints are poured over a surface—typically a canvas—to create intricate, organic patterns.
Unlike traditional brushwork, which relies on physical strokes and precision, fluid art leverages gravity and fluid dynamics to move the medium across the substrate.
A Brief History of the “Accidental” Art
While fluid art feels modern, its origins trace back to the 1930s. The technique was discovered accidentally by the renowned Mexican muralist David Alfaro Siqueiros.
By pouring different colors of paint over one another and allowing them to run and merge, he created complex patterns that defied traditional artistic boundaries.
Today, this method has been revived and refined with advanced chemical mediums that ensure longevity, vibrancy, and professional-grade finishes.
The Therapeutic Value: Why Fluid Art?
Beyond the aesthetic appeal, acrylic pouring is celebrated as a significant stress reliever. The process encourages a state of “flow,” where the artist must relinquish total control to the medium.
It is a highly democratic art form; because it does not require classical sketching or painting skills, it is open to interpretation and accessible to all ages.
Strategic Material Selection: Your Essential Toolkit

In your artwork, you must begin with a professional-grade foundation. Success in fluid art is 70% preparation and 30% execution.
1. The Core Medium: Acrylic Paints
While any acrylic paint can technically be “poured,” professional results require specific viscosities.
- Soft Body Acrylics: These are the gold standard for pouring. They possess a lower viscosity compared to heavy-body paints, allowing them to flow smoothly without clumping or creating unwanted bubbles.
- Heavy Body & Student Grade: While usable, these require significantly more pouring medium to reach the correct consistency, which can increase your overall project cost.
- High-Flow and Inks: For advanced artists, acrylic inks and high-flow paints offer intense pigmentation with minimal resistance.
2. The Role of the Pouring Medium
One of the most common mistakes beginners make is attempting to thin paint with water alone. A professional pouring medium is essential for several reasons:
- Consistency: It creates a “honey-like” flow that adheres to the canvas.
- Durability: It prevents cracking and crazing as the paint film dries.
- Vibrancy: High-quality mediums like Liquitex Professional Pouring Medium are archival and non-yellowing, ensuring colors remain vibrant for decades.
- Self-Leveling: These mediums help the paint settle into a smooth, glossy sheet, eliminating air pockets.
3. Substrates: Choosing Your Canvas
While stretched canvas is the most popular choice, fluid art can be performed on wood panels, gesso boards, glass, or even furniture like trays and tables.
- Pro Tip: If you use a stretched canvas, ensure it is properly braced. The weight of the wet paint can cause the canvas to sag in the center, leading to uneven pooling and potential cracking.
- Priming: Always ensure your surface is primed with Gesso if it isn’t pre-treated. This ensures the paint bonds securely to the surface rather than soaking into the substrate.
4. The “Messy” Essentials
Fluid art is notoriously messy, and an organized workspace is a prerequisite for success.
- Protection: Use plastic sheeting or old newspapers to cover your floors and tables.
- Elevation: Your canvas must be elevated off the work surface so the paint can flow over the edges without sticking to the bottom.
- Gloves: Essential for protecting your skin from the inevitable spills.
The Chemistry of the Mix: Mastering Ratios
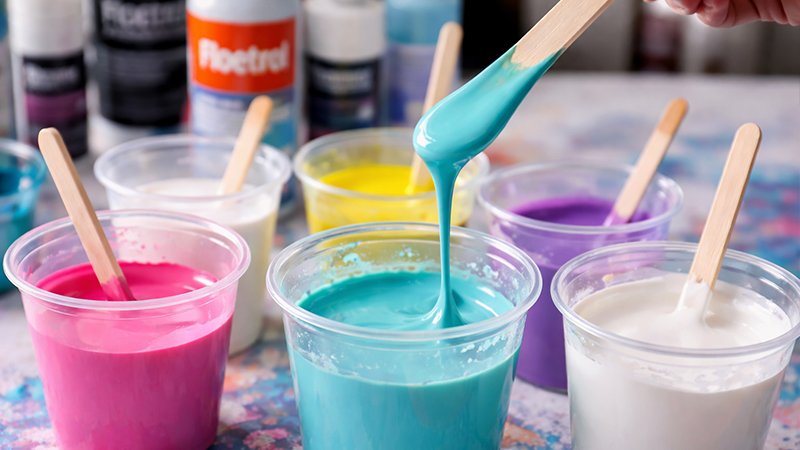
The secret to a successful pour lies in the mixing ratio. If the paint is too thin, the colors will merge into a muddy mess; if it is too thick, it will not flow or create the desired patterns.
The Golden Ratio for Consistency
A standard starting point for many artists is a 1:1 ratio—one part paint to one part pouring medium. However, different brands and mediums require adjustments:
- Liquitex/Professional Mediums: Often require 1 part paint to 1.5 parts medium and a small amount of water.
- Floetrol (Industrial Additive): Uses a similar 1:1.5 ratio but may require more water for flow.
- The 30% Water Rule: Crucially, you should never add more than 30% water to your total mixture. Excessive water weakens the acrylic binders, leading to significant cracking during the drying phase.
Achieving the “Honey” Flow
Mix your paint and medium slowly to avoid introducing excess air. The goal is a consistency that drips off your stirring stick like warm honey—fluid enough to move but thick enough to hold its own weight.
To minimize “pockmarks” or pits in your art, many professionals recommend letting your mixed paints sit for 24 hours before pouring to allow air bubbles to escape.
Advanced Pouring Techniques: From Beginner to Pro
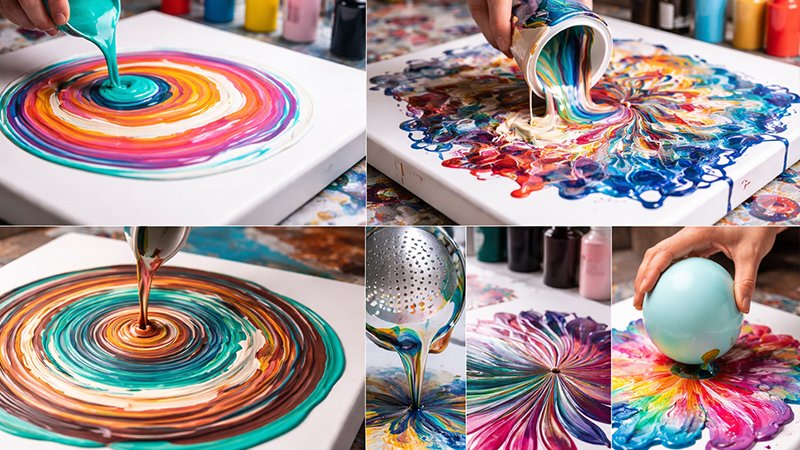
Once your paints are mixed, you can choose from various techniques to achieve specific visual results.
1. The Traditional & Puddle Pour
The most basic method involves pouring individual colors directly onto the canvas. In a Puddle Pour, you pour one color, then pour a second color directly into the center of the first, creating expanding concentric rings. This offers maximum control over color placement.
2. The Dirty Pour & Flip Cup
For more unpredictable, organic patterns, the Dirty Pour involves layering multiple colors into a single cup before pouring them all at once.
- The Flip Cup: A variation of the dirty pour where you place the canvas on top of the paint cup, flip it over, and then lift the cup to let the paint explode across the surface. This technique is often used to create cells—circular patterns where lower layers of paint rise to the top.
3. The Tree Ring Pour
By pouring a layered cup very slowly in a circular motion in the center of the canvas, you create patterns that mimic the rings of a tree trunk. The slower you pour, the more defined the rings will be.
4. Using Household Tools for Effect
- Colander Pour: Pouring through a kitchen colander creates a kaleidoscope effect.
- String Pull: Coating a string in paint and pulling it across a wet base coat creates elegant, leaf-like or spiral designs.
- Balloon Dip: Pressing a slightly inflated balloon into puddles of paint creates unique, circular “flower” patterns.
Creating “Cells”: The Science of Silicone
The most sought-after feature in fluid art is the formation of cells. These are achieved by adding one or two drops of silicone oil to your paint mixture.
- High Viscosity Silicone: Produces many smaller, more controlled cells.
- Low Viscosity Silicone: Produces larger, more expansive cells.
- The Blow Torch: Using a small culinary torch or heat gun over the wet paint helps pop air bubbles and encourages the lighter, silicone-infused colors to rise to the surface, creating instant cell definition.
Professional Troubleshooting and Environment Controls
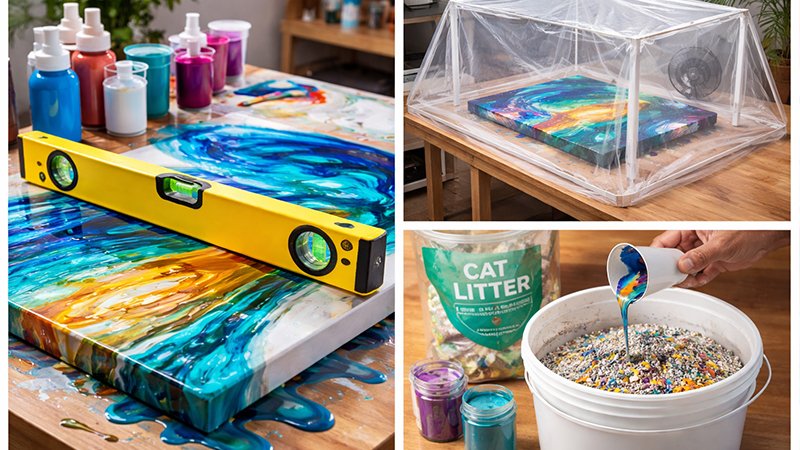
A beautiful pour can easily be ruined by poor drying conditions. Precision is required during the 24-48 hour curing window.
1. The Leveling Mandate
Before you even begin your pour, use a spirit level to ensure your canvas is perfectly flat. If the surface is even slightly tilted, the paint will slowly slide off the canvas overnight, leaving you with a distorted or empty board in the morning.
2. Dust and Debris Management
Wet acrylic paint is a magnet for dust and pet hair. It is highly recommended to cover your painting with a box or a plastic tent while it dries to maintain a pristine, glossy finish.
3. Eco-Friendly Disposal
Never pour excess paint down the drain, as it can clog pipes and harm the environment. Instead, pour leftover paint into cat litter, let it dry completely, and then dispose of it with your regular trash.
The Final Polish: Varnishing and Protection
Your art must be protected from the elements. Once the painting has cured (ideally for several days), apply a varnish or resin finish.
- Gloss Finishes: Enhance the “wet look” and make colors pop.
- Matte/Satin Finishes: Provide a sophisticated, non-reflective surface.
- UV Protection: A professional finish protects the piece from fading due to sunlight exposure.
Enhanced FAQ Section
Q: Can I use regular glue instead of a pouring medium?
A: Yes, materials like Elmer’s Glue-All or PVC glue can be used, typically in a ratio of 1 part paint to 1.5 parts glue and 1 part water. However, these are not archival and may lead to unpredictable results or yellowing over time.
Q: How long does it take for a pour painting to dry?
A: While the surface may feel dry to the touch in 24 hours, thick pours can take 48 hours or more to stabilize. It is best to wait at least a week before applying a final varnish.
Q: Why is my paint cracking?
A: Cracking (or crazing) usually occurs when the top layer dries too fast, when you’ve used too much water (over 30%), or when the paint layer is too thick and uneven.
Q: Do I need a blow torch?
A: While not strictly necessary for beginners, a torch is the most effective way to eliminate air bubbles and create the professional cell structures seen in high-end fluid art.
Final Strategic Insight
Acrylic pour painting is a transformative art form that bridges the gap between scientific precision and creative chaos.
Originally discovered by David Alfaro Siqueiros in the 1930s, this technique has evolved into a therapeutic hobby accessible to artists of all skill levels.
By mastering the honey-like consistency of soft body acrylics and professional mediums, you can achieve stunning, contemporary results with minimal traditional training.
While the process is unpredictable and messy, it offers a unique opportunity for experimentation and discovery. Ultimately, every pour results in a one-of-a-kind, original masterpiece.