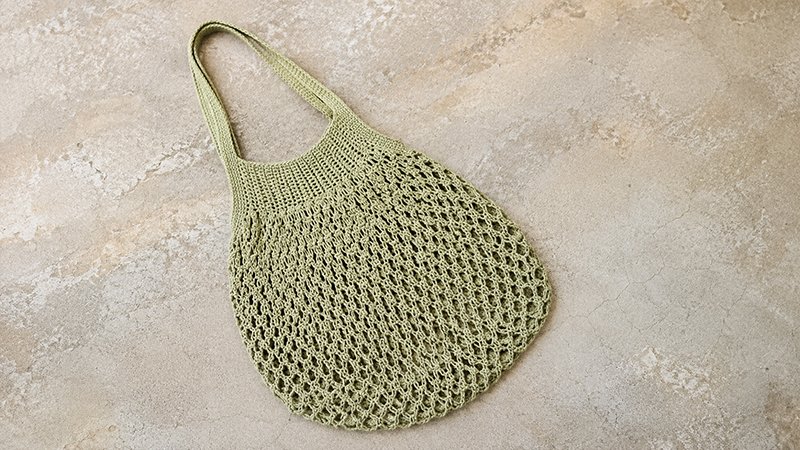
The Solomon’s Knot stitch—also known as the Lover’s Knot—creates an airy, expansive mesh that provides remarkable strength while remaining lightweight.
By combining openwork lace with sturdy cotton handles, this design transitions effortlessly from a quick crochet project to an essential daily tote.
Designed to expand when filled, the main pouch stretches to hold produce, books, or everyday items with ease.
Using simple US crochet terms, this comprehensive pattern guides you through creating your own flexible, durable market tote from start to finish.
Pattern Specifications
-
Yarn Requirements: Approximately 275 grams (3 skeins) of Category 4 medium-weight 100% cotton yarn in a neutral shade like Camel.
-
Hook Size: 5.00 mm (US Size H-8) or the necessary size to match the gauge.
-
Notions: Tapestry needle for seaming and weaving in loose ends.
-
Finished Dimensions: Flat mesh section measures approximately 33 inches wide by 15 inches deep. The empty handle drop spans about 10 inches.
-
Gauge: 5 Solomon’s Knot arches by 6 rows equals a 4-inch square when spread flat. (Note: Precise gauge is flexible for this openwork style.)
Abbreviations
- ch – chain
- rep – repeat
- RS – right side
- sc – single crochet
- sk – skip
- slst – slip stitch
- st(s) – stitch(es)
- WS – wrong side
- SK – Solomon’s Knot: A lengthened chain stitch, locked in place with a single crochet stitch in the back loop of the chain.
- Special Stitch Definition
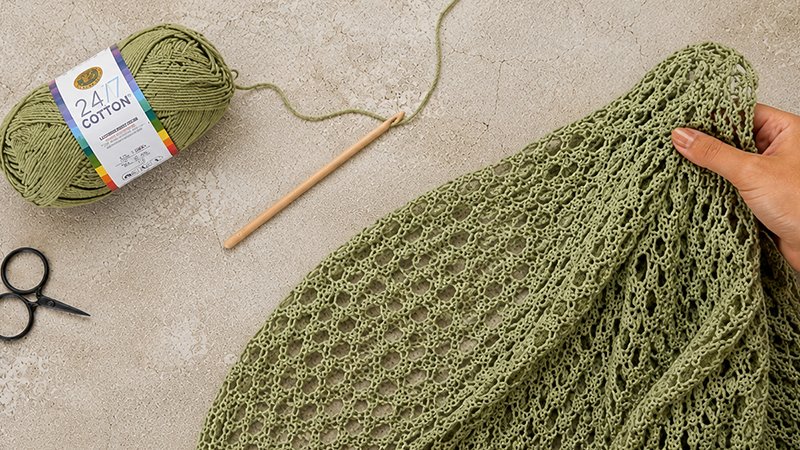
Solomon’s Knot (SK): Pull the loop on your hook up to roughly 0.5 inches in height. Yarn over and pull through the extended loop, leaving a single back strand behind the main loop. Insert your hook under that single back strand, yarn over, pull up a loop, yarn over, and draw through both loops to complete a single crochet that locks the knot in place.
Pattern Notes
-
The main pouch is crocheted as a flat, reversible panel before constructing the integrated top borders and handles.
-
To make the tote deeper, increase the foundation row count using any odd multiple of 2 plus 1 (additional yarn required).
-
Keep your loop extension height consistent across rows to maintain an even mesh pattern.
Main Pouch Panel
-
Foundation Setup: Chain 2. Place 1 single crochet in the second chain from your hook. Work 57 Solomon’s Knots. Turn your work.
-
Row 1: Work a single crochet into the knot sitting between the third and fourth loops from your hook. *Make 2 SKs, skip the next 2 loops, then work 1 single crochet into the following knot; repeat from * across the row. Turn. (Contains 1 half arch plus 27 full arches)
-
Row 2: Work 2 SKs, then single crochet into the knot between the third and fourth loops from the hook. *Make 2 SKs, skip 2 loops, work 1 single crochet into the next knot; repeat from * across to the end, placing the final single crochet into the top of the edge half arch. Turn.
-
Rows 3–10: Repeat Row 2 eight times. Do not fasten off.
Integrated Handles & Top Border
The border and handles are worked continuously in a spiral around the top opening with the right side facing outward.
-
Round 1 (Foundation Round): Attach yarn at a side edge. Work 1 single crochet into each raw edge stitch along the mesh opening; work single crochets across the corner extension, chain 70 for the first shoulder strap (ensuring the chain remains untwisted), work single crochets across the opposite extension side, then work single crochets along the remaining raw mesh edge. Repeat the extension and chain-70 sequence for the second handle. Join around to the starting point without turning.
-
Round 2: Work 1 single crochet into every single crochet and chain stitch created in the previous round.
-
Rounds 3–5: Repeat Round 2 three times.
-
Finishing Border: Slip stitch into the next 2 stitches to smooth the spiral transition. Fasten off and secure the tail.
Assembly & Finishing
-
Folding: Align the long raw edges of the main pouch panel to form the bag shape.
-
Handle Reinforcement: Thread a tapestry needle with a 36-inch strand of cotton yarn. Fold one handle in half lengthwise with wrong sides touching. Whipstitch or zig-zag stitch the outer edges together along the strap length, leaving the first and last inch unseamed for comfortable shoulder wear. Repeat for the second strap.
-
Final Touches: Use the tapestry needle to neatly weave all remaining yarn ends into the interior stitches.