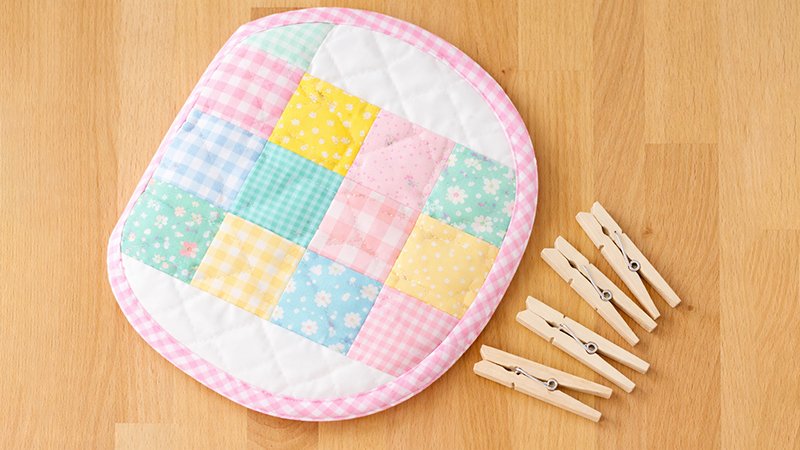
Welcome back to your sewing space! Now that your fabric pieces are ready, it’s time to transform them into the beautifully structured and functional Pochi Pouch.
This guide walks you through each finishing step with extra clarity, helpful tips, and techniques to ensure a polished, professional result.
Materials Checklist (Before You Begin)
Make sure everything is prepared and within reach:
- Exterior Fabric Piece (1)
Cut using your custom pattern or a 12½” quilt block - Lining Fabric Piece (1)
Must match the exterior piece exactly in size and shape - Stabilizer (1)(choose one)
- Fusible fleece (soft but structured)
- Cotton batting (lightweight)
- Soft and Stable (recommended for best shape)
- Bias Binding Strip (1½” x 40”)
Must be cut on the bias (diagonal) for flexibility around curves - Zipper (12” or longer)
Longer is easier to work with—extra length can be trimmed later - Optional tools:
- Fabric clips or pins
- Fabric marker or chalk
- Zipper foot
- Walking foot (for quilting layers)
Step 1: Create the Quilted Fabric Sandwich
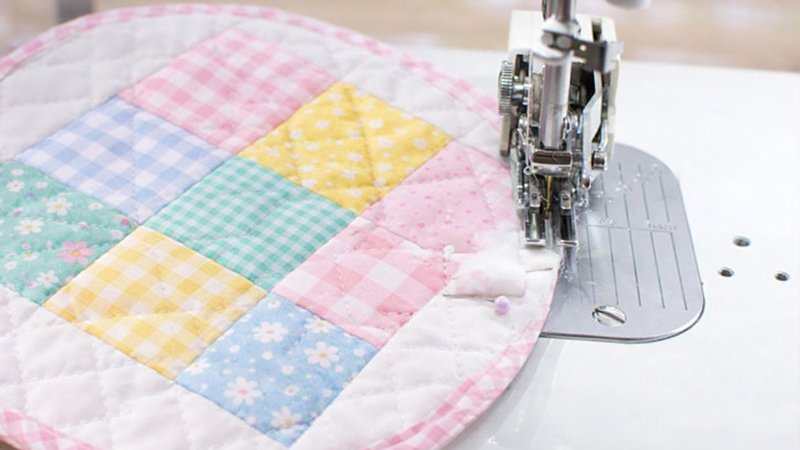
1. Layer Your Pieces:
Arrange in this order:
- Bottom: Lining (right side facing down)
- Middle: Stabilizer
- Top: Exterior fabric (right side facing up)
You now have a “sandwich” with the stabilizer in the middle.
2. Secure the Layers:
- Stitch around the entire edge using a ⅛” seam allowance
- This prevents shifting during quilting
Beginner Tip:
If layers feel bulky, sew one fabric to the stabilizer first, then attach the other side.
3. Quilt the Layers:
- Use straight-line quilting (vertical, horizontal, or diagonal)
- Space lines evenly (e.g., every 1–2 inches)
Why quilt?
- Adds structure
- Prevents bunching
- Gives a professional finish
Step 2: Apply Bias Binding (Clean Edge Finish)
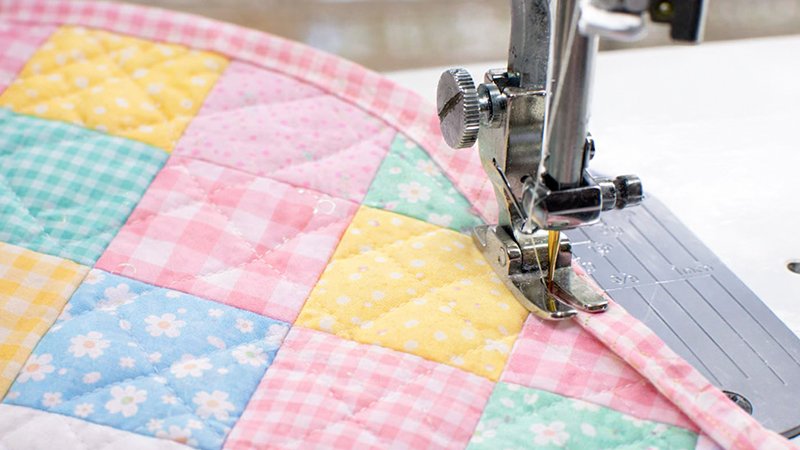
1. Prepare the Binding:
- Fold one long edge of the strip to the wrong side by ⅜”
- Press with an iron
2. Attach Binding to Front:
- Align the right side of the binding with the right side of the pouch
- Raw edges should match
- Pin or clip around the entire edge
Leave 5–6 inches unsewn at both ends
- Stitch using a ¼” seam allowance
3. Join Binding Ends:
- Overlap loose ends and mark where they meet
- Fold and press crease lines
- Place ends right sides together
- Sew along the crease
- Trim seam to ¼”, press open
- Finish sewing the remaining binding to the pouch
4. Finish Binding:
- Fold binding over to the wrong side
- Clip in place
Now choose your finishing method:
Hand stitch (invisible finish)
Machine stitch (faster, visible seam)
Step 3: Shape the Pouch (The Signature Fold)
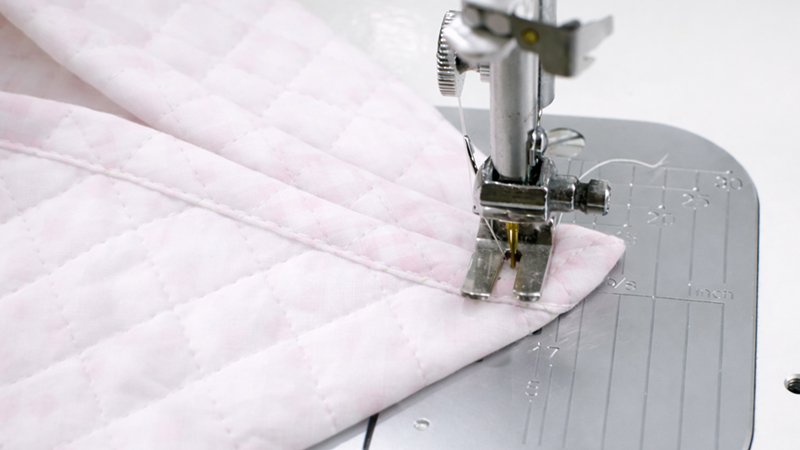
This step gives the pouch its iconic 3D structure.
1. Find the Centre:
- Fold pouch in half (right sides out)
- Lightly crease the centre line
2. Create Side Folds:
- Bring both sides inward toward the centre crease
- The edges will form a pointed tip
3. Mark and Sew:
- At the point, draw a 1” straight line
- Sew directly across that line
Repeat on the opposite side
Result:
You now have a boxed/gusseted shape that allows the pouch to stand.
Step 4: Install the Zipper
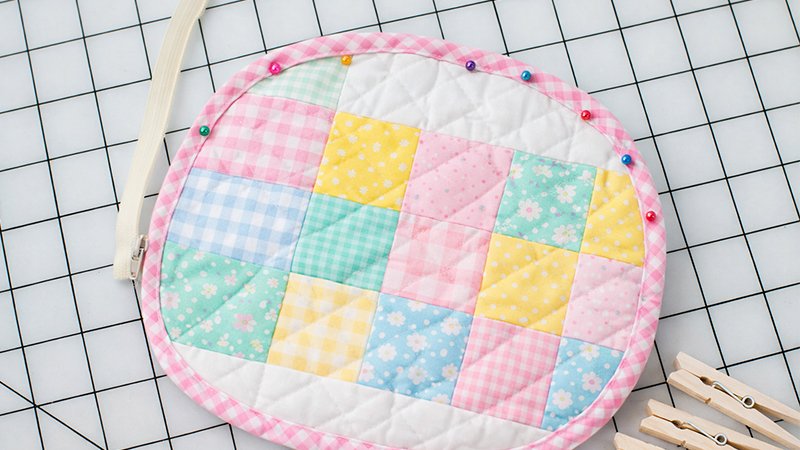
1. Mark Centres:
- Find and mark:
- Centre of the zipper
- Centre of pouch opening (both sides)
2. Position First Side:
- Open the zipper fully
- Place the right side of the zipper tape against the wrong side of the pouch
Important alignment:
- Zipper teeth should sit right along the binding edge
3. Sew First Side:
- Use a zipper foot
- Stitch close to the binding edge from the front
- This catches the zipper tape underneath
4. Attach Second Side:
- Repeat the same process on the other side
- Keep the zipper open while sewing
Pro Tip:
Check alignment before sewing to ensure the zipper closes evenly.
Step 5: Close Sides & Final Finishing
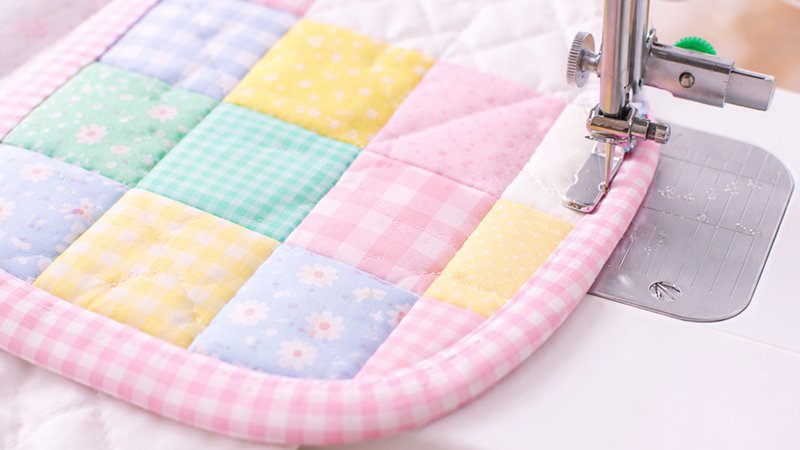
Option 1: Hand Sewing (Cleaner Look)
- Stitch about 2 inches down each side
- Hide zipper ends neatly inside
Option 2: Machine Sewing (Faster)
- Use a zigzag stitch
- Sew the sides closed securely
- Backstitch at the top for durability
Trim Zipper (if needed)
If the zipper is longer than needed:
- Hand sew across the zipper teeth where you want it to stop
- Cut off excess beyond that point
Your Pochi Pouch is Complete!
You’ve just transformed a flat quilted piece into a stylish, structured pouch!
Ways to Use It:
- Makeup bag
- Sewing kit
- Travel organizer
- Gift pouch
Extra Tips for Success
- Use clips instead of pins for thick layers
- Press at every step—this makes a huge difference
- Practice on scrap fabric if you’re new to zippers
- Try different quilting patterns for unique looks
Final Thoughts
The Pochi Pouch is a perfect project for:
- Practicing binding
- Learning zipper installation
- Using up fabric scraps
Once you’ve made one, you’ll want to make more—they’re addictive!
Happy Sewing!