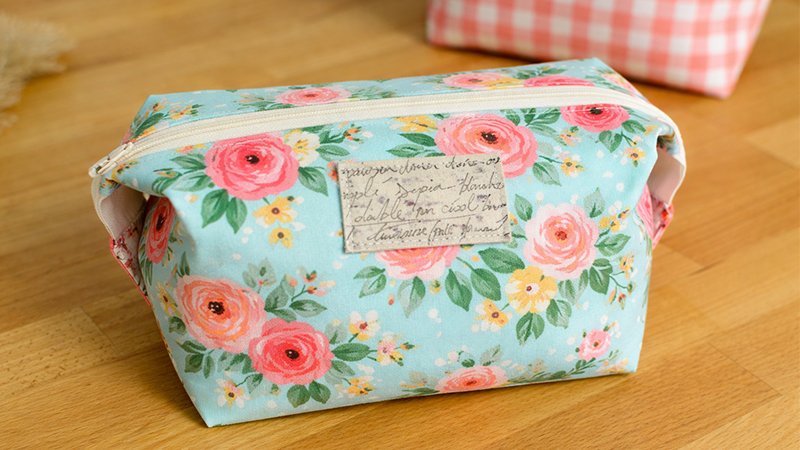
If you’re looking for a practical yet stylish handmade project, this Cute Corners Organizer Pouch is a perfect choice. It’s designed to open wide for full visibility, making it ideal for storing cosmetics, stationery, tools, or travel essentials.
What makes this pouch special is its structured, boutique-style shape—achieved without metal frames. Instead, clever folding techniques and snap closures create that polished, high-end look. Plus, it’s fat-quarter friendly, so it’s great for using up fabric scraps.
Materials & Tools
Prepare everything before you begin:
Fabric & Notions
- Exterior Fabric: ¼ yard quilting cotton
- Lining Fabric: ¼ yard quilting cotton
- Fusible Fleece: ⅓ yard (e.g., HeatnBond)
- Zipper: 14″ or longer (#4.5 handbag zipper recommended)
- Snaps: 1 set (plastic/Kam snaps work well)
- Optional Label Fabric: 1½″ × 2½″ scrap
Tools
- Sewing machine
- Iron and ironing board
- Fabric scissors or rotary cutter
- Pins or clips
- Sewing stiletto (very helpful for precision)
- Awl or sharp tool (for snaps)
Step 1: Cutting the Fabric
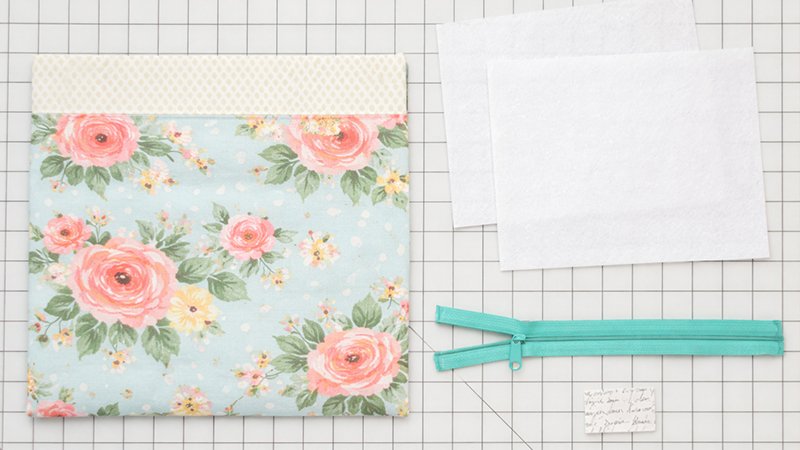
Cut the following pieces:
Exterior Fabric
- 2 pieces: 8½″ × 11½″
Lining Fabric
- 2 pieces: 8½″ × 11½″
Fusible Fleece
- 2 pieces: 8½″ × 11½″
Important Tip (Do Not Skip!)
Fuse the fleece to the wrong side of the exterior fabric first.
Heat can shrink fabric slightly—if this happens, trim your lining pieces to match exactly.
Box Corner Prep
- Cut a 2″ square from the bottom corners of all 4 pieces (2 exterior + 2 lining)
- Save these squares—you’ll use them for zipper tabs
Step 2: Prepare the Zipper
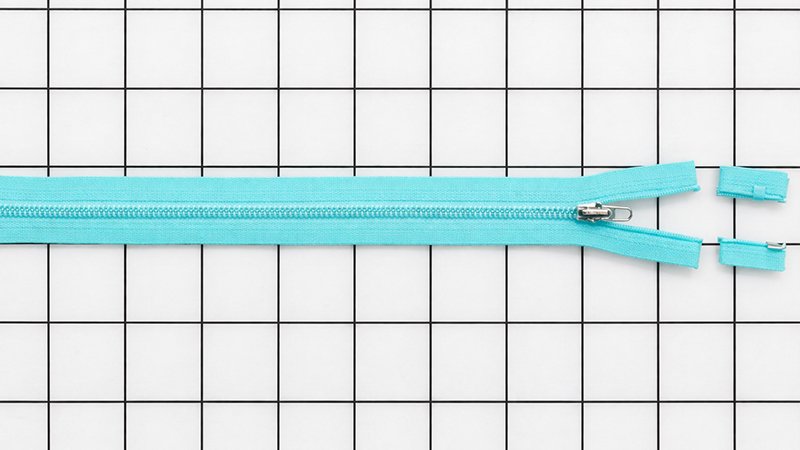
- Move the zipper slider to the center
- Trim zipper to 13″ length
- Remove metal/plastic stops if necessary
Step 3: Optional Label
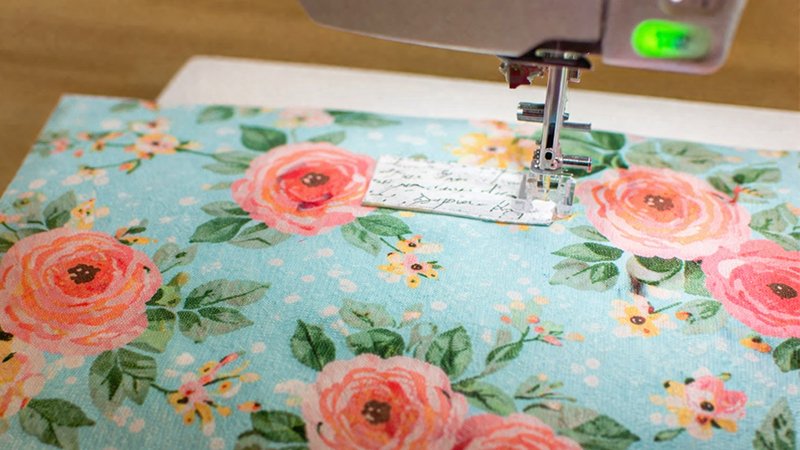
- Position label on one exterior piece:
- Center horizontally
- Place 1½″ below the top edge
- (Optional) Add fleece behind the label for structure
- Stitch around edges (⅛″ seam)
Step 4: Make Zipper Tabs
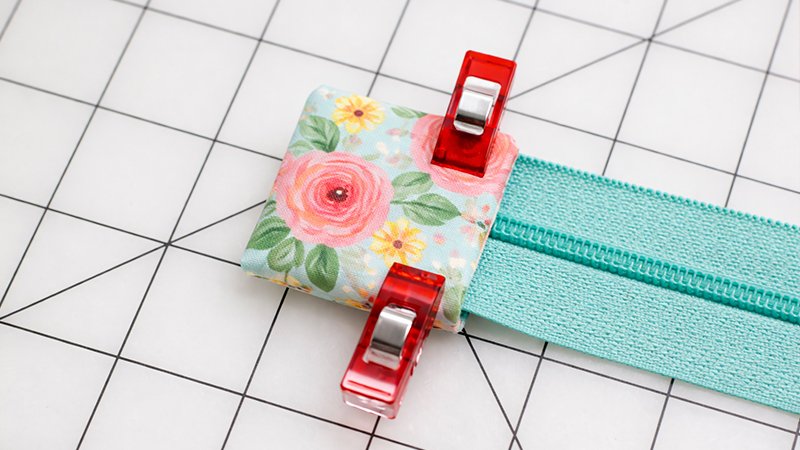
Repeat for both ends:
- Take:
- 1 exterior square + 1 lining square
- Place the right sides together
- Sew around 3 sides (leave one open)
- Trim corners → turn right side out
- Press neatly
- Fold raw edges inward (¼″)
- Insert zipper end only ¼″ inside tab
Do NOT push further (you need space for snaps later) - Topstitch around edges (⅛″)
Step 5: Prepare Top Edges
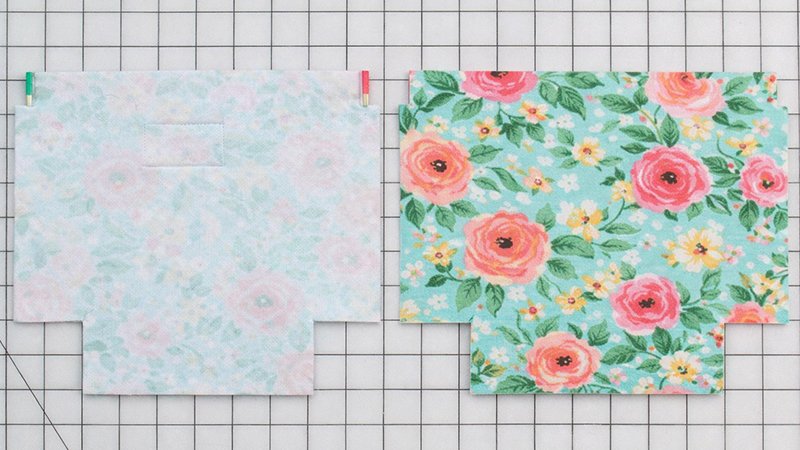
On all pouch pieces (exterior + lining):
- Measure 1″ down from the top edge on both sides
- Make a small clip (¼″ deep) at that point
- Fold the top 1″ section inward (wrong side) by ¼″
- Press well
Step 6: Install the Zipper
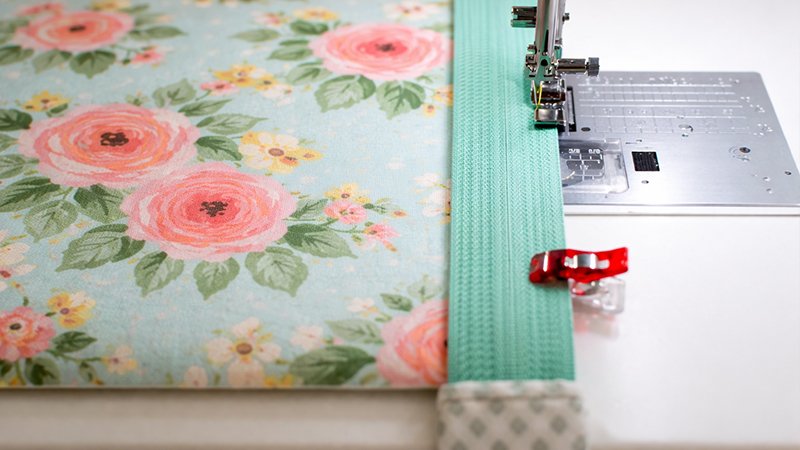
First Side:
- Place the zipper face down on the exterior fabric (right side)
- Align edges carefully (keep folded 1″ sections intact)
- Baste with a scant ¼″ seam
- Place the lining fabric face down on the zipper
- Align folded edges neatly
- Sew with a full ¼″ seam
Repeat for Second Side
After Sewing:
- Flip fabrics away from the zipper
- Press well
- Do NOT topstitch yet
Step 7: Assemble the Pouch
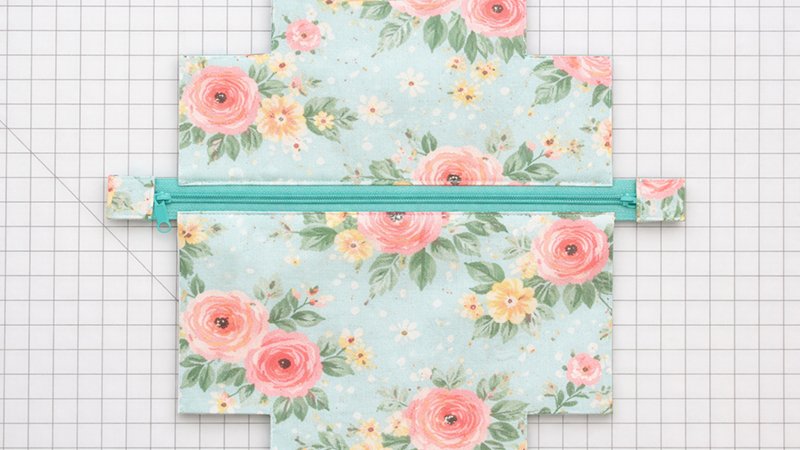
- Arrange:
- Exterior pieces → right sides together
- Lining pieces → right sides together
- Align seams and pin
Sew Exterior:
- Sew sides from the clip down to the corner cutout
- Sew the entire bottom edge
Sew Lining:
IMPORTANT: Open the zipper halfway before sewing
- Sew sides and bottom
- Leave a 3–4″ opening in the bottom for turning
Step 8: Box the Corners
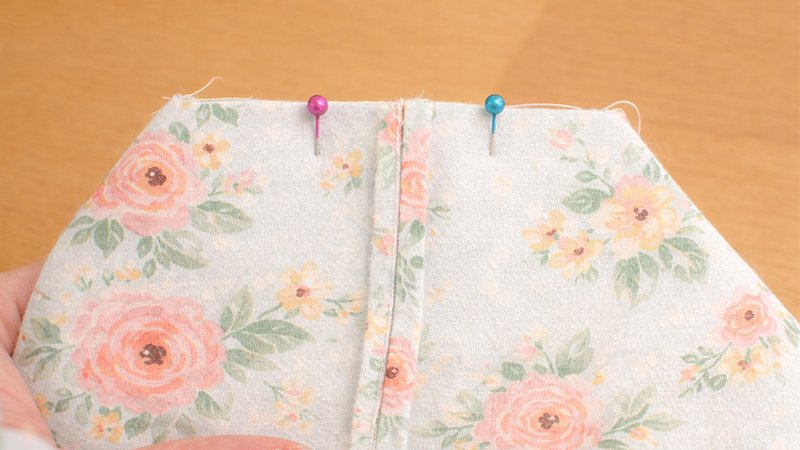
For each corner:
- Align the side seam with the bottom seam
- Flatten into a triangle shape
- Pin
- Sew straight across (¼″ seam)
Repeat for:
- 2 exterior corners
- 2 lining corners
Step 9: Turn the Bag
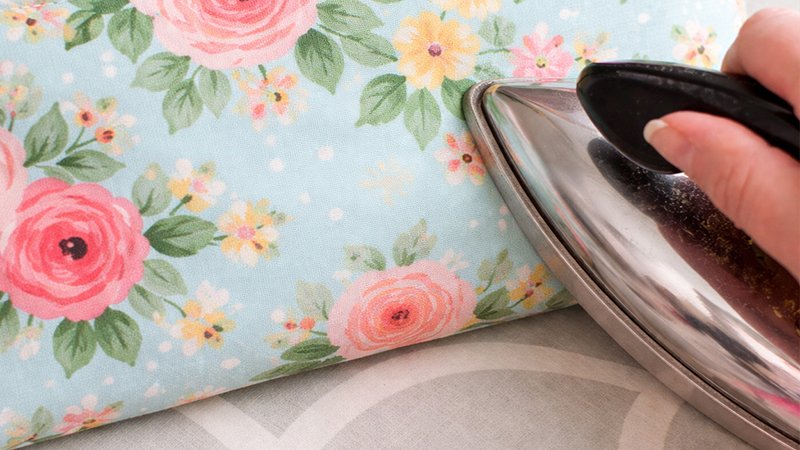
- Fold zipper tabs inward through side openings
- Pull the entire pouch through the lining gap
- Push corners out neatly
Close Lining Opening:
- Hand stitch (invisible stitch) OR
- Machine stitch close to the edge
Step 10: Final Topstitching
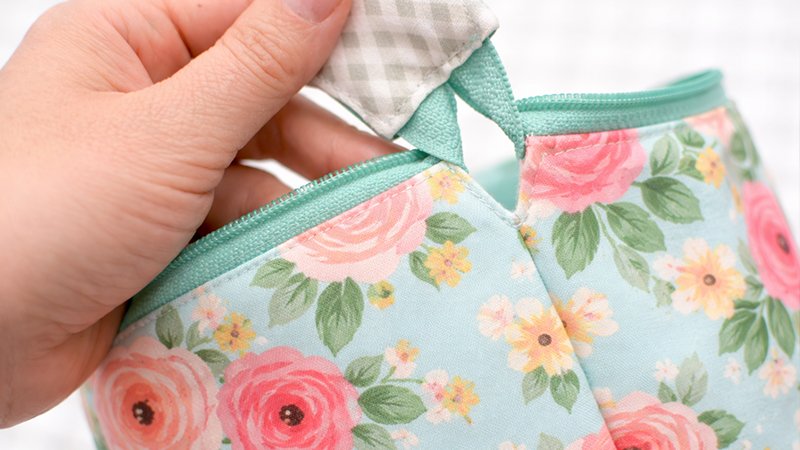
- Push lining inside the pouch
- Align edges carefully (use a stiletto for precision)
- Pin around the top
- Topstitch entire top edge (⅛″ seam)
Tip: Start at a corner, pivot at seams for a clean finish
Step 11: Install Snaps
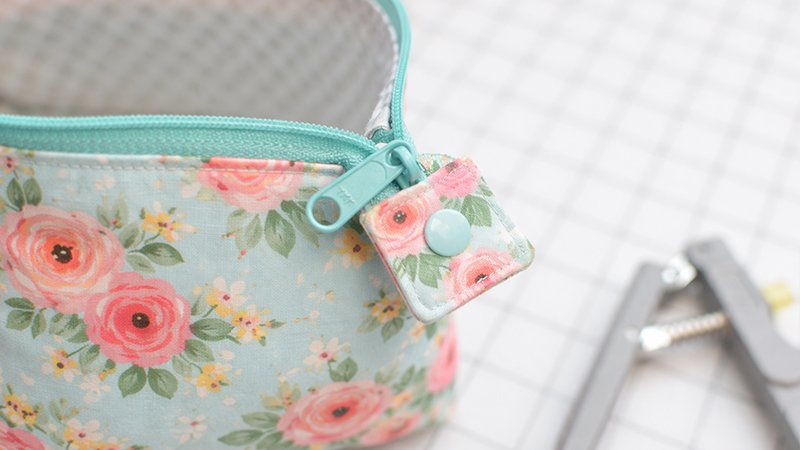
- Measure 1¼″ up from the bottom edge on the side seams
- Mark position
- Use an awl to create a hole
- Attach:
- Female snap → pouch exterior
- Male snap → zipper tabs
Final Result
You now have a structured, wide-opening organizer pouch that:
- Opens fully for easy access
- Stays open while in use
- Folds neatly with snap closures
- Looks like a high-end boutique bag
Why This Pattern Works
- No metal frame needed
- Beginner-friendly but professional finish
- Uses simple materials creatively
- Great for gifts or personal use