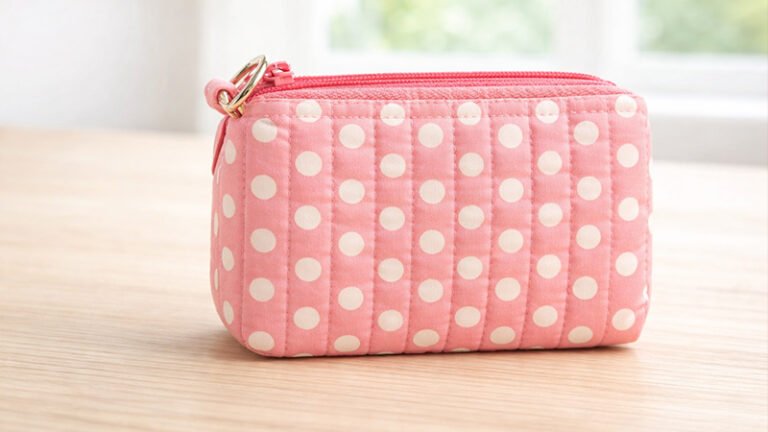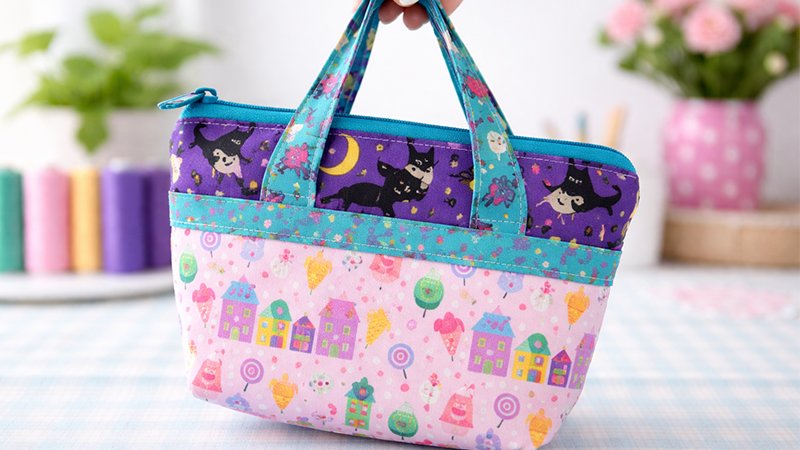
Looking for a quick, fun, and practical sewing project? This Tiny Bag Sewing Pattern is the perfect choice. It’s beginner-friendly, uses minimal fabric (fat quarters or scraps), and creates a compact tote ideal for carrying essentials like your phone, keys, and cards.
Whether you’re making it for yourself or as a handmade gift, this tiny bag delivers professional results with simple techniques.
Finished Size
- Height: 5 ½ inches
- Width: 8 inches (excluding handles)
Materials & Tools
Fabric
- 1 fat quarter (or less) for exterior
- 1 fat quarter (or less) for lining
- Scrap fabric for:
- Handles
- Exterior pocket binding
Interfacing
- 7” × 18” Soft and Stable (recommended for structure)
Alternative: Fusible fleece
Notions
- 1 zipper (at least 9” long)
- Thread (matching or contrasting)
Tools
- Fabric chalk or marking pen
- Iron
- Pins or clips
- Sewing machine
- Zipper foot
- Walking foot (optional but helpful)
Cutting Instructions
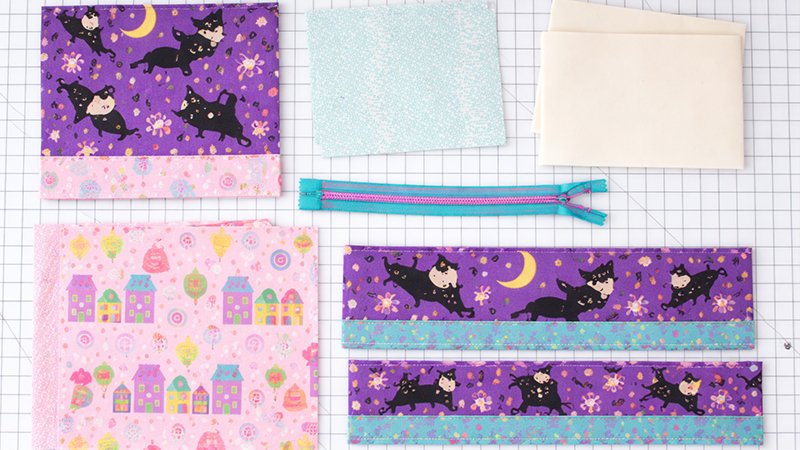
Cut all pieces accurately for best results:
Exterior Fabric
- 2 pieces: 7” × 9”
Exterior Pocket
- 1 piece: 11” × 9”
Strap Fabric
- 2 strips: 4” × 21” (handles)
- 1 strip: 2” × 9” (binding)
Lining Fabric
- 2 pieces: 7” × 9”
- 1 piece: 11” × 9” (interior pocket)
Interfacing
- 2 pieces: 7” × 9”
Step-by-Step Sewing Instructions
Step 1: Make the Handles
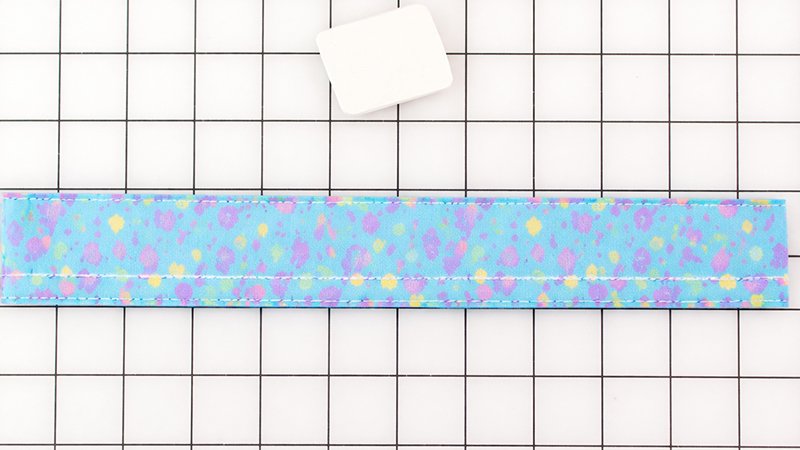
- Take each 4” × 21” strip.
- Fold in half lengthwise and press.
- Open it and fold both long edges toward the center crease. Press again.
- Fold in half once more (like bias tape).
- Press well.
Topstitch along both long edges (about ⅛” from the edge) for strength and a polished look.
Step 2: Prepare the Pockets
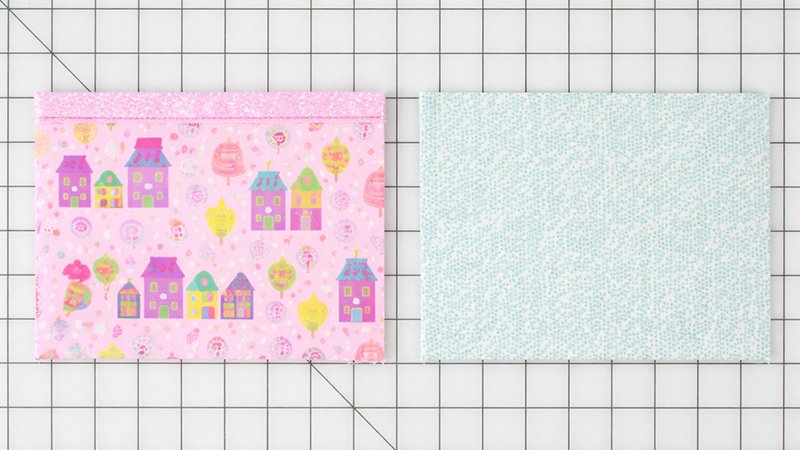
Exterior Pocket
- Fold the 11” × 9” piece in half (wrong sides together).
- Take the 2” × 9” binding strip:
- Press one long edge under by ⅜”.
- Align raw edges of binding with top of pocket.
- Sew with ⅜” seam allowance.
- Fold binding over the edge, tuck under, and topstitch.
Interior Pocket
- Fold the lining pocket piece the same way.
- Topstitch along the folded edge (⅛” from edge).
Step 3: Attach Interfacing & Handles
Add Structure
- Place exterior fabric on interfacing.
- Baste around edges (¼” seam allowance).
- If using fusible fleece: fuse it instead.
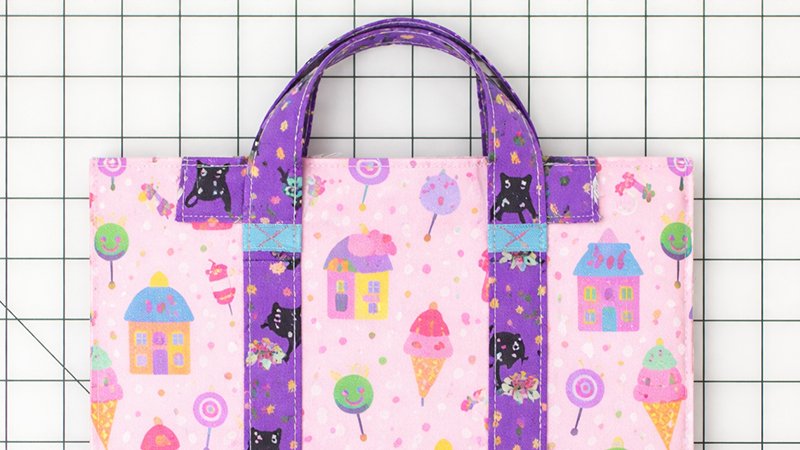
Attach Handles
- Mark 5 ½” from each end of each strap.
- Position straps:
- 2 ¼” from each side edge
- Sew:
- Start at bottom
- Stitch up to mark
- Across
- Back down
This secures handles while keeping the top flexible.
Step 4: Attach the Pockets
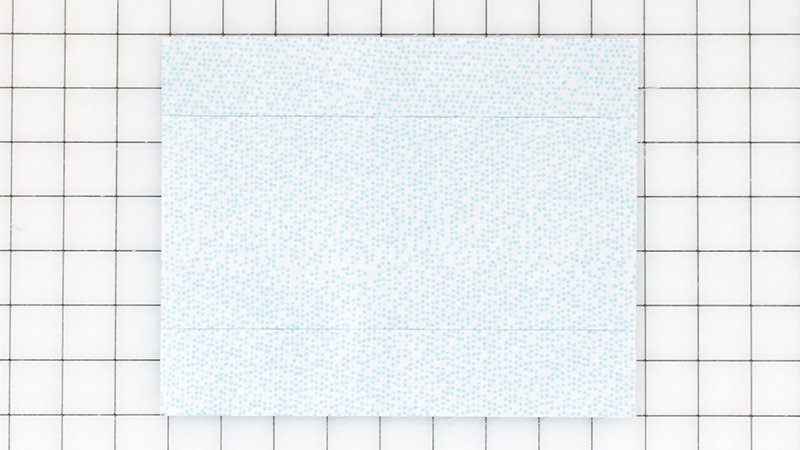
Exterior
- Place pocket onto one exterior panel.
- Align bottom edges.
- Baste sides and bottom.
Optional but helpful:
- Sew a horizontal line 1 ½” from bottom
→ Prevents items from slipping into seam
Interior
- Attach pocket to one lining panel.
- Sew:
- One horizontal line (1 ½” from bottom)
- One vertical line in the center
→ Creates 2 compartments
Step 5: Box the Corners
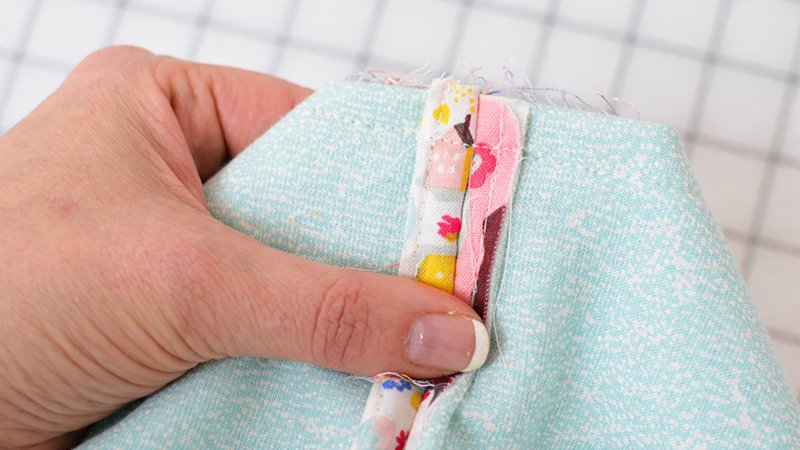
Cut 1 ½” squares from the bottom corners of:
- Both exterior panels
- Both lining panels
This creates a flat-bottom bag later.
Step 6: Install the Zipper
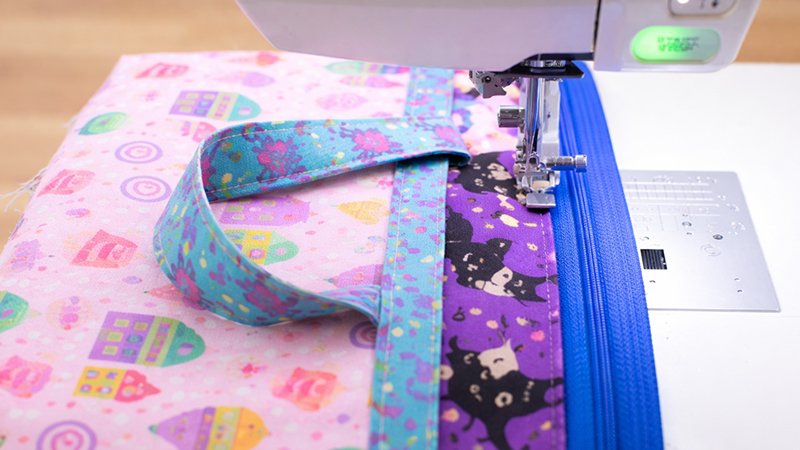
- Place exterior piece right side up.
- Lay zipper face down along top edge.
- Place lining piece face down on top.
- Sew using zipper foot (¼” seam).
- Flip fabrics away from zipper.
- Press and topstitch (⅛” from edge).
Repeat for other side of zipper.
Step 7: Assemble the Bag
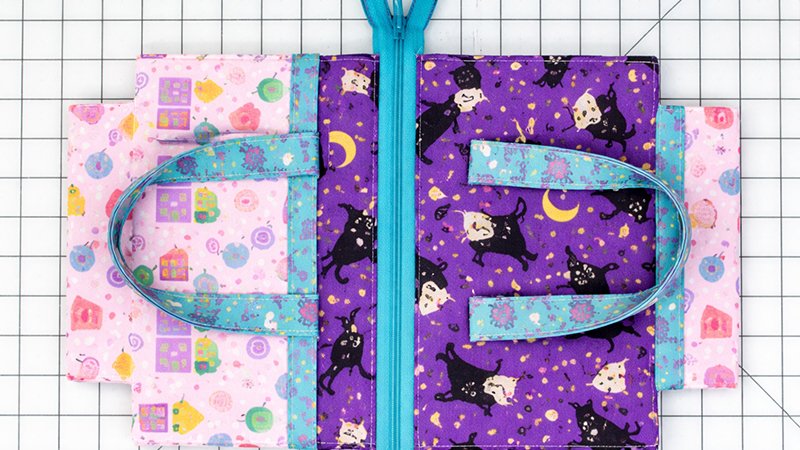
Important: Open zipper halfway before sewing!
- Match:
- Exterior pieces (right sides together)
- Lining pieces (right sides together)
Sew Bottoms
- Exterior: sew completely
- Lining: leave 4” gap in center
Sew Sides
- Stitch both sides (⅜” seam)
Box Corners
- Match side seam to bottom seam
- Flatten corner
- Sew across
Repeat for all 4 corners
Step 8: Turn & Finish
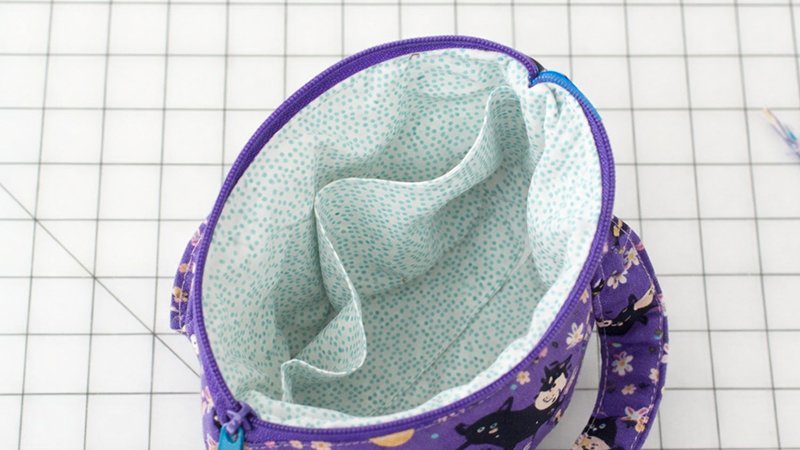
- Trim excess zipper ends
- Trim seams (reduce bulk)
- Turn bag right side out through lining gap
- Push out corners neatly
- Close the lining gap:
- Hand stitch OR
- Machine stitch
- Tuck lining inside bag
Final Tips for Best Results
- Always press seams—this makes a big difference
- Use contrasting fabrics for a stylish look
- Soft and Stable gives a professional, structured finish
- A walking foot helps with thick layers