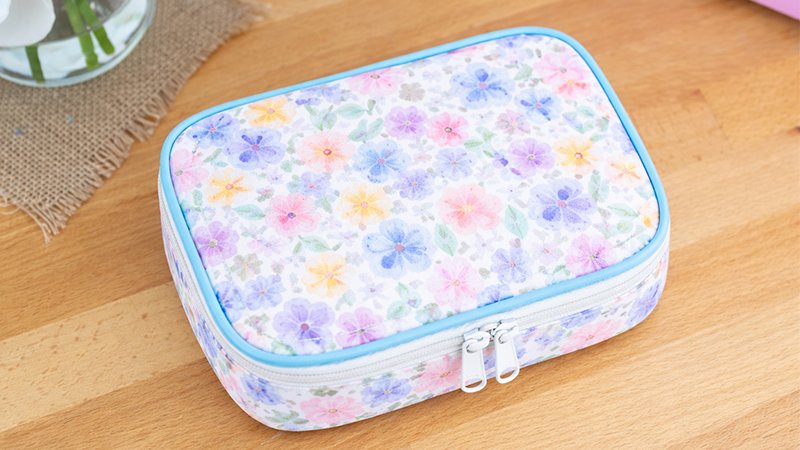
If you want a project that looks professionally made and is genuinely useful, the Pretty Box Pouch by Caroline Fairbanks (SewCanShe) is an excellent choice.
This structured, box-shaped pouch is perfect for storing cosmetics, jewelry, sewing tools, or small accessories—and it opens wide for easy access.
The finished size is approximately 5” x 7” (top) and 2½” deep, making it compact but spacious.
Why This Pouch Stands Out
- Wide-opening design makes contents easy to see and access
- Fully finished interior seams (no raw edges visible)
- Structured shape thanks to foam interfacing
- Piping detail:
- Adds a polished, professional look
- Helps disguise uneven stitching or curves
Skill Level
Intermediate
You should be comfortable with:
- Installing a zipper using a zipper foot
- Sewing curves
- Applying binding (the most challenging step)
Materials & Tools
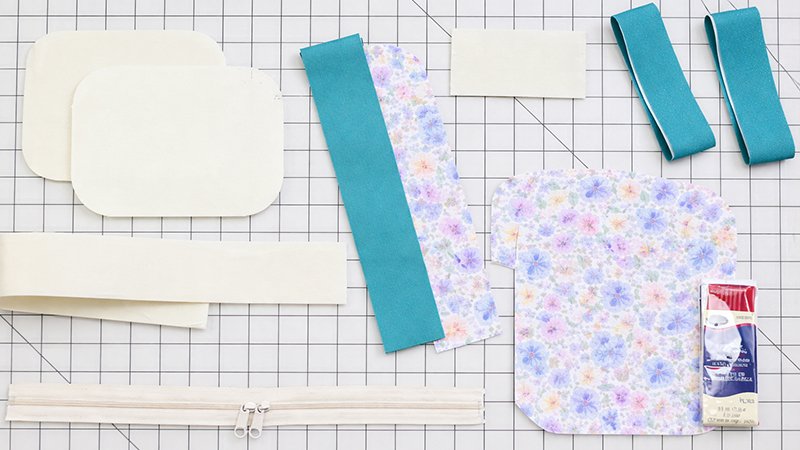
Fabric
- ¼ yard main (exterior) fabric
- ¼ yard lining fabric
- 1 fat quarter for bias binding
Stabilizer
- ¼ yard foam interfacing (e.g., Soft and Stable)
Notions
- 1 zipper (minimum 18”)
- Recommended: size 4.5 handbag zipper with double pulls
- 2 yards of piping
- Pins or Wonderclips
- Fabric marking pen
- Optional: stiletto tool (very helpful for binding)
Cutting Instructions
From Main Fabric
- 2 pouch body pieces (from pattern template)
- 1 strip: 2” x 22½”
From Lining Fabric
- 2 pouch body pieces
- 1 strip: 2” x 22½”
- 1 binding strip: 1½” x 2½”
- 1 zipper join strip: 2½” x 5½”
(Tip: add interfacing like Pellon SF101 for structure)
From Foam Interfacing
- 2 body pieces
- 1 strip: 2” x 22½”
Bias Binding (cut on bias)
- 1 strip: 2” x 22½”
- 1 strip: 1½” x 22½”
Step-by-Step Sewing Instructions
Step 1: Create Fabric Sandwiches
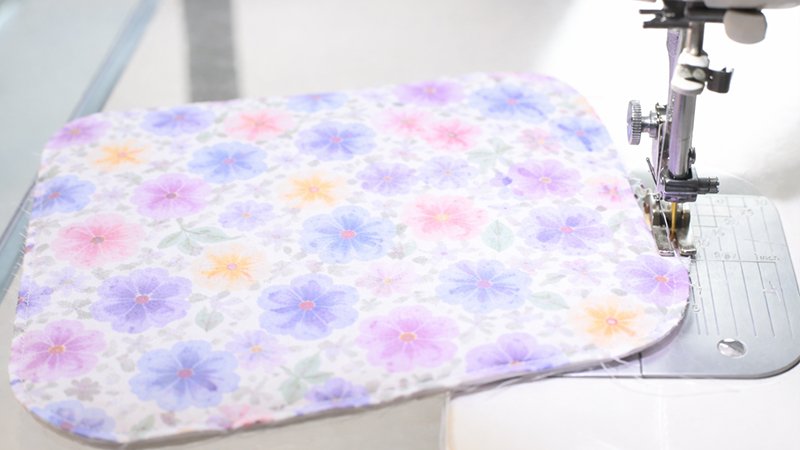
For each piece:
- Place the main fabric (wrong side) against the foam interfacing
- Baste around edges at ⅛” seam allowance
- Flip and place the lining fabric on the other side
- Baste again
Repeat for:
- 2 body pieces
- 1 long side strip
You now have 3 quilted/stabilized pieces
Step 2: Attach Piping
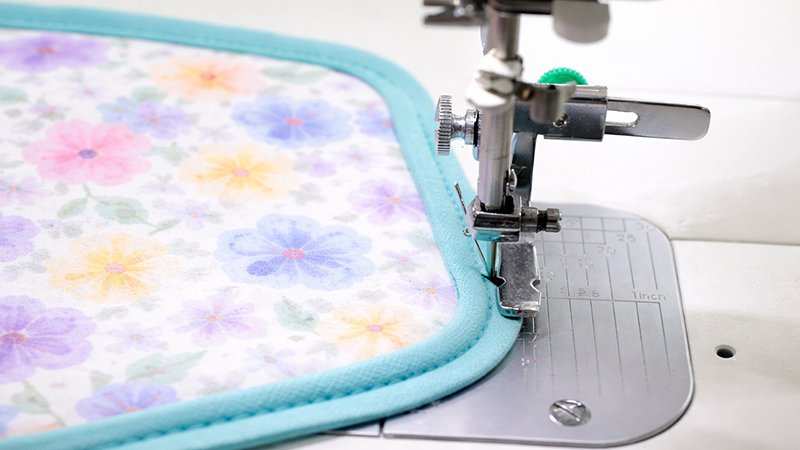
Side Strip
- Sew piping along one long edge using a zipper foot
Top Piece
- Sew piping all the way around one body piece
Tips:
- Clip piping seam allowance every ¼” around curves
- Overlap piping ends neatly at the center
Step 3: Make the Side Loop
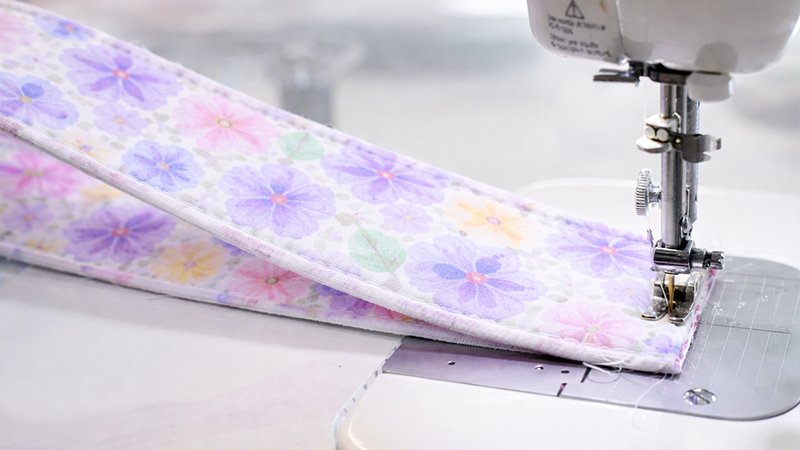
- Sew short ends of side strip together (right sides facing)
- Use ¼” seam allowance
Finish the seam:
- Fold small binding strip (1½” x 2½”) in half
- Sew over the seam
- Fold over and topstitch
This creates a clean interior finish
Step 4: Prepare the Zipper Loop
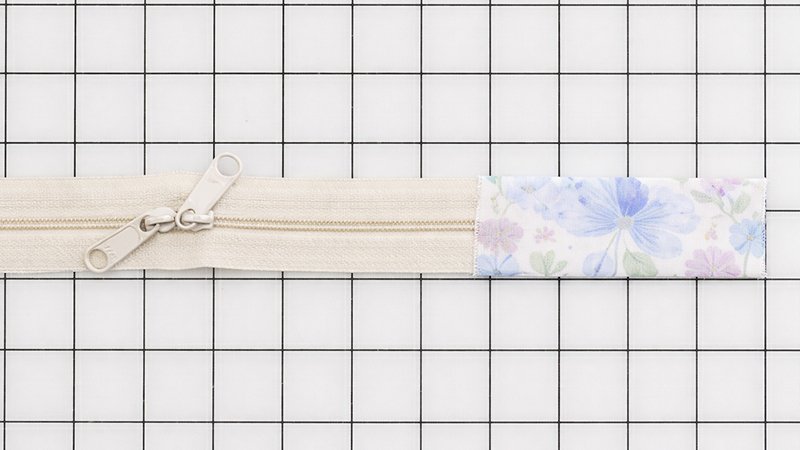
- Trim zipper to 17½.”
- Insert both ends into the zipper join strip
- Sew across ends
- Turn the right side out
This forms a continuous zipper loop
Step 5: Attach Zipper to Side Strip
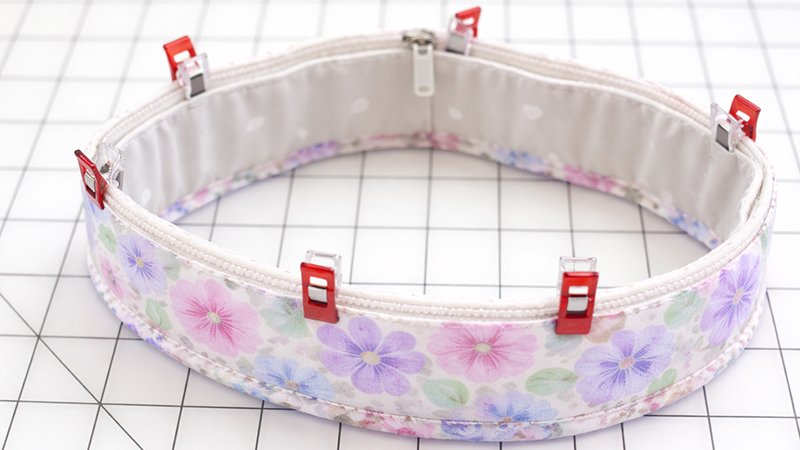
- Mark quarter points on:
- Side strip
- Zipper loop
- Align:
- Right side of zipper → exterior side of strip
- Match quarter marks
- Clip well and sew around with a ¼” seam
Reduce Bulk
- Trim ⅛” off seam allowance + foam
Topstitch
- Fold the zipper up
- From the lining side, stitch close to the zipper
Step 6: Attach Bottom Piece
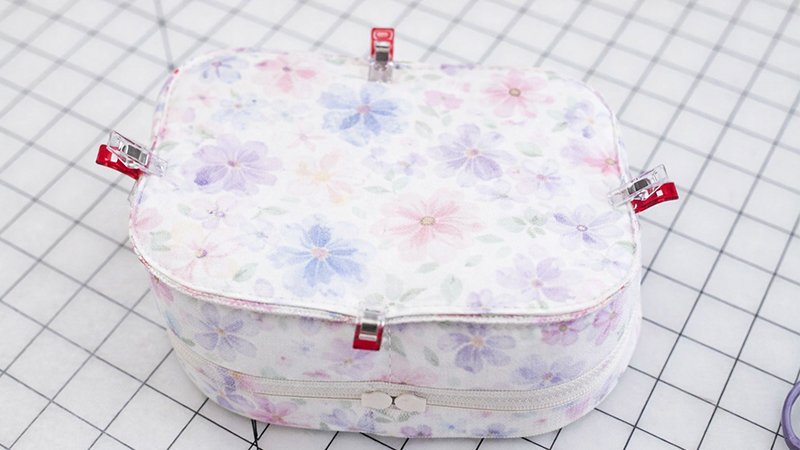
- Turn the side strip lining the side out
- Pin the bottom piece (no piping) to the edge with piping
- Match quarter marks
Important:
- Clip side strip seam allowance 5–6 times around curves
- Sew with ¼” seam
Finish Seam with Binding:
- Join 2” bias strip into a loop
- Sew to seam edge
- Wrap around seam
- Topstitch
Step 7: Attach Top Piece (Final Step)
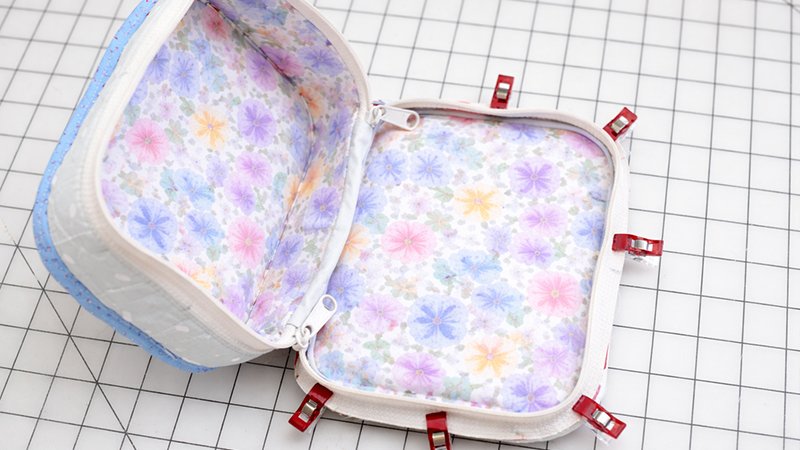
- Unzip completely (very important!)
- Match quarter marks between:
- Zipper edge
- Top piece (with piping)
- Clip thoroughly
Curve Tip:
- Clip the zipper tape slightly to ease around curves
- Sew with ¼” seam
Step 8: Final Binding
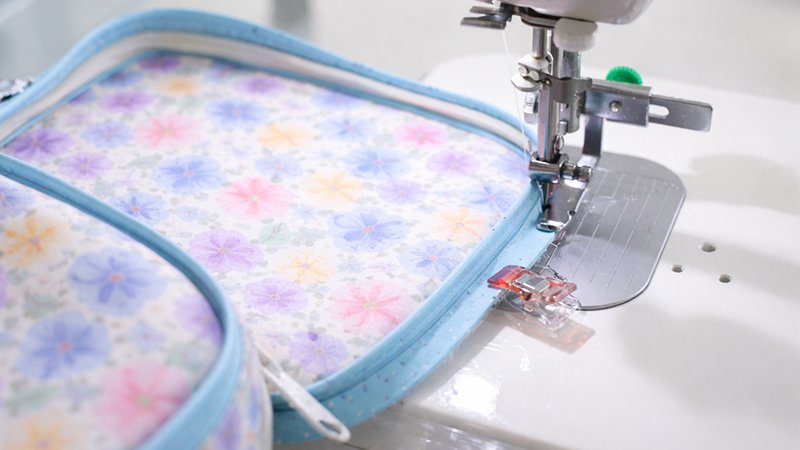
- Use 1½” bias strip
- Sew to seam edge
- Fold inward (not wrapped like the bottom seam)
- Stitch down neatly
A stiletto tool helps control fabric here
Final Step
Turn the pouch right side out—and you’re done!