If you love quilting or sewing, you probably know the chaos of unfinished projects—fabric scraps, half-done embroidery, and quilt blocks scattered everywhere. Staying organized can feel impossible, especially when you want to carry projects on the go.
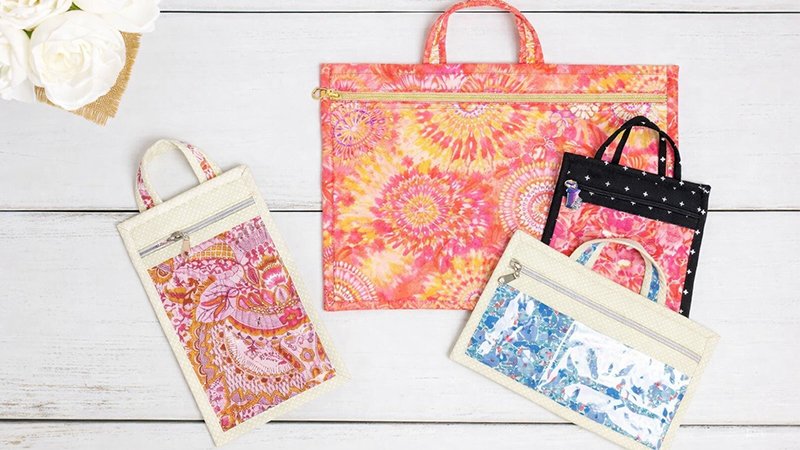
That’s where the Vinyl Project Bag comes in. These zippered pouches feature a clear vinyl front, so you can instantly see what’s inside—no more digging around or opening multiple bags.
In this guide, you’ll learn how to sew these bags in three sizes, plus a unique quilted handle technique that gives your bag a polished, professional finish.
Why These Bags Are So Useful
These aren’t just sewing organizers—they’re incredibly versatile:
- Store quilting and embroidery projects
- Use as travel organizers (cords, documents, toiletries)
- Hold pens, crochet hooks, or tools
- Gift small items in a reusable pouch
- Store jewelry in smaller sizes
Best of all, you can customize the size to use up fabric scraps.
Materials & Supplies
1. Zipper
- Use size 4.5 or 5 handbag zippers
- Stronger and wider than regular zippers
- Nylon teeth are easier to sew over
- Optional: decorative zipper pulls
2. Vinyl
- Use 14–16 gauge clear vinyl
- Durable but still flexible enough to sew
3. Stabilizer & Interfacing
- Foam stabilizer (e.g., Soft and Stable) → gives structure
- Fusible interfacing (e.g., SF101) → supports fabric top
4. Helpful Tools
- Wondertape (no pins in vinyl!)
- Sewing stiletto (for control)
- Large safety pin (for turning handle)
Cutting Instructions
Large Bag (12” x 12” finished)
- Back:
- 2 fabric pieces: 14” x 13”
- 1 foam piece: 14” x 13”
- Vinyl: 11” x 12”
- Top pieces:
- Vinyl binding: 2” x 12”
- Handle binding: 2 1/2” x 10”
- Top fabric: 2 1/2” x 12” (+ interfacing)
- Binding strip: 2 1/4” x 52”
- Zipper: 12 1/2”
Medium Bag (6” x 10”)
- Back:
- 2 fabric pieces: 8” x 11”
- 1 foam piece: 8” x 11”
- Vinyl: adjust depending on orientation
- Top pieces:
- Vinyl binding: 2” x 10”
- Handle binding: 2 1/2” x 9”
- Top fabric: 2 1/2” x 10” (+ interfacing)
- Binding strip: 2 1/4” x 36”
- Zipper: 10 1/2”
Small Bag (7 1/2” x 7 1/2”)
- Back:
- 2 fabric pieces: 9 1/2” x 9”
- 1 foam piece: 9 1/2” x 9”
- Top pieces:
- Vinyl binding: 2” x 7 1/2”
- Handle binding: 2 1/2” x 8”
- Top fabric: 2 1/2” x 7 1/2” (+ interfacing)
- Binding strip: 2 1/4” x 34”
- Zipper: 7 1/2”
Step-by-Step Sewing Instructions
Step 1: Make the Quilted Back
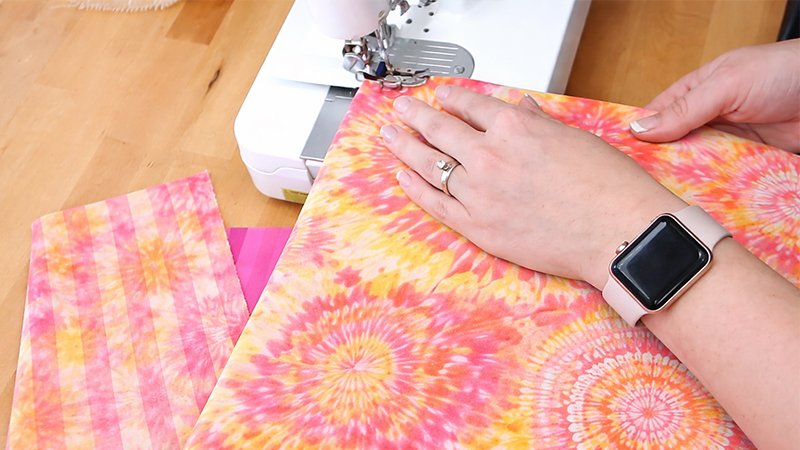
- Place the foam stabilizer flat.
- Put one fabric piece on top (right side up).
- Baste around edges (1/8” seam).
- Flip and repeat for the second fabric on the back side.
- Quilt all layers:
- Straight lines are easiest
- Grid or diagonal lines work well
- Trim to the final bag size.
- Cut a 1” wide strip from the leftover quilted piece for the handle.
- Stitch around edges (1/8”) to secure layers.
Step 2: Create the Quilted Handle (Special Technique)
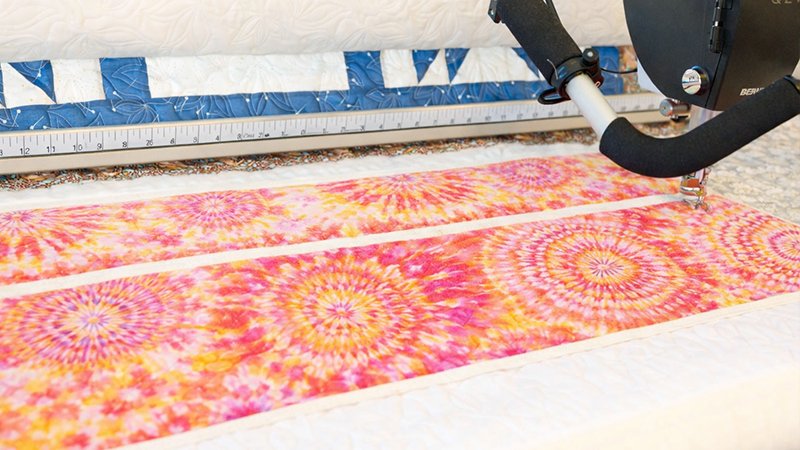
- Place:
- Quilt strip (1” wide)
- Handle binding fabric (2 1/2” wide)
- Right sides together
- Sew both long edges (1/4” seam).
- Attach a safety pin to one end.
- Turn inside out through the tube.
- Press flat.
Result: A strong, clean, professional-looking handle
Step 3: Assemble the Front Panel
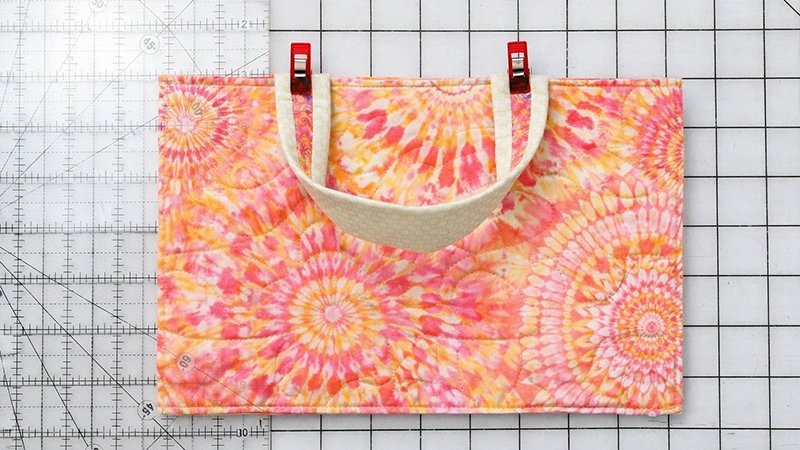
A. Bind the Vinyl
- Fold 2” strip:
- Fold in half lengthwise
- Then fold edges inward
- Wrap around the top edge of the vinyl
- Stitch in place
B. Attach the Zipper
- Apply Wondertape along the vinyl edge
- Place the zipper:
- Teeth facing up
- About 1/8” from the binding edge
- Stitch close to the edge
C. Add Top Fabric
- Fuse interfacing to fabric
- Fold fabric in half (wrong sides together)
- Tape to the top edge of the zipper
- Stitch close to the fold
- Trim the excess zipper
Step 4: Join Front and Back
- Place the front panel on the quilted back
- Align edges
- Baste all around (1/8” seam)
- Trim vinyl if needed
Tip: If the vinyl sticks, lightly rub the sewing machine foot with a tiny bit of oil
Step 5: Attach the Handle
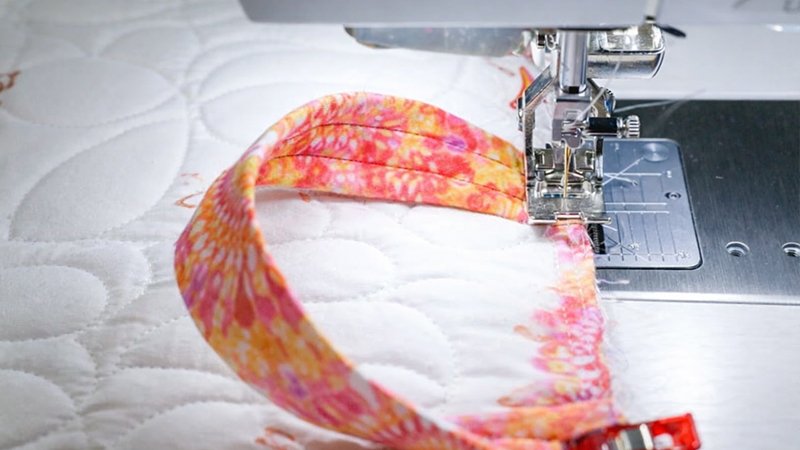
- Position handle ends:
- Large: 3” from sides
- Medium: 2 1/2”
- Small: 2”
- Baste ends to the top edge
Step 6: Bind the Edges
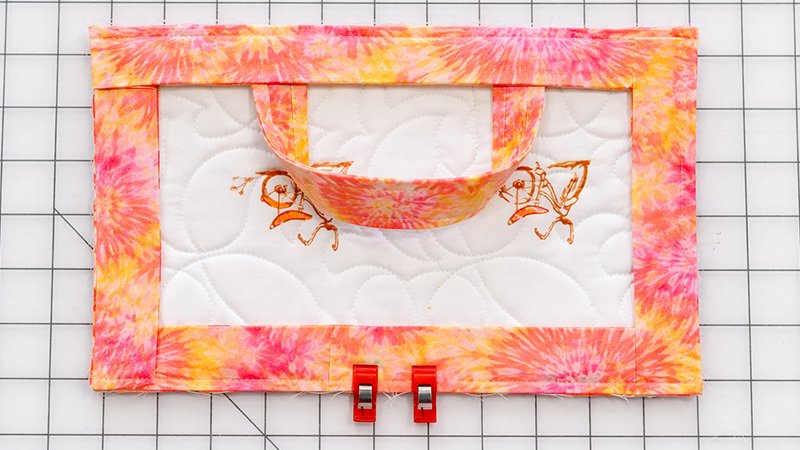
- Fold the binding strip in half lengthwise
- Sew to front edge (1/4” seam)
- Stop 1/4” before each corner
Mitered Corners:
- Fold binding at 45°
- Fold back down along the next edge
- Continue sewing
- Join ends neatly
- Flip the binding to front
- Topstitch close to edge
Use a stiletto for clean corners
Custom Size Formula
Want to make your own size? Follow this:
- Back = finished size
- Vinyl = same width, 1” shorter height
- Handle:
- Quilt strip: 1” wide
- Binding: 2 1/2” wide
- Zipper = at least bag width
- Binding = perimeter + 4”
Final Tips
- Don’t use pins on vinyl (they leave holes)
- Use Wondertape instead
- Go slow when sewing bulky layers
- Use longer stitch length (3.0–3.5)