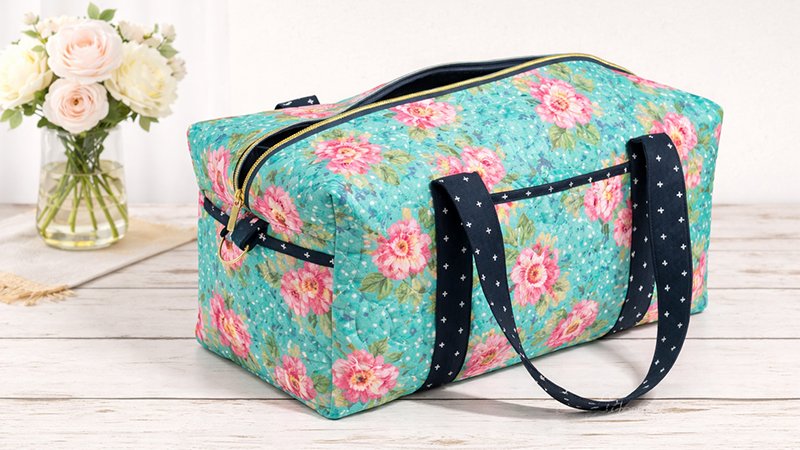
Create a professional-looking, sturdy duffle bag using only straight seams—perfect for beginners! Finished size: 19” W × 8” H × 8” D (excluding handles).
Materials & Tools
Fabric & Stabilizer
- 1 yard quilting cotton (exterior)
- 1 yard quilting cotton (lining)
- 1 yard fabric (binding + straps)
- Foam stabilizer (36” × 42”)
Recommended: Soft and Stable for structure
Hardware
- 24”+ handbag zipper (size 4.5 or 5)
- Optional: 2 zipper pulls
- (2) 1½” D-rings
Interfacing
- ½ yard Pellon 809 Decorbond
Tools
- Sewing machine
- Heavy-duty needle (90/14 or 100/16)
- Polyester thread
- Pins/clips
- Safety pin (for turning straps)
- Ruler & fabric marker
Create the Quilted Foundation
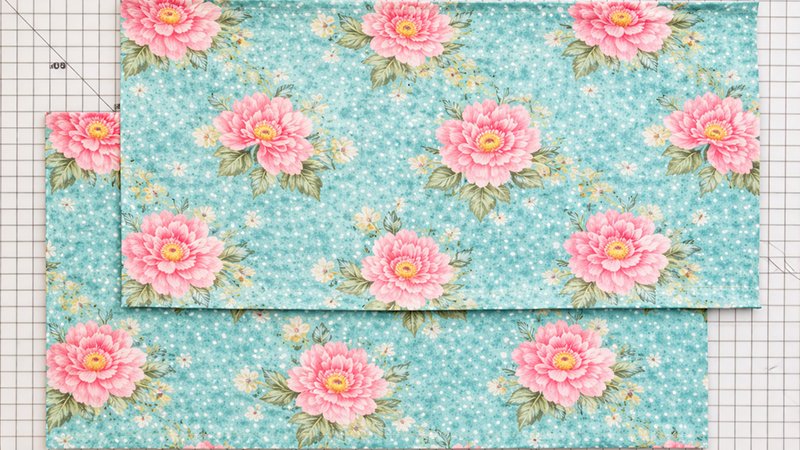
Step 1: Cut Base Panels
Cut:
- (2) exterior pieces → 18” × 42”
- (2) lining pieces → 18” × 42”
- (2) stabilizer pieces → 18” × 42”
Step 2: Make the Sandwich
Layer as follows:
- Stabilizer (middle)
- Exterior fabric (right side up)
- Lining fabric (on the back side)
Baste around edges (⅛” from edge).
Step 3: Quilt
- Use straight-line quilting
- Space lines evenly (your choice)
This gives structure and a designer finish.
Cut Final Pieces
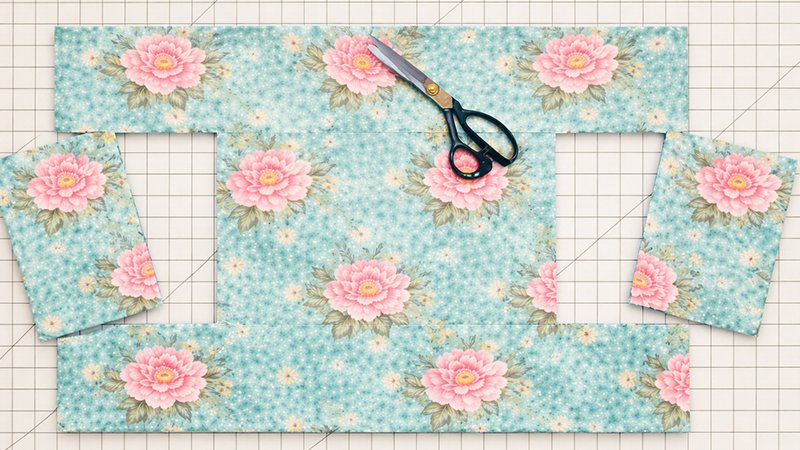
From quilted panels, cut:
Main Body
- (2) pieces → 16¾” × 32”
Pockets
- Side pockets: (2) → 7½” × 8½.”
- End pockets: (2) → 5¾” × 8½.”
Tabs
- (2) → 1½” × 4”
Shape the Main Body
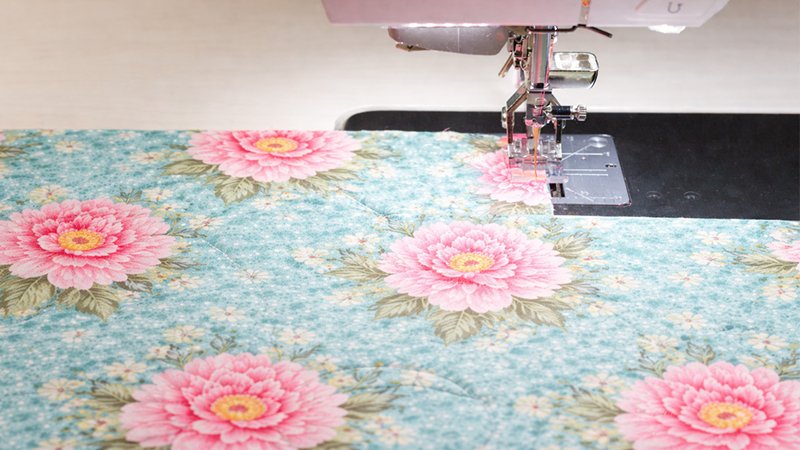
On each main body piece:
- Draw:
- Line 4½” up from the bottom
- Line 4¼” down from top
- Mark vertical lines:
- 6¼” from each side
- Cut out side rectangles (this creates a shape)
- Trim top:
- Remove 4” from each side
- Final top width = 24”
- Bottom remains 32”
Repeat for both pieces
Make Tabs, Pockets & Straps
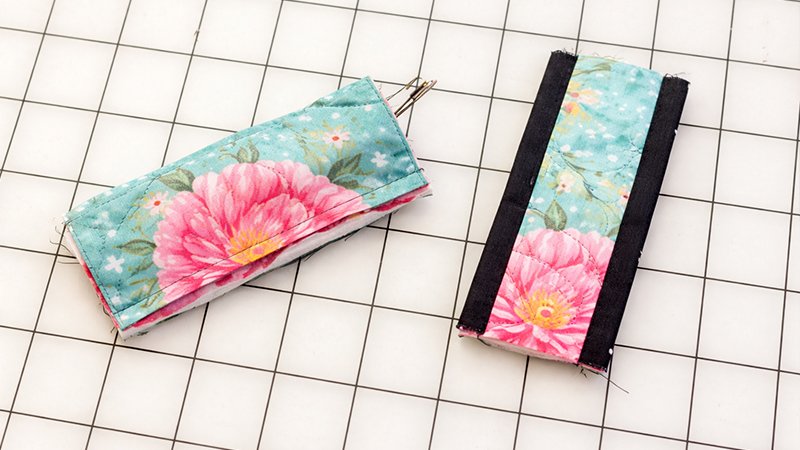
A. D-Ring Tabs
- Wrap tab pieces in binding fabric
- Sew into tubes
- Turn the right side out
- Press flat
- Insert the D-ring later
Pockets
Top Edge
- Fold binding strip (2¼” × 8½”) in half
- Sew to the top edge of the pocket
Bottom Edge
- Fold ¼” hem
- Stitch
Straps
- Step 1: Extend Length: Sew a 6” square to each strap end
- Step 2: Add Interfacing: Fuse Decorbond to the wrong side
- Step 3: Fold: Fold edges toward the center/ Final width: 1½”
- Step 4: Stitch: Topstitch both sides
Insert the Zipper
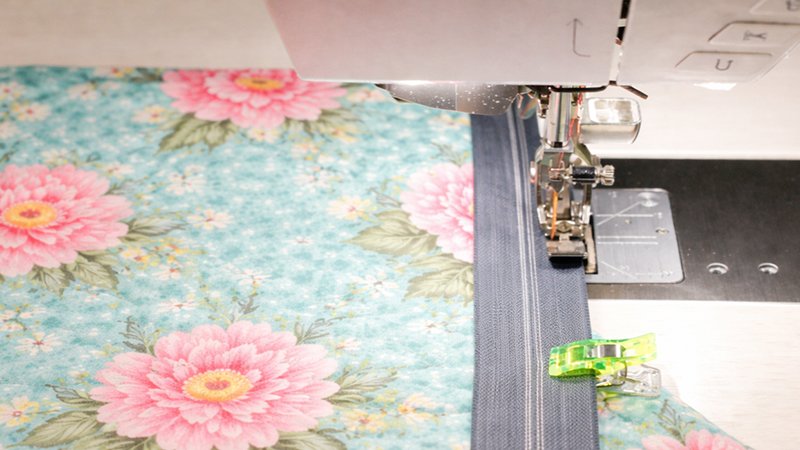
Step 1
- Cut zipper to 24½.”
Step 2
- Place the zipper face down on one body piece (top edge)
- Sew with ¼” seam
Step 3 (Important!)
- Trim ⅛” seam allowance (fabric + foam only)
- DO NOT cut the zipper tape
Step 4
- Fold the zipper outward
- Topstitch ⅛” from edge
Step 5
- Repeat for the second side
This creates a clean, enclosed zipper finish
Assemble the Bag
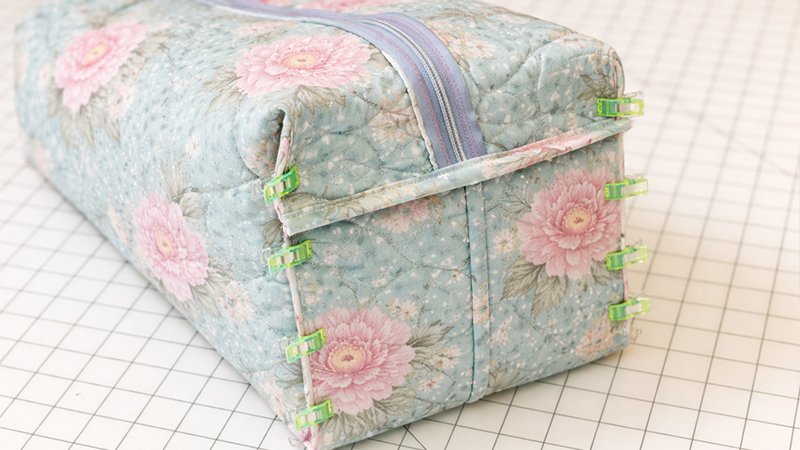
Step 1: Attach Pockets
- Position side pockets:
- 4½” up from the bottom
- Stitch sides + bottom
Step 2: Attach Straps
- Place straps over pockets
- Stitch vertically
- Stop 4” below the zipper
Reinforce with box + X stitching
Step 3: Sew Bottom Seam
- Join main panels (right sides together)
- Sew the bottom edge
Finish seam:
- Cover with a binding for a clean interior
Step 4: Attach End Panels
Add Tabs
- Insert D-rings into tabs
- Attach tabs to the end flaps
Add End Pockets
- Slide pockets under tabs
- Stitch in place
Step 5: Close Sides
- Sew top edges (near zipper) to end flaps
Finish seams:
- Option 1: Binding (cleanest)
- Option 2: Wide zig-zag stitch (faster)
Final Step
- Turn the bag right side out
- Push out corners
- Shape the bag
Done! You now have a structured, designer-style duffle bag.