In the world of fine arts and high-end DIY craftsmanship, the transition from a vision to a finished masterpiece involves more than just the stroke of a brush.
When working with a medium as rewarding yet complex as wood, the longevity of your work depends entirely on one critical phase: the sealing process.
Whether you are an aspiring artist or a seasoned professional looking to elevate your furniture restoration projects, understanding how to properly protect your medium is the difference between a piece that fades in a decade and one that becomes a multi-generational heirloom.
Acrylic paint is celebrated for its versatility, vibrancy, and rapid drying time. However, wood is a porous, living substrate that reacts to its environment.
Without a strategic approach to sealing, even the most breathtaking artwork is vulnerable to moisture, UV degradation, and physical wear.
This comprehensive guide provides a masterclass in sealing acrylic paint on wood, ensuring your projects meet the highest standards of durability and aesthetic excellence.
The Foundation: Understanding Your Medium
Before we explore the “how,” we must understand the “what.” Not all paints are created equal, and the type of acrylic you choose dictates the preparation and sealing requirements.
The Spectrum of Acrylic Paints
Student-Quality Acrylics
These are highly accessible and typically heavy-bodied. While cost-effective and available in large quantities, they possess a higher filler-to-pigment ratio, which can result in a more translucent finish and less consistency during color blending.
Professional-Quality Acrylics
Designed specifically for artists, these paints offer high pigmentation and smooth blending. They can be diluted with water or polymers without losing their structural integrity, making them the gold standard for high-end artwork.
House Paints
Favored by some for their “creamy smoothness” and affordability, house paints are a popular choice for larger wooden surfaces. However, they are generally designed to last only about 10 years and are prone to faster fading, making an acrylic paint sealer mandatory for long-term preservation.
Why Wood Demands a Sealer
Wood is inherently porous. Once acrylic paint dries on a wooden surface, it often leaves a powdery texture. Because acrylics are water-based, they do not contain the heavy solvents found in oil paints.
This means that if an unsealed surface is touched or cleaned with a moist cloth, it can leave a colored residue behind, signaling that the paint is actively deteriorating.
Sealing renders these porous areas non-porous, effectively “locking in” the pigment and creating a barrier against external threats.
Strategic Tool Selection: Choosing Your Sealer
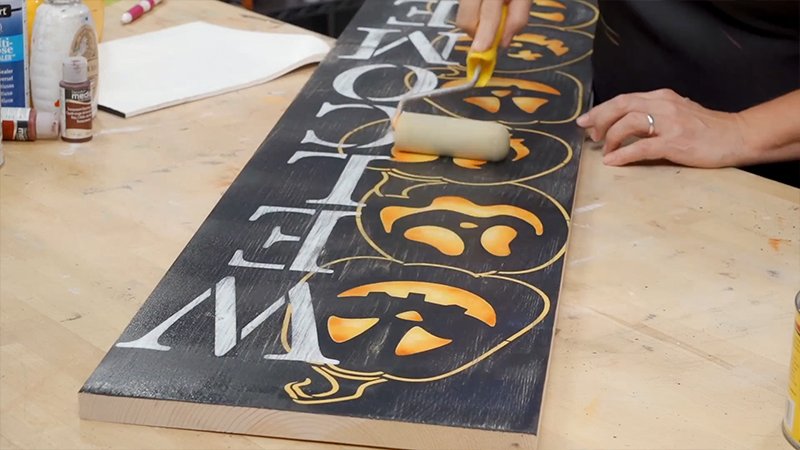
The market offers a variety of sealants, each serving a specific aesthetic and functional purpose. Selecting the right one is a data-driven decision based on the intended use of the piece.
Brush-On vs. Spray-On: The Professional’s Choice
- Brush-On Sealants: Preferred by veteran DIY enthusiasts, brush painting provides superb control, superior adherence, and consistent coverage. It is the ideal choice for intricate furniture or pieces that require a thick, protective layer. However, it requires a steady hand and high-quality brushes to avoid leaving visible brushstrokes.
- Spray-On (Aerosol) Sealants: If you are seeking the quickest application or a perfectly smooth finish without the risk of brush marks, a clear sealant spray is your best option. It is particularly effective for crafts and items with complex geometries. For the best results, professionals recommend applying multiple thin layers in opposing horizontal and vertical directions to ensure even coverage.
Comparing Popular Sealant Types
| Type of Sealant | Best Use Case | Key Advantages | Potential Drawbacks |
|---|---|---|---|
| Clear Sealant Spray | Crafts & Furniture | Versatile finishes; no brush marks | Requires specific spray technique |
| Mod Podge | Crafts & Decoupage | Keeps fingerprints away; easy to tint | Brushstrokes may be visible |
| Wax | Traditional Furniture | Exceptional protection; customizable | Can be expensive; potential for discoloration |
| Gel Medium | Textured Artwork | Excellent protection; adhesive qualities | Can leave visible brushstrokes |
| Micro Glaze | Fine Detail Work | Water-resistant; acid-free | Leaves a slight oily layer |
Selecting the Finish: Matte vs. Gloss
The visual depth of your piece is finalized during the sealing stage.
- Gloss Finishes: These enhance the natural color of the paint, adding a vibrant shine and “pop” to the artwork.
- Matte Finishes: These are ideal for designs where you want to minimize glare and keep the focus on the intricate details of the paint itself.
The Step-by-Step Professional Execution
To achieve a Professional finish, you must follow a disciplined, 6-step process. Skipping even one of these stages can compromise the integrity of the entire project.
Step 1: Precision Sanding
Never paint on raw, unrefined wood. Begin by sanding the surface in the direction of the wood grain (the lateral streaks).
- Start with a medium-grit sandpaper.
- Graduate to 220-grit fine sandpaper for the smoothest possible base.
Step 2: Debris Removal and Cleaning
Even the smallest dust particle can ruin a sealant’s adherence. Use a microfiber cloth or a specialized tack cloth to clear away debris. If using a damp cloth, ensure the wood is completely dry before proceeding, as excess moisture will impede the following steps.
Step 3: Initial Wood Sealing (Pre-Paint)
Before applying paint, you must seal the wood itself. Apply the sealer to the surface and borders, allowing it to dry according to the manufacturer’s instructions. Professionals often recommend a second layer for maximum security, followed by a 24-hour drying period.
Step 4: The Priming Phase
A sealer is not a primer. A primer is specifically designed to help the acrylic paint adhere to the wood surface. Apply one or two coats of wood primer, ensuring the surface is totally dry between applications.
Step 5: Artistic Application (Painting)
Apply your acrylic paint in two to three coats. To ensure maximum adhesion between layers, professionals recommend gently scuffing the first coat once it has dried before applying the next.
Allow the paint to cure fully; depending on your environmental conditions, this can take anywhere from a few hours to several days.
Step 6: The Final Seal
Once the paint is cured, wipe the surface one last time to remove any dust.
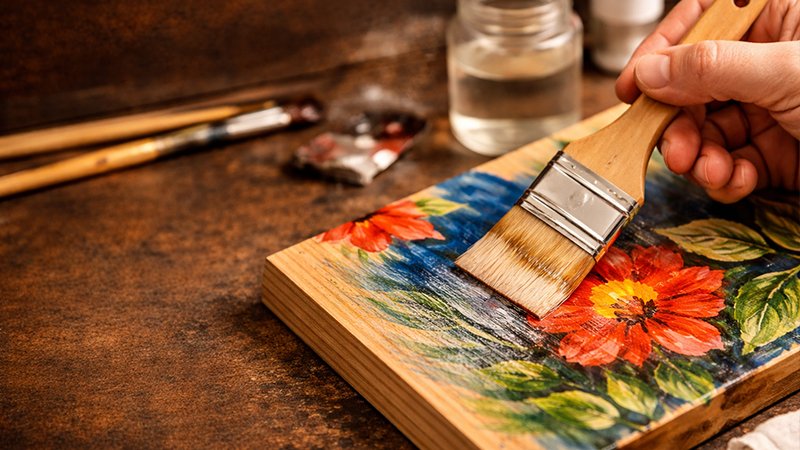
- For flat panels: Use a roller, brush, or spray for efficient coverage.
- For curved or intricate shapes: Use a sponge application to reach tight places.
- Critical Tip: Apply numerous thin layers rather than one thick coat. This prevents brush strokes, avoids a “gloopy” appearance, and facilitates faster drying.
Environmental Considerations: Indoor vs. Outdoor
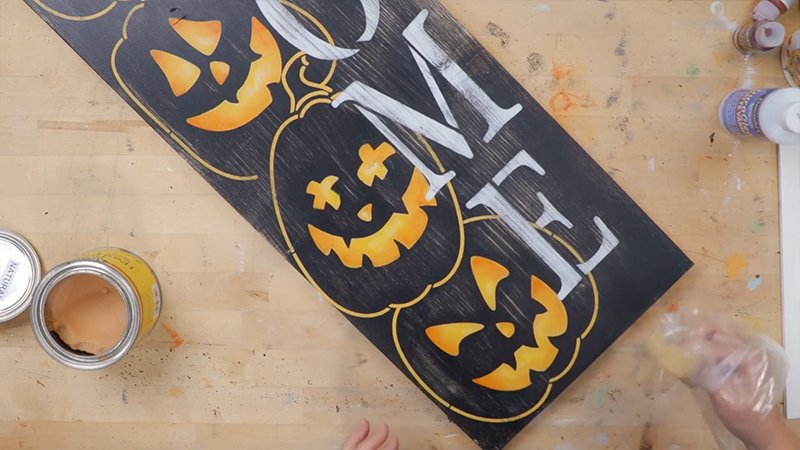
The location where your finished piece will live dictates the “strength” of the sealant required.
Indoor Projects
You have the luxury of prioritizing aesthetics. Focus on a finish that complements your interior design while ensuring the surface remains easy to clean.
Outdoor Projects
This is where durability is tested. Outdoor wood must be prepared thoroughly to prevent the paint from peeling or chipping due to moisture, UV radiation, and temperature stress.
Use a specialized, heavy-duty outdoor sealant to preserve the vibrancy of the colors against the elements.
Troubleshooting & Expert FAQ
Q: Is it absolutely necessary to use a primer?
A: If you are working with raw wood, yes. For upcycled pieces that may already have a finish, it is not always mandatory, though it is still recommended for the best adhesion.
Q: Will acrylic paint naturally stick to wood?
A: Yes, most acrylics, including heavy-bodied, soft-bodied, and acrylic-based gouache, will stick to wood. However, without a sealer, the bond is not permanent and is susceptible to damage.
Q: Can I use house paint for my art projects?
A: You can, but be aware of its limitations. House paint is designed for coverage rather than longevity. If you use it, you must use a high-quality acrylic sealer to extend its life beyond its typical 10-year limit.
Q: How do I avoid bubbles or brush marks in my sealer?
A: Always use high-quality brushes. Cheap brushes often lose bristles, which can become permanently entangled in your sealant. Additionally, applying the sealant in thin, even layers is the best way to ensure a flawless, professional finish.
Conclusion: Turning Craft into Legacy
Sealing acrylic paint on wood is more than a final step; it is an act of preservation. By choosing the right materials—from professional-grade paints to the appropriate spray or brush-on sealers—you ensure that your creativity is protected from the passage of time.
The beauty of this process is its versatility. Whether you are refurbishing a beloved piece of furniture or creating a new work of art, these techniques provide the foundation for excellence.
We encourage you to experiment with different finishes, embrace the satisfying process of preparation, and take pride in the knowledge that your work is built to last.
Ready to start your next project? Ensure you have your 220-grit sandpaper and high-quality clear sealant ready. Your masterpiece deserves nothing less than perfection.