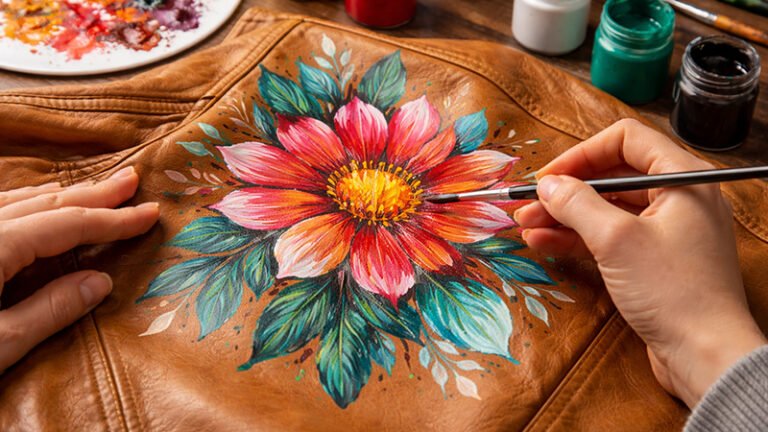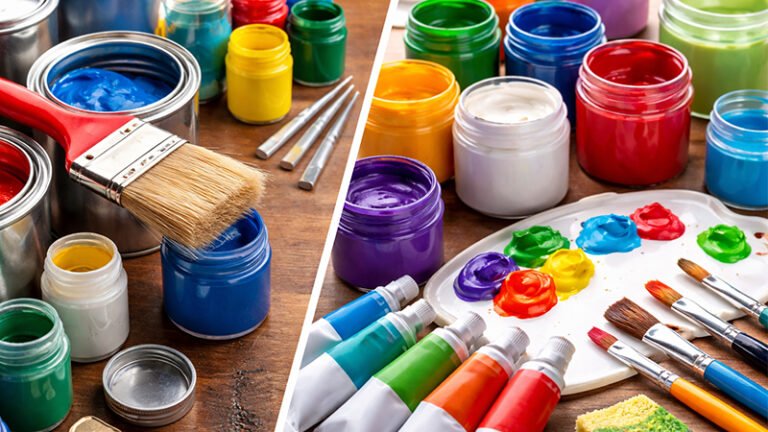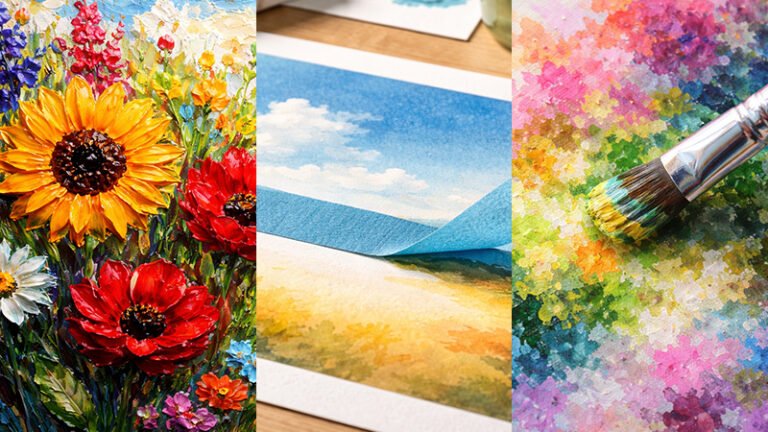
Painting is fundamentally an act of communication, but for many, it is also a therapeutic and deeply rewarding journey into self-expression.
While the convenience of commercial acrylics is undeniable, many contemporary artists are returning to the traditions of the old masters—getting involved with the entire development of their work, starting with the paint itself.
By choosing to DIY your acrylics, you move beyond the limitations of mass-market shelves. You gain the ability to manipulate viscosity, transparency, and pigment load to suit specific techniques, from heavy impasto to delicate glazing.
Beyond the technical advantages, this process offers a profound sense of artistic pride, connecting you to the very chemistry of your creation.
The Strategic Advantage: Why Formulate Your Own Paint?
The decision to manufacture your own acrylic paint is not merely a novelty; it is a strategic choice that impacts the quality, cost, and ethics of your practice.
Unparalleled Creative Control
When you formulate at home, you are the master of the outcome. You determine the exact amount, color saturation, and texture of the paint.
Unlike commercial paints that often contain standardized fillers to maintain shelf consistency, your DIY paint can be customized to be as pure and vibrant as your project requires.
Economic Efficiency at Scale
Commercial artist-grade paints are notoriously expensive, often sold in small tubes with high markups. Making your own paint is a highly cost-effective alternative.
By purchasing pigments and binders in bulk, you can produce a significantly larger volume of high-quality paint for a fraction of the cost of store-bought varieties.
Environmental Stewardship
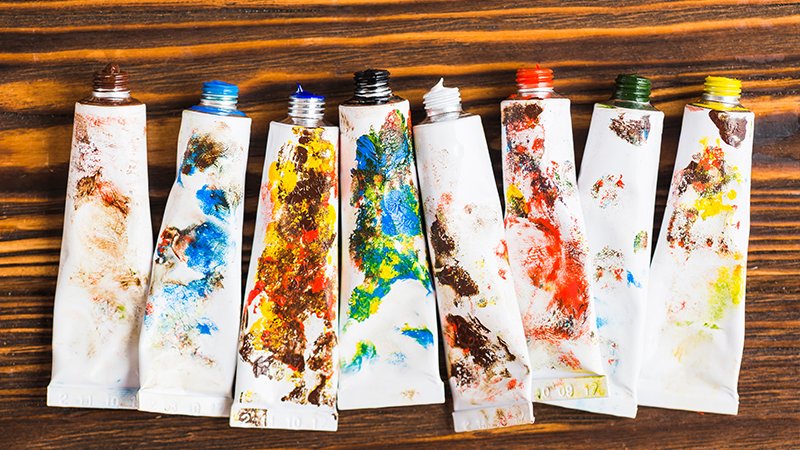
Homemade acrylic paint is inherently more eco-friendly. By utilizing reusable containers and reducing the demand for single-use plastic or aluminum tubes, you actively decrease the volume of waste destined for landfills.
Furthermore, you have the power to exclude harmful preservatives and toxic additives commonly found in mass-produced lines.
The Anatomy of Acrylic Paint: Essential Ingredients
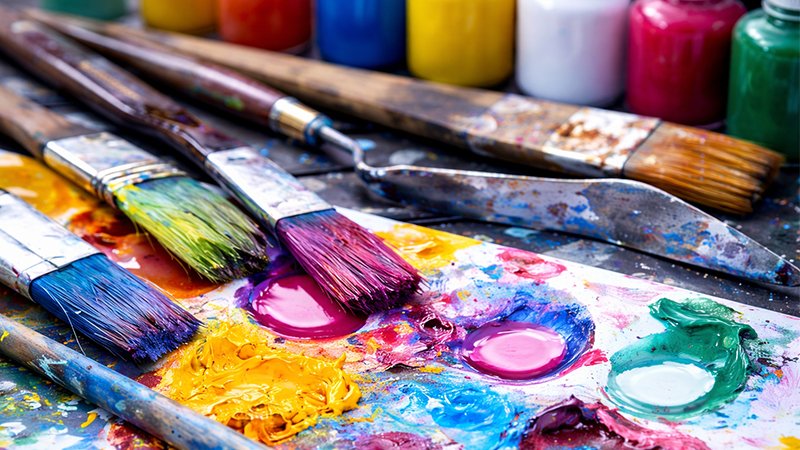
To produce a stable, professional-grade medium, you must understand the three-pillar structure of acrylic paint.
- Pigments: These provide the color and determine the paint’s lightfastness and opacity.
- The Binder (Base): This is the “glue” that holds the pigment particles together and allows them to adhere to the surface once dry.
- The Solvent: This facilitates the mixing process and manages the paint’s initial consistency.
A Deep Dive into Pigment Classification
Not all pigments are created equal. Understanding their chemical origins is vital for ensuring the longevity of your artwork.
- Organic Pigments: Traditionally derived from nature, most modern organic pigments are now synthetic carbon compounds manufactured in laboratories. These are prized for being stable, affordable, and less toxic than many natural alternatives. Common examples include Alizarin, Phthalocyanine, and Quinacridone, all known for their vibrant hues and effectiveness against light and heat.
- Inorganic Pigments: These are of mineral origin and are generally considered “natural”. They are chemically less complex than their synthetic organic counterparts. Classic staples in any professional palette include Cadmium yellow, Cobalt blue, and Lead oxide.
- Lake Pigments: These are unique formulations where an organic dye is combined with an inert binder or metallic salt (a mordant). While technically derived from dyes, they are classified as pigments due to their application, though they may react differently with certain binders.
The Role of the Acrylic Base
The binder determines the flexibility and opacity of the final film. There are two primary emulsions used in the industry:
- Acrylic Polymer Emulsion: The gold standard for most artists due to its durability and common availability.
- Vinyl Acrylic Emulsion: An alternative that can offer different drying characteristics.
Most bases appear opaque or white in the tube but dry clear, allowing the true vibrancy of the pigment to shine through. You can select bases with specific finishes, such as matte or gloss, depending on your desired aesthetic.
Technical Execution: The Step-by-Step Formulation Process
Success in paint making requires precision and a commitment to methodical recording.
Step 1: Pigment Preparation and Grinding
Unless you are working with pre-dispersed liquid pigments, you will likely start with a dry powder. The goal is to achieve a smooth consistency with no grittiness. Use a spatula or palette knife to grind the pigment against a glass surface.
- Expert Insight For a truly professional finish, a glass muller is recommended. Its heavy, flat base ensures that every pigment particle is thoroughly coated in the binder, preventing “clumping” on the canvas.
Step 2: The “Record and Measure” Protocol
One of the primary challenges of DIY paint is replication. To overcome this, you must keep a detailed laboratory-style logbook. Record the exact ratios of pigment to binder for every batch.
This ensures that if you run out of a custom “Midnight Teal” halfway through a mural, you can recreate it with 100% accuracy.
Step 3: Integrating the Binder
Place your pigment in a mixing container or on a glass palette. Slowly add the acrylic base. It is essential to refer to the manufacturer’s label for the recommended pigment-to-binder ratio, as this varies significantly between brands. Mix until the pigment is evenly distributed throughout the emulsion.
Step 4: Calibrating Consistency (Thinning)
If the mixture is too thick, use a solvent—typically purified water—to reach your desired viscosity.
- Using Alcohol: Some pigments are hydrophobic and will float on water. In these instances, isopropyl alcohol (IPA) or ethanol can be used as a wetting agent to help the pigment integrate. However, alcohol evaporates rapidly; you may need to add a small amount of water to maintain workability.
- Correcting Over-Thinning: If you add too much solvent, you can restore body to the paint by incorporating an acrylic gel thickener.
Advanced Customization: Enhancing Performance with Mediums
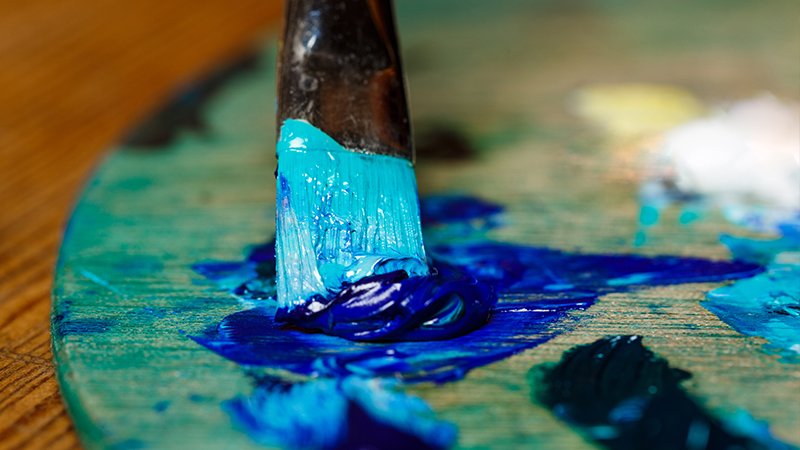
Professional artists rarely use “pure” paint. By incorporating mediums, you can push the boundaries of the acrylic medium.
- Acrylic Retarders: Because acrylics dry notoriously fast, retarders are essential for techniques requiring “wet-on-wet” blending.
- Glazing Mediums: These increase transparency while maintaining the paint’s structural integrity, allowing for luminous, layered effects.
- Texture Pastes & Flow Improvers: These allow you to transition from high-relief 3D effects to thin, ink-like washes.
- Preservatives: Some artists add specific preservatives to extend the shelf life of their batches, though these must be handled with extreme caution.
Safety and Compliance: The Professional Standard
Working with raw pigments and solvents requires a strict adherence to safety protocols to prevent long-term health risks.
Respiratory Protection
Always wear a mask when handling dry pigments to prevent inhalation of fine particles, regardless of whether the pigment is labeled “non-toxic”.
Environmental Ventilation
Work in a well-ventilated studio space, ideally away from living areas and pets.
Dermal and Ocular Safety
Use protective eyewear and gloves to prevent skin irritation or accidental eye contact with pigment dust.
Zero-Cross Contamination
Never use kitchen utensils or food containers for paint making. Once a tool is used for pigments, it is no longer food-safe.
Toxicology Awareness
Avoid pigments containing lead, mercury, or known carcinogens. Be wary of preservatives like formaldehyde, which can trigger severe allergic reactions.
Storage and Longevity Strategies
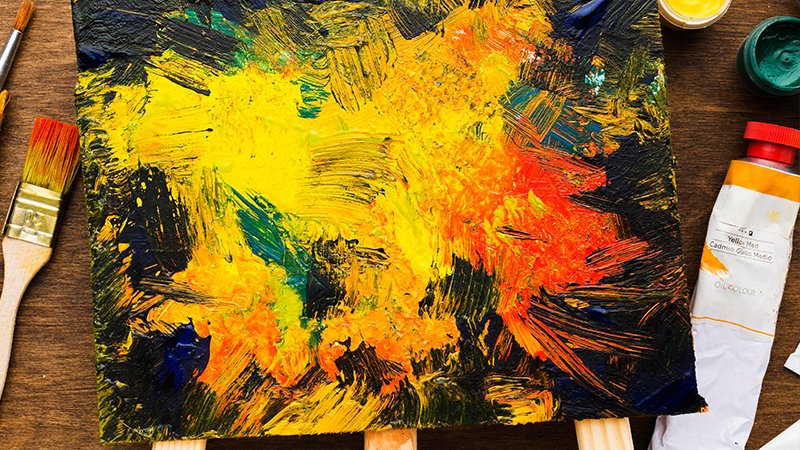
Because DIY paint lacks the heavy-duty commercial stabilizers that prevent separation, proper storage is critical.
- Airtight Containers: Use glass jars (like old jam or medicine bottles) or empty aluminum tubes.
- Minimize Air Exposure: When filling your containers, leave as little “headspace” (trapped air) as possible to prevent the paint from skinning over or drying out.
- Labeling: Every container should be labeled with the color name, date of manufacture, and a reference number to your mixing log.
Enhanced FAQ: Navigating DIY Acrylic Production
Q: Can I use natural dyes like turmeric or beet juice to make acrylic paint?
While you can use dyes, they often require a mordant to become a “lake pigment”. Be aware that natural dyes are often “fugitive,” meaning they will fade quickly when exposed to sunlight, unlike professional synthetic organic pigments.
Q: What happens if I don’t grind the pigment enough?
Under-grinding results in a gritty texture and uneven color distribution. In professional applications, this can lead to “streaking” on the canvas where undispersed pigment particles break open during a brushstroke.
Q: How long does homemade acrylic paint last compared to store-bought?
If stored in airtight containers with minimal air, homemade varieties should last a significant amount of time, potentially even longer than store-bought tubes that have sat on a shelf for years.
However, without professional preservatives, they may be more susceptible to mold if contaminated with tap water; using purified or distilled water is a recommended best practice.
Conclusion: The Path to Artistic Autonomy
Mastering the art of making your own acrylic paint is more than a technical skill; it is an investment in your artistic identity.
It grants you the freedom to move away from standardized colors and into a world of bespoke, high-performance mediums that align with your values of sustainability and quality.
Whether you are a beginner looking to understand color theory or a seasoned professional seeking to refine your process, the journey into DIY paint making will undoubtedly improve your painting skills and deepen your connection to your craft.