Acrylic painting is one of the most beloved mediums in the art world because it is versatile, fast-drying, and available in a stunning array of richly pigmented colors.
Whether you are a complete novice or an experienced artist, understanding the basic principles and mastering specific techniques is the key to unlocking your creative potential.
In this comprehensive guide, we will explore 27 unique methods—ranging from foundational blending to advanced textural work—that can help you transform your style.
By practicing these skills, you will see a marked improvement in your canvases, whether you are painting landscapes, portraits, or abstract designs.
1. Wet on Wet

The wet-on-wet technique involves applying fresh acrylic paint directly onto a layer of paint that is still wet on the canvas. This is an exceptionally effective way to blend two different colors together smoothly, allowing for soft transitions.
However, because acrylic paints are known for their very short drying times, you must work quickly to achieve the desired effect before the surface sets.
This method is perfect for subjects like flower petals or sky gradients where you want a fluid, seamless look. It offers a more spontaneous feel than painting on a dry surface and is a staple for those who enjoy expressive blending.
2. Wet on Dry
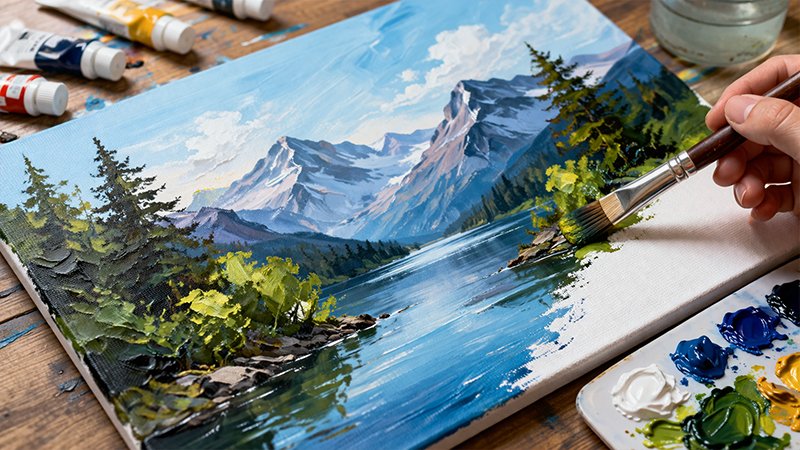
Wet on dry is a more controlled technique where you wait for your first layer of acrylic paint to dry completely before adding new layers on top.
Once the initial surface is dry, you can easily apply either thick or thin layers of paint without the colors mixing.
It is vital to ensure the underlying layers have thoroughly dried; otherwise, the moisture from your new brushstrokes might reactivate the pigment underneath.
This method is ideal for building up complex compositions and achieving sharp, distinct edges, making it the preferred approach for detailed work where color clarity is a priority.
3. Scumbling (Dry Brush Technique)
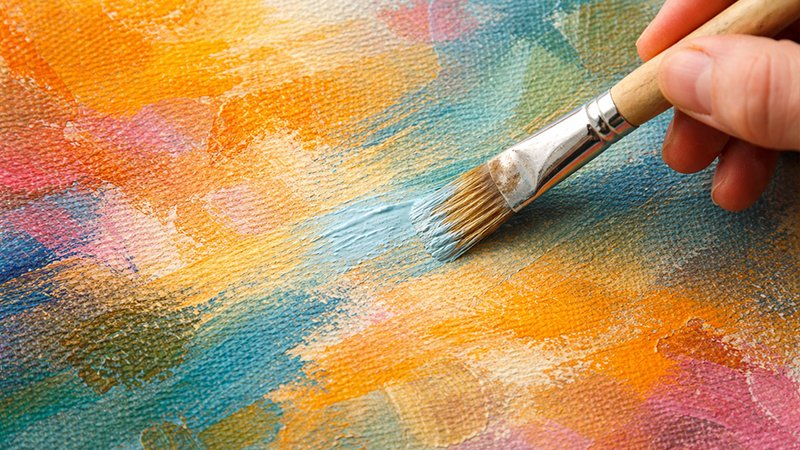
Scumbling, often referred to as the dry brush technique, involves taking a dry brush, picking up a small amount of acrylic paint, and dragging it across your canvas.
Since you aren’t diluting the paint with water or dipping the brush into a jar, the paint catches on the texture of the canvas to create interesting visual effects.
This technique is an excellent way to build up layers of color and add depth to your painting. You can drag the paint in various directions or use a dry brush to blur the edges of existing color blocks, creating a soft, hazy appearance.
4. Palette Knife Painting

If you find yourself stuck in a creative rut, picking up a palette knife instead of a brush can immediately transform your painting style.
Palette knife painting is a distinct skill that requires practice to master, but the bold, textural results are well worth the effort.
This technique is significantly easier to perform when you are working with heavy-bodied acrylics or paint that has been thickened using a medium like modeling paste.
The knife allows you to apply paint in thick, sculptural layers, providing a unique dimension and a less refined, more modern look to your finished artwork.
5. Dabbing
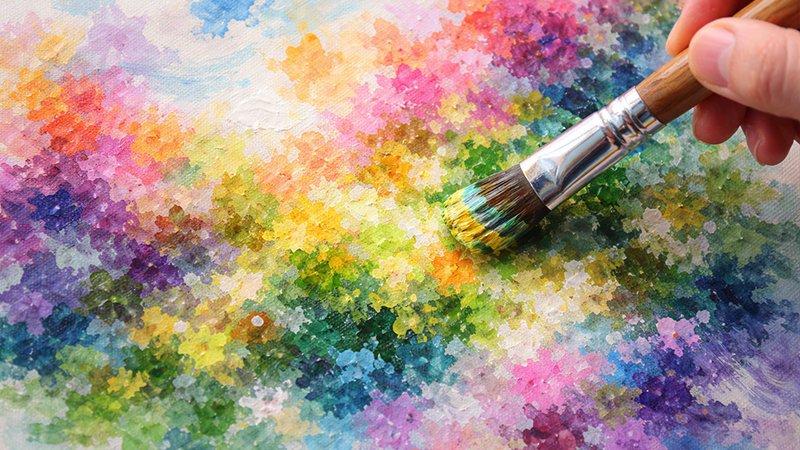
Dabbing is a versatile technique where you apply paint to the canvas using short, quick motions with a paintbrush, sponge, or even a paper towel.
By layering different shades of color on top of one another, you can achieve stunning, complex results. Alternatively, dabbing the canvas with partially mixed paints creates a textured, varied look that adds instant visual interest.
This method is perfect for creating the appearance of floating clouds, distant forests, or a loose, Impressionistic feel.
It also works brilliantly for colorful abstract designs, allowing you to experiment with different tools to see what unique textures you can achieve.
6. Acrylic Paint Pouring
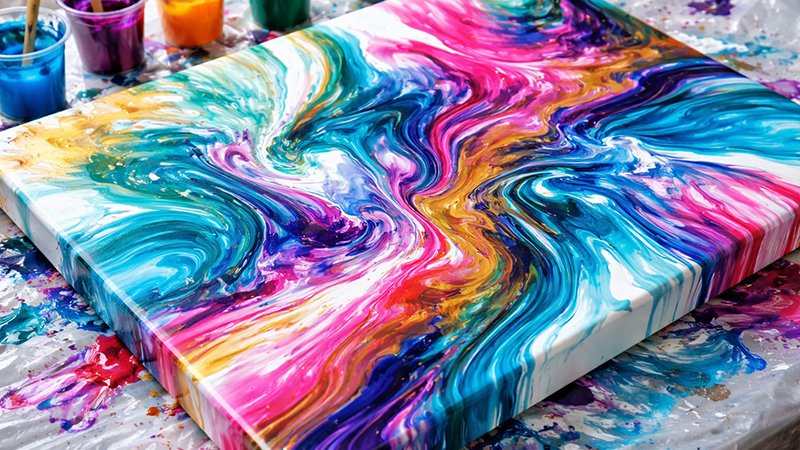
Acrylic paint pouring has become a popular painting style in its own right, used to create beautiful, marbled canvases.
To use this technique, you mix your paint with a specific medium to give it a very runny, fluid consistency, and then you simply pour it over the canvas.
This process can be quite messy, so it is important to protect your workspace and wear old clothes. The result is a smooth, glossy surface where colors swirl together in unpredictable patterns.
It is a fantastic way to explore abstract art and create pieces that have a liquid-like, organic flow.
7. Dripping
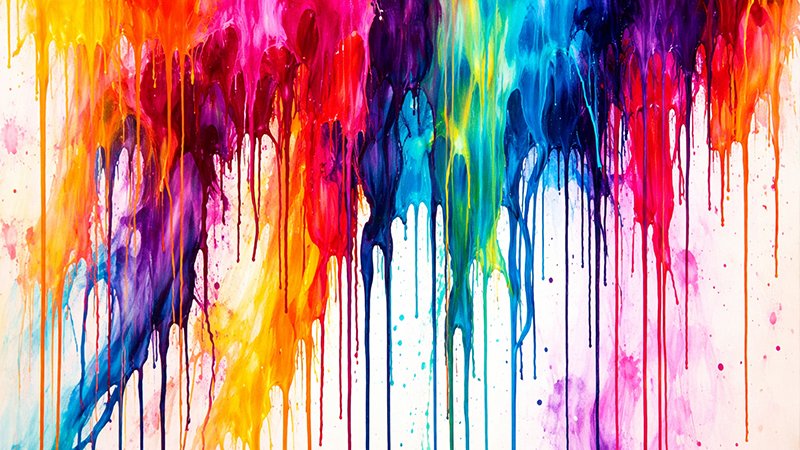
Dripping is another technique that allows gravity to do the work on your canvas. You can dilute your acrylic paint with water or blend it with a flow aid medium to create a much looser, more liquid consistency.
By tilting your canvas on an easel or tipping it by hand, you can direct the paint as it runs, creating vertical or diagonal streaks.
While the final results are not always predictable, that uncertainty is part of the creative appeal. Dripping adds a sense of movement and raw energy to a piece, making it a great choice for expressive, modern artworks.
8. Splattering
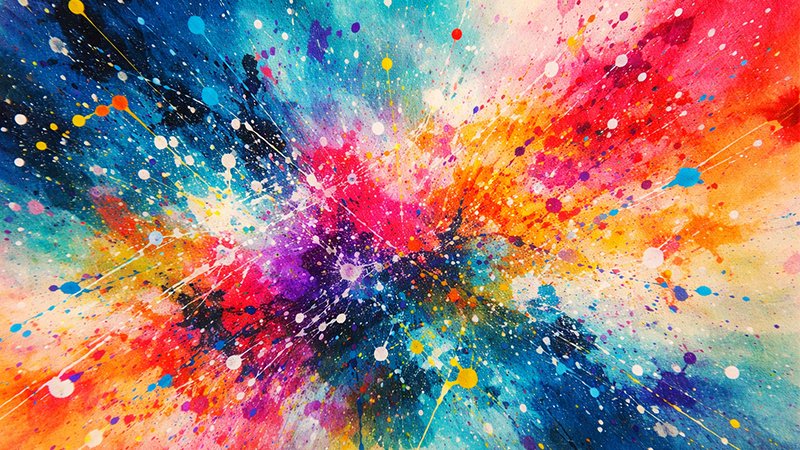
Splattering involves flicking or throwing paint toward your canvas to create a sense of energy and chaos. This technique was famously used by Jackson Pollock to create iconic abstract designs.
On a smaller scale, you can use a toothbrush to flick fine mists of paint, such as adding a white sea spray effect to an ocean scene.
Adding even a few flecks or splashes of color can bring a painting to life and take your work to the next level. It is a fun, experimental technique that encourages you to think creatively and embrace the beauty of spontaneous marks.
9. Glazing
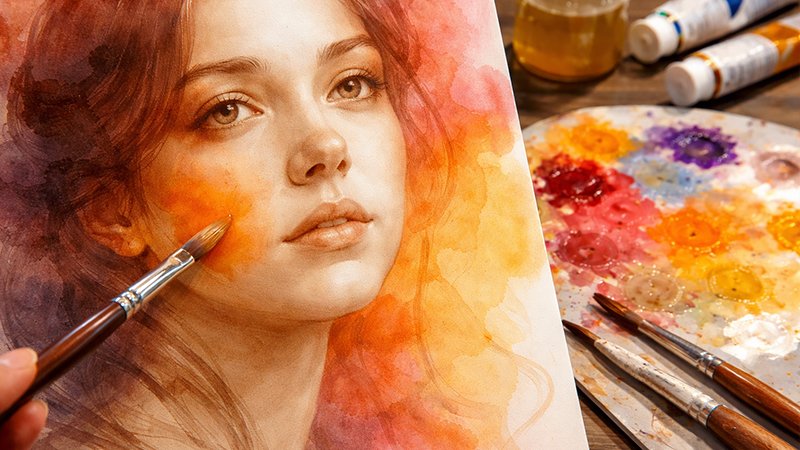
Glazing is a technique often associated with oil painting that can produce luminous results when used with acrylics. It serves as an alternative way of applying color by building up thin, transparent layers.
To begin, you typically create a monochrome underpainting to establish the correct tonal values. Once dry, you apply thin layers of color mixed with water or a glazing medium over the top.
This allows the light to pass through the transparent layers and reflect off the underpainting, creating a depth and glow that is difficult to achieve with opaque painting methods.
10. Washes
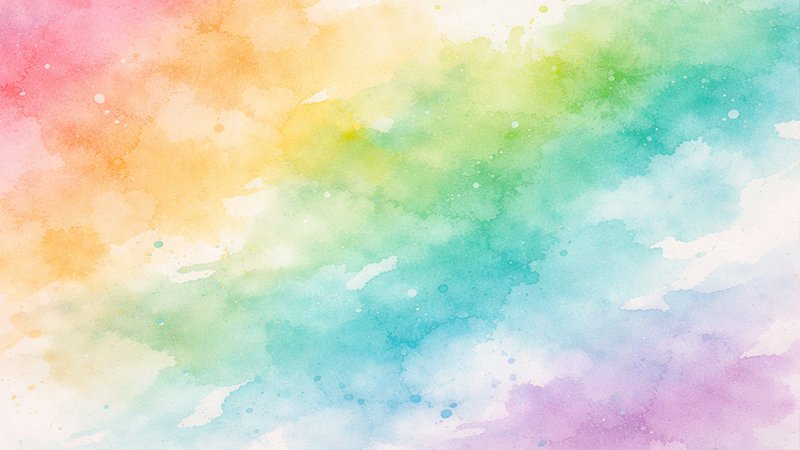
When you add enough water to acrylic paint, it thins down to resemble the appearance of watercolor. A diluted wash of acrylic is the perfect solution when you want to add just a hint of color to your painting or create soft, atmospheric backgrounds.
However, keep in mind that diluting acrylics with water makes them more transparent and can reduce their vibrancy.
If you want to keep the color intense while changing the consistency, consider using an acrylic flow medium instead of water. This allows you to create fluid washes without losing the rich, professional look of the pigments.
11. Mediums and Gels

There is a wide range of acrylic mediums and additives that can completely change your approach to painting. Mediums can be used to thicken your paint, while modeling pastes help reveal every individual brushstroke for a more tactile effect.
There are even gels that give your paint the texture of sand or provide a show-stopping iridescent sheen. Taking the time to research and experiment with these products allows you to move beyond flat painting and explore the sculptural possibilities of the medium.
These additives are essential for any artist looking to introduce new textures and professional finishes to their work.
12. Artist’s Tape

Artist’s tape is a vital tool for any painter who wants to create crisp, clean lines. It is frequently used to produce sharp borders, protect specific areas of a work, or provide a perfectly straight horizon line in a landscape.
You simply apply the low-tack tape, paint over it, and peel it away once the paint is dry to reveal the sharp edge underneath.
If you are working on paper, pressing the tape against a tabletop first to remove some of the stickiness will help prevent the paper from ripping when you remove the tape from your finished piece.
13. Color Chart
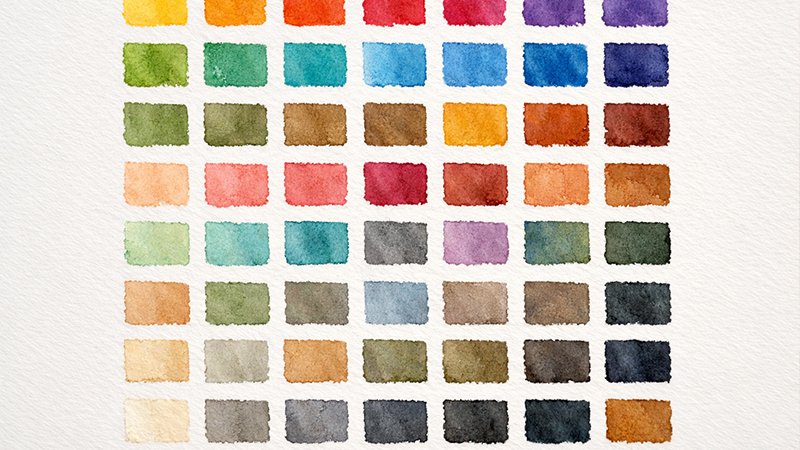
When you are new to painting, it can be difficult to recreate a specific color if you aren’t sure which shades you originally mixed. A color chart is an incredibly handy tool that is simple to set up by painting small swatches of your mixes onto paper.
Underneath each swatch, you make a note of the precise colors used to create that specific shade. You can work through your paint set methodically or add to the chart as you work on different projects.
Over time, this becomes a valuable resource for mixing consistent, professional-looking colors in every piece of art you create.
14. Underpainting

Underpainting is one of the very first layers of a painting, often created in monochrome to determine the basic layout of the composition.
This initial stage allows you to focus on getting the shadows and highlights correct without the distraction of using many different colors.
Once the values are balanced, you can paint over the top and focus entirely on color blending. Preparing an underpainting ensures that your final work has a strong structural foundation and balanced light and dark values, which is something many beginning artists struggle to achieve without this step.
15. Sponge
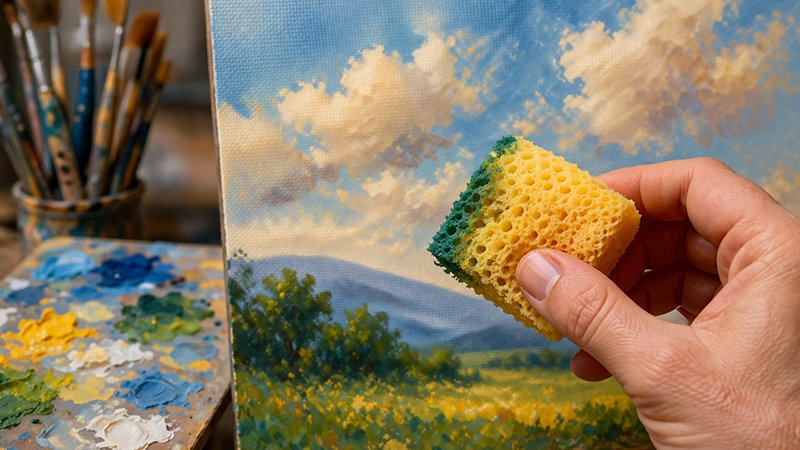
Don’t feel limited to only using paintbrushes; switching to a sponge can provide a completely different feel to your artwork. Sponges are excellent for dabbing paint lightly, which gives a softer texture and eliminates visible brush marks on the canvas.
This makes them ideal for rendering soft clouds, foliage, or background elements where you want a diffused look.
Sponges hold paint differently than brushes, allowing for unique, variegated applications of color that can add a professional, organic touch to your landscapes and abstract designs. It’s an easy way to vary your toolkit and explore new textures.
16. Mix Paint on the Canvas

For a bold and spontaneous approach, try skipping the palette and mixing your paints directly on the canvas. This is a great technique for abstract paintings where you want to see the blending process in action.
You can also try partially mixing paints before applying them, which creates brushstrokes with streaks of unblended color and flecks of other shades.
While the results are not always predictable, this technique can truly bring a painting to life by adding unexpected visual interest and a sense of raw, unpolished energy to your brushwork.
17. Sgraffito
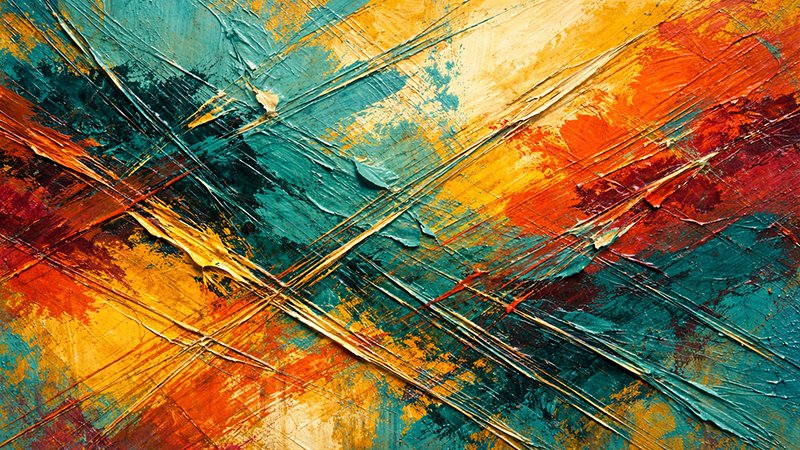
The term ‘sgraffito’ comes from the Italian word for ‘scratched’ and is a technique used to add rough texture to your work. To achieve this, you first paint a base color and let it dry.
Then, apply a second layer of paint and scratch the surface with a palette knife while it is still wet to reveal the base color underneath.
Because acrylic paint dries so quickly, you often have to scratch away your design at a fast pace to get the desired effect. For even more texture, try using modeling paste for the top layer.
18. Impasto
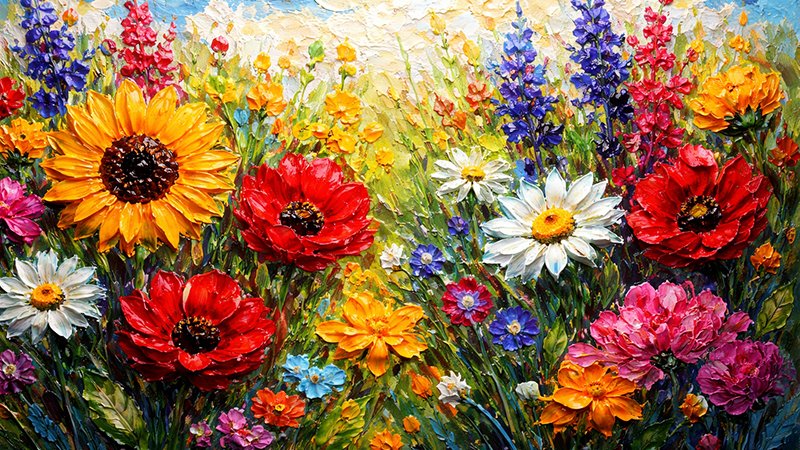
Impasto is a term used when paint is applied very thickly onto a canvas to create a three-dimensional surface. To try this with acrylics, it is recommended to use heavy-body paints or to thicken your colors with an acrylic medium like modeling paste.
For the best results, be generous with your paint to add physical dimension to your art. This style makes the physical movement of the artist visible on the canvas and can turn a flat painting into a sculptural object that catches the light in unique ways as the viewer moves around it.
19. Smudging
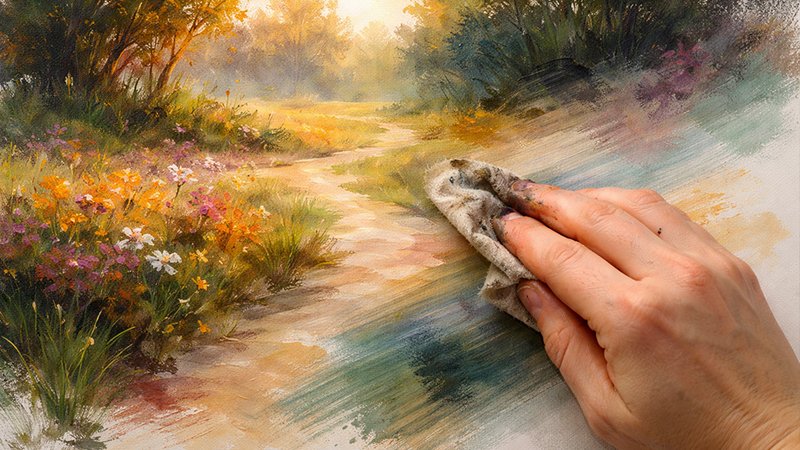
Smudging is a fantastic way to free up your painting technique and embrace a more expressive, messy style. By rubbing the edges of a shape or roughening up a block of color while the paint is still wet, you can create soft textures and blurred lines.
You don’t need any special materials; a simple rag, piece of kitchen towel, or even a brush will work. This method is excellent for creating atmospheric effects or softening a composition that feels too rigid.
It allows you to experiment with transitions and add a tactile, worked-in quality to your art.
20. Stippling and Pointillism
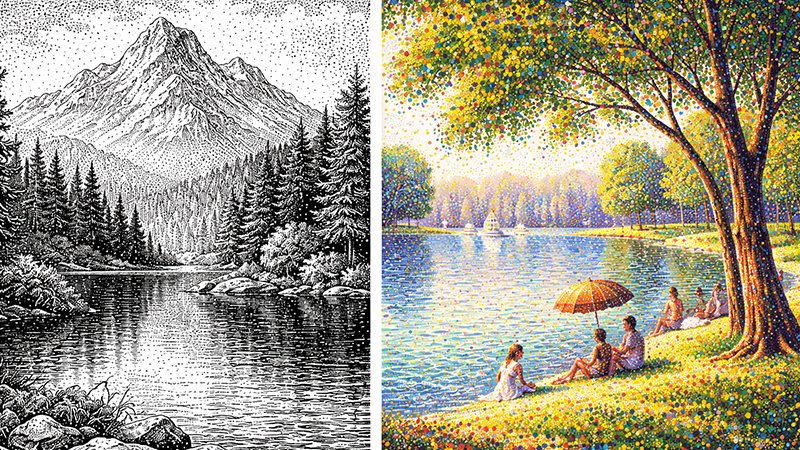
Stippling and Pointillism are two distinct techniques that use dots to build an image. Stippling involves dotting the canvas with a brush to create effects of light, shade, or color variation.
The brushstrokes don’t need to be perfectly even, making it a very flexible method. Pointillism is more specific, involving the placement of tiny dots of different colors close together.
From a distance, these dots appear to blend into a single color. Looking at the works of artists like Georges Seurat can provide inspiration for how these dot-based styles can create vibrating, complex scenes with deep visual interest.
21. Detailing
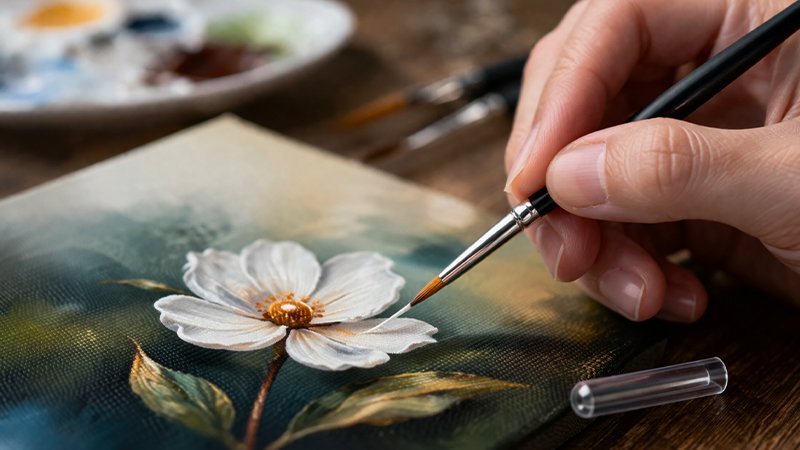
Painting fine details can be very satisfying but requires the right tools and a lot of patience. It is recommended to buy a high-quality fine paintbrush and store it carefully with its protective cover to prevent damage.
To get neat, smooth brushstrokes, you should water down your paint or mix it with a medium before dipping your brush.
If the paint is too thick, your lines may look rough or lumpy. Always look out for small lumps of dried acrylic on the tip of your brush, as this is a clear sign that your paint needs more thinning.
22. Mist Your Paints
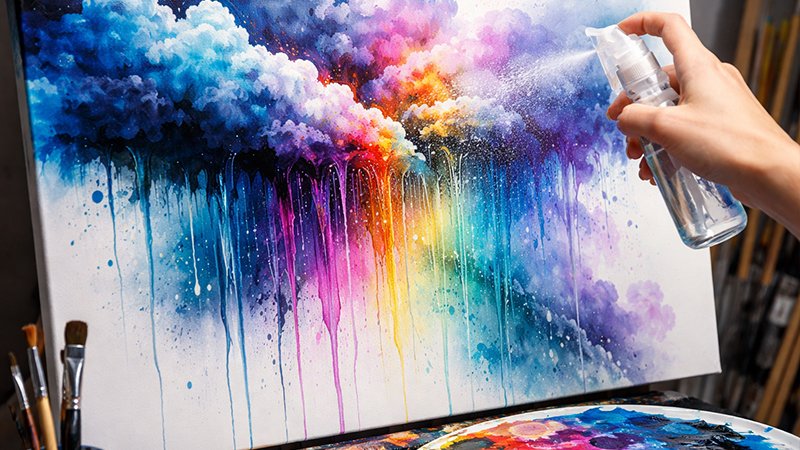
Acrylic paints are known for drying very quickly, but you can slow this process down by lightly spritzing your palette with a mist of water. If you are feeling bold, you can even spray the canvas itself with water, which can cause the paint to run and drip in interesting ways.
This technique can be used to create impressive effects, such as making clouds look like they are bursting with rain.
Managing moisture in this way gives you more time to work with your colors and achieve the fluid transitions that are usually difficult with fast-drying acrylics.
23. Add a Gesso Base
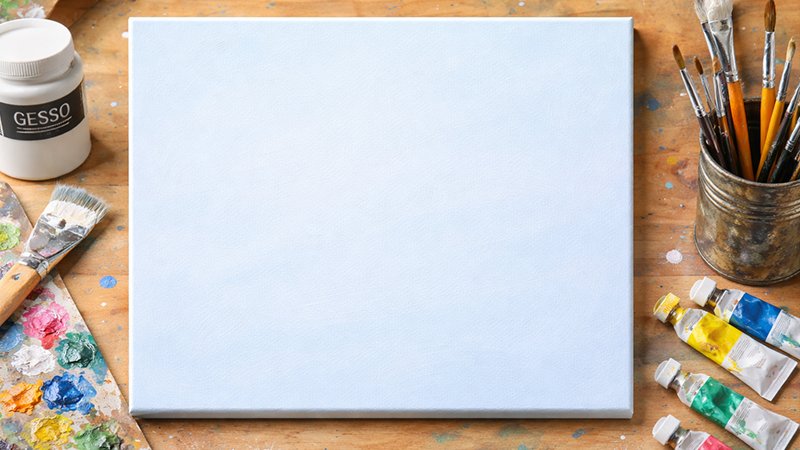
Before you begin painting on a new canvas, you should check to see if it has been primed. A primed canvas has been coated with gesso and is ready for use, but if it is unprimed, you must apply gesso yourself.
You can also add extra layers of gesso to make the surface even smoother and less absorbent. For a less intimidating start, try adding a touch of color to your gesso so you aren’t starting with a completely blank white canvas. This preparation ensures your paint adheres properly and maintains its vibrancy over time.
24. Work from Dark to Light
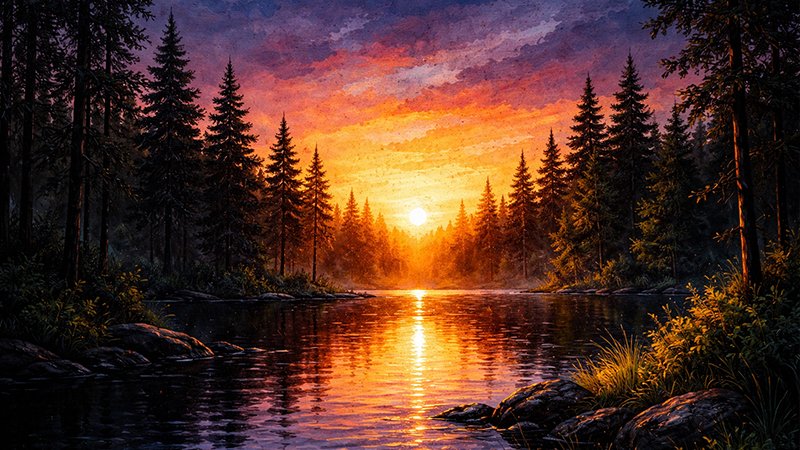
While watercolorists usually work from light to dark, many acrylic artists prefer to do the exact opposite. Because acrylic paint is opaque, it is often much easier to layer light colors on top of dark ones rather than trying to cover a light area with a dark shade.
This approach allows you to establish the shadows and deeper tones of your composition first, then build up the highlights and brighter details on top.
It can be a more intuitive way to manage values and ensures your brightest spots remain vivid and don’t get lost in the underlayers.
25. Use Your Fingers as the Brush

Finger painting isn’t just for children; it is a sophisticated way for adults to break through creative blocks and have fun. Using your fingertips to apply paint encourages a more tactile connection with your medium and can lead to surprisingly expressive results.
A great exercise is to sketch the outline of your picture using just your fingertip and a little paint, keeping your arm relaxed as you go.
This method allows for a fluid, spontaneous style that differs significantly from traditional brushwork and can help you discover new ways to capture form and movement.
26. Blocking
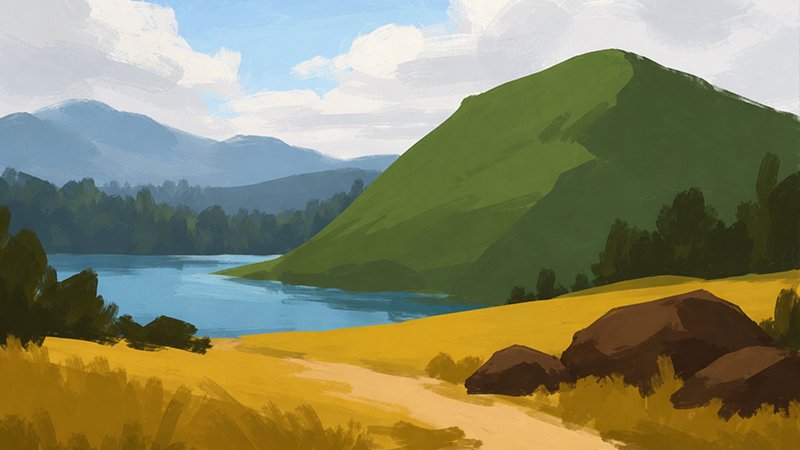
Blocking is a foundational technique where you color in large sections of a painting using the main color for that area. Although this “ugly” stage can look clumsy and rough-edged, it is a vital part of the process for refining your composition.
For example, you might paint a large hill in a solid dark green before you begin to add any specific details or highlights.
It is important not to be demoralized by how your painting looks at this stage; simply trust the process and push through until the composition begins to come together.
27. Gestural Brush Strokes
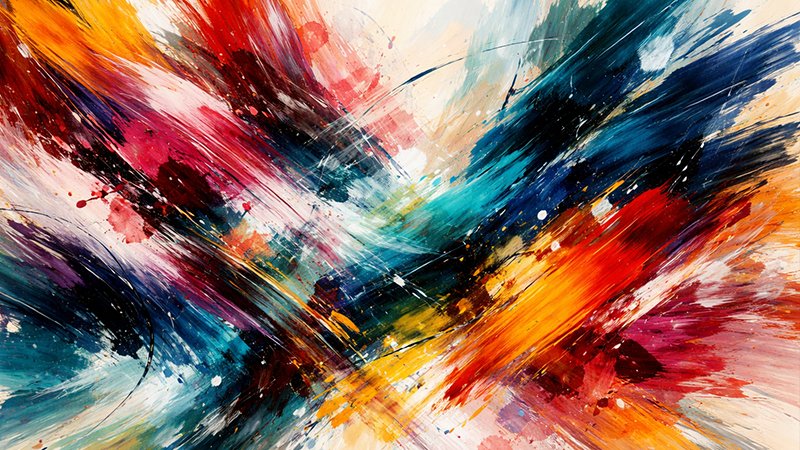
Gestural brushstrokes are expressive, free-flowing, and full of movement. They are often used to bring emotion into a painting or to capture the overall mood of a subject.
If you are a perfectionist, this style can take some getting used to, but working quickly helps you avoid dwelling on minor details. Gestural painting can radically change the energy of your work, making it feel more alive and spontaneous.
It is a powerful technique for any artist looking to move beyond rigid realism and find a more personal, emotional way to express themselves on canvas.