The art of painting is widely recognized as one of the most therapeutic activities an individual can engage in. Beyond its calming nature, it serves as a profound vehicle for expression, allowing artists to translate complex thoughts and feelings into a visual medium.
However, artists often find that standard paint consistencies lack the physical presence required for certain styles. When the desired effect calls for thick, tactile textures, understanding how to manipulate the viscosity of your medium becomes essential.
This comprehensive guide, designed for both emerging artists and seasoned professionals, explores the strategic methodology behind thickening acrylic paint.
We will delve into traditional professional agents, cost-effective DIY hacks, and the underlying science that governs how these materials behave on your canvas.
The Chemical Foundation—Understanding Your Medium
Before attempting to alter your paint, it is vital to understand what acrylic paint actually is. Acrylics are a sophisticated mixture consisting of three primary components: pigment, an acrylic polymer binder, and a water vehicle.
When you apply the paint, the water evaporates, leaving behind the pigment and binder to dry into a firm, water-resistant film.
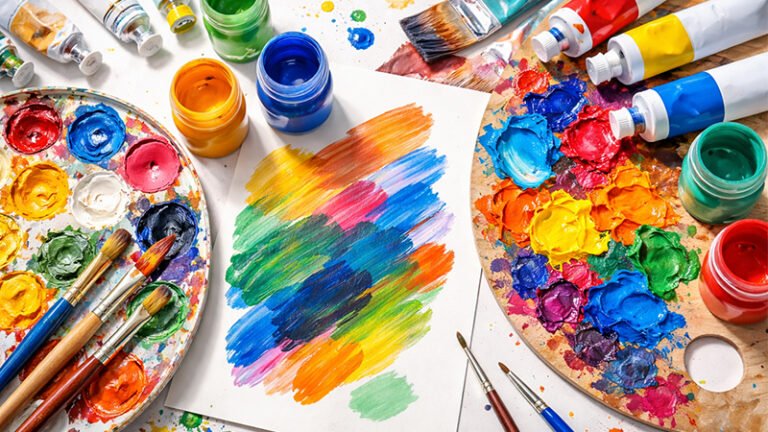
The consistency of acrylic paint varies significantly across the market. Fluid acrylics are designed for high-flow techniques like splattering or pouring, whereas heavy-bodied acrylics offer a buttery texture similar to oil paints. Most standard acrylics sit in the middle with a creamy texture that is easy to blend.
Why is some paint runnier than others? The consistency of your paint is often a direct result of the ratio between pigment, binder, and water.
Premium brands often include additives to prevent foaming and extend shelf life, while some even pre-incorporate thickeners.
Conversely, lower-end brands may be thinner and less vibrant because they use fewer pigments and cheaper ingredients to save on manufacturing costs.
Furthermore, environmental factors play a role; if paint is stored in excessively hot temperatures or if the lid is not sealed properly, the consistency can be compromised.
In many cases, “runny” paint is simply the result of ingredient separation over time, which can be remedied by shaking the container to reintegrate the pigment and binder.
Strategic Reasons for Thickening Your Paint
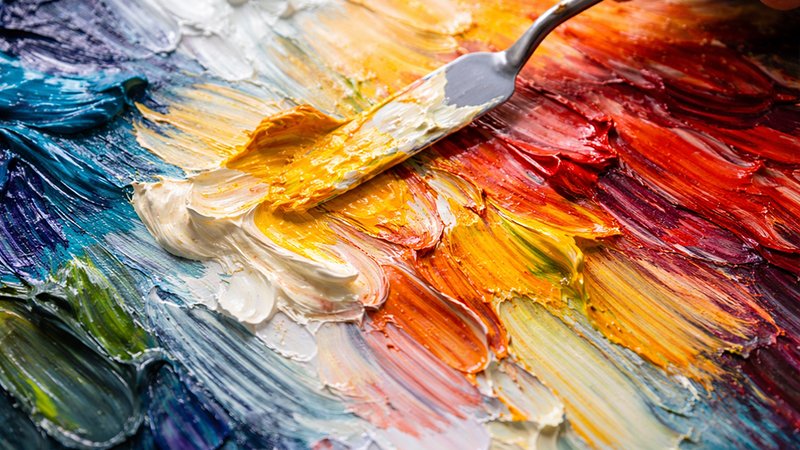
Thickening your paint isn’t just about changing its feel; it’s about expanding your creative vocabulary. One of the primary motivations for increasing viscosity is to master the Impasto technique.
This style involves applying thick clumps of paint to the canvas in layers, creating a highly expressive surface where the physical process of painting remains visible to the viewer.
By thickening acrylics, you can achieve results that mimic oil paints, allowing you to use a palette knife to create sharp edges and structural peaks.
This transition from a 2D wash to a 3D texture adds a mesmerizing, sculptural quality to your work that can quite literally stand off the canvas.
Professional Thickening Agents—The “Gold Standard”
For artists seeking reliable, archival-quality results, traditional mediums are the preferred choice. These products are chemically engineered to interact seamlessly with the acrylic polymer binder.
1. Modeling Paste: For Structural 3D Effects
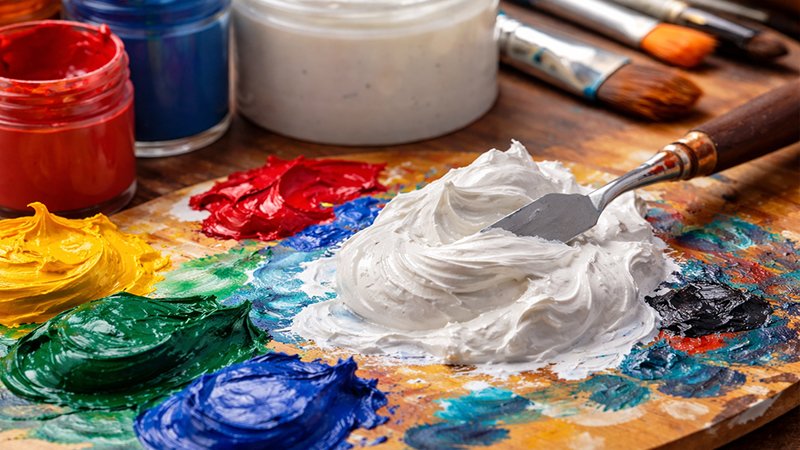
If your goal is to create intricate, raised textures or three-dimensional patterns, modeling paste is the ultimate tool. It is an extremely thick substance that can be molded and sculpted directly.
- Application Techniques: You can mix modeling paste directly into your paint to increase its body, or apply it to the surface first to create a textured “map” and paint over it once dry.
- The Color Factor: Because modeling paste is typically white, mixing it directly into your paint will likely lower the color vibrancy. To maintain high-intensity color, the best practice is to sculpt the paste first, let it dry, and then apply paint over the top.
- Best Practices: Modeling paste is exceptionally heavy. While it can be mixed for canvas use, it performs best when applied to a firm board rather than a flexible surface. Use a palette knife for sharp, “desert dune” peaks or a stiff-bristled brush for textured lines.
2. Acrylic Gel Medium: Maintaining Vibrancy
Acrylic gel medium is the most versatile professional thickener. Unlike modeling paste, which is solid and opaque, gel mediums are fluid and dynamic.
- Vibrancy and Finish: The greatest advantage of gel medium is that it does not dampen color vibrancy. It is available in various finishes, such as gloss or matte, allowing you to match the finish of your specific paint brand.
- The “Shrinkage” Warning: One critical detail for artists is that gel medium tends to shrink as it dries. If you are looking for specific height in your textures, you may need to apply multiple layers to compensate for this volume loss.
- Mixing Tip: When adding gel to paint, do so in small amounts. Adding too much at once can result in unmanageable clumps that are difficult to smooth out.
3. Gesso: The Multipurpose Primer
While primarily used as a surface primer, Gesso can serve as an emergency thickener. However, you must ensure you are using a high-viscosity gesso; using a thin, primer-grade gesso might actually make your paint runnier. Like modeling paste, gesso is white and will alter your paint’s color during mixing.
DIY Thickening Hacks—Innovation at Home
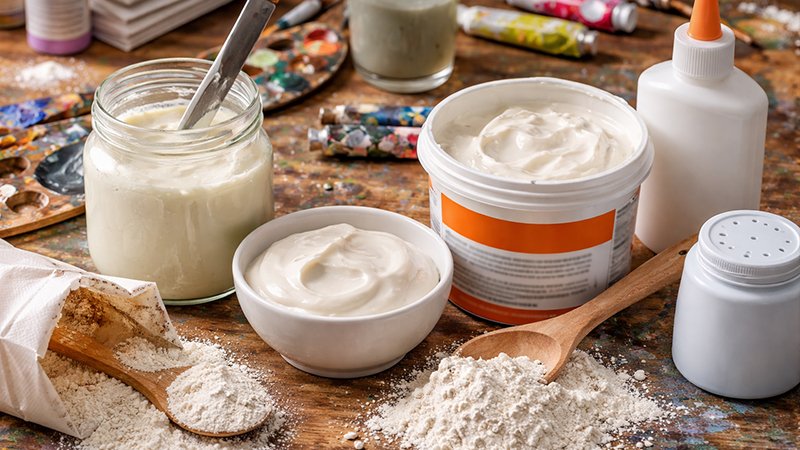
For artists on a budget or those in need of an immediate fix, several household items can serve as effective thickeners. However, these come with specific trade-offs regarding durability and archival quality.
The Cornstarch and Flour Method
This is a popular, plant-based solution for creating a thick, “gooey” paint consistency similar to professional gel mediums.
- The Recipe:
- Mix water and cornstarch (or flour) in a pot.
- Apply heat and stir continually until the mixture thickens into a smooth paste.
- Allow the paste to cool completely before adding small amounts to your paint.
- The Risk Factor: Because these materials are organic, there is a high risk of mildew growth over time. If you use this method, it is highly recommended to apply a clear sealer over the finished painting to protect it from moisture and decay.
Joint Compound
Often found in home garages, joint compound is a surprisingly effective thickener. While it provides great bulk, it is important to note that it dries hard and brittle. This creates a significantly higher risk of the paint cracking as the canvas moves or ages.
PVA Glue and Talcum Powder
This “emergency fix” is favored for its affordability. By mixing PVA glue with talcum powder, you create a thick paste that can be added to paint.
- The Drawback: This mixture can leave the paint in a greasy or crumbly state once dry. It also tends to dim the color intensity, so use it with caution on pieces meant for long-term display.
Expert Tips for Application and Troubleshooting
Achieving the perfect texture requires more than just the right ingredients; it requires the right environment and tools.
- Tool Choice: For sharp edges, grooves, and peaks, a palette knife is indispensable. For more organic, textured lines, opt for brushes with firm, stiff bristles.
- Climate Control: The drying time of thickened acrylics is heavily influenced by your environment. In dry, hot climates, paint sets rapidly. In humid or cold environments, the process slows down significantly.
- Accelerating the Process: If you need your thick layers to dry faster, work indoors with a heater or use a dehumidifier to strip moisture from the air.
- Correcting Mistakes: If you are unhappy with a textured layer, it is easiest to wipe or scrape it away before it dries. Once professional pastes or gels dry, they can typically only be removed through sanding.
Comparative Analysis—Choosing Your Agent
To help you decide which method aligns with your artistic goals, refer to this strategic breakdown of traditional agents:
| Feature | Modeling Paste | Gel Medium | Gesso |
|---|---|---|---|
| Changes Color | Yes (Whitens) | No | Yes (Whitens) |
| Finish Options | Single | Multiple (Gloss/Matte) | Single |
| Best Surface | Firm Board | Flexible or Firm | Flexible or Firm |
| Shrinkage | Minimal | Significant | Moderate |
| Visual Texture | Solid/Flat | Fluid/Dynamic | Solid |
Frequently Asked Questions (FAQ)
Is acrylic paint supposed to be thick?
There is no “correct” thickness; it is entirely dependent on your style. Whether you want a watercolor-like wash or an oil-like impasto, the consistency is a tool for your preference.
How do I fix paint that has separated?
If your paint seems runny after sitting for a while, the ingredients have likely settled. Ensure the lid is tight and shake the container vigorously to restore its creamy consistency.
Can I use these methods on any surface?
While most acrylics are versatile, very thick applications (like heavy modeling paste) require sturdy supports like wooden boards to prevent the texture from cracking due to surface flexibility.
Conclusion: Elevating Your Artistry
Mastering the viscosity of your medium is a transformative step in any artist’s journey. Whether you choose the structural integrity of modeling paste, the vibrant flexibility of gel mediums, or the resourceful nature of DIY starch pastes, the ability to thicken your paint opens a new dimension of creative expression.
You do not need the most expensive supplies to achieve professional results; you simply need an understanding of how these materials interact.
By experimenting with these techniques, you can turn a simple tube of acrylic into a powerful tool for tactile storytelling and therapeutic discovery.