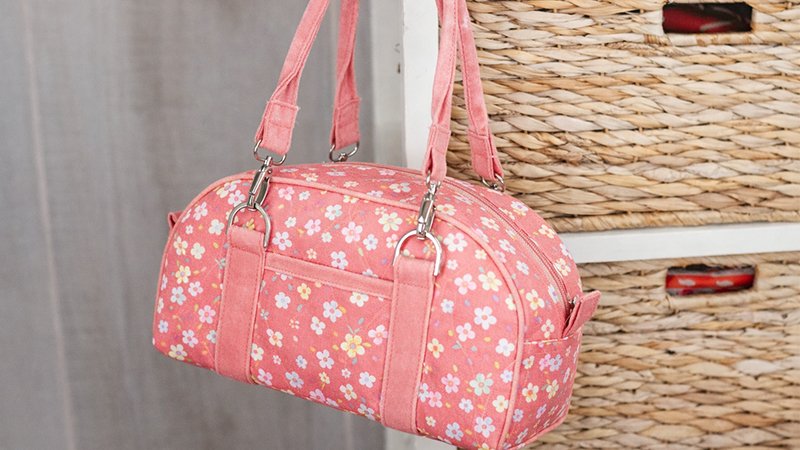
Create a stylish and functional Clamshell Bag—perfect as a cosmetic pouch or handbag. This beginner-friendly project uses just two fat quarters and can be made in either a simple (plain) version or a feature-rich (fancy) version with pockets and handles.
Finished Size:
Approximately 9½″ wide × 5½″ tall
Materials
For the Plain Version
- 1 fat quarter (or ½ yard) exterior fabric
- 1 fat quarter (or ½ yard) lining fabric
- Foam stabilizer / fusible fleece/batting (18″ × 21½″)
(Soft and Stable recommended for the best structure) - Zipper (minimum 15″ long)
- Maxi piping – 1¼ yards (optional but recommended)
- ¼ yard binding fabric
- Fabric scraps for zipper pull tabs
- Tools:
- Fabric pen/marker
- 3″ radius curve template (or rounded ruler)
- Sewing machine with zipper foot
Additional for Fancy Version
- ¼ yard fabric for handles & straps
- ½ yard fusible interfacing (medium weight, e.g., Pellon SF101)
- 4 × D-rings (1″ opening)
- 4 × Swivel snap clips (1″ opening)
Step 1: Prepare and Quilt the Fabric
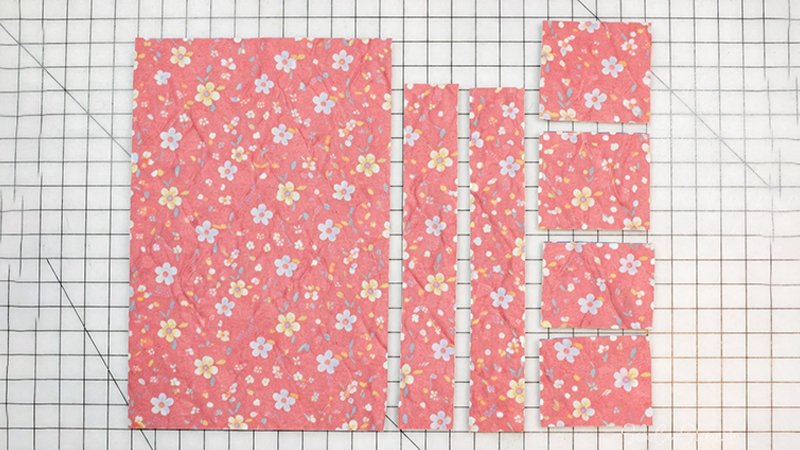
- Cut:
- Exterior fabric → 18″ × 21½″
- Lining fabric → 18″ × 21½″
- Stabilizer → 18″ × 21½″
- Layer:
- Place the exterior fabric right side up on the stabilizer.
- Place the lining fabric on the opposite side.
- Baste:
- Machine baste around all edges (⅛″ seam allowance).
- Quilt:
- Stitch through all layers.
- Options:
- Straight-line quilting (beginner-friendly)
- Free-motion quilting (decorative)
This step gives the bag its structure and durability.
Step 2: Cut the Pattern Pieces
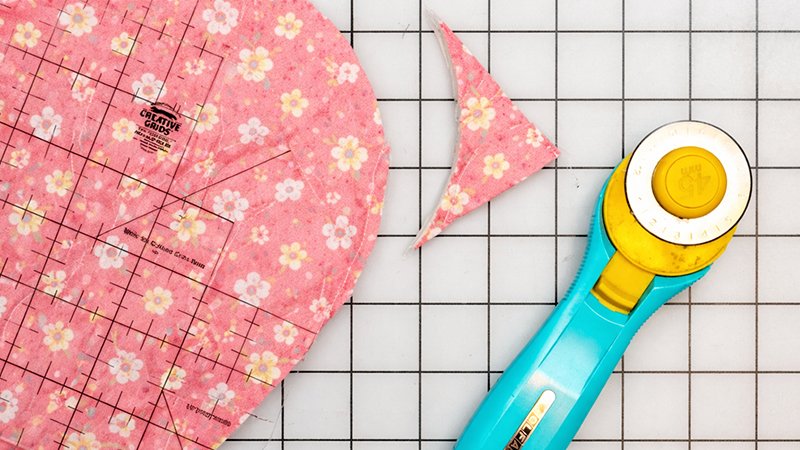
From your quilted panel, cut:
Main Pieces
- Body: 16″ × 10½″ (cut 1)
- Zipper panels: 2 pieces (2¼″ × 14″)
- Zipper ends: 2 pieces (3½″ × 4½″)
Optional (Fancy Version)
- Pockets: 2 pieces (4″ × 4½″)
Binding Fabric
- Cut 2¼″ wide strips to create:
- 2 strips × 21″
- 2 strips × 6″
- 2 strips × 4½″
Pull Tabs
- 2 pieces (3″ × 4″)
Important Preparation
- Round corners of the body piece using a 3″ curve template.
- Baste all edges (⅛″ seam) to keep layers stable.
Step 3: Fancy Features (Optional)
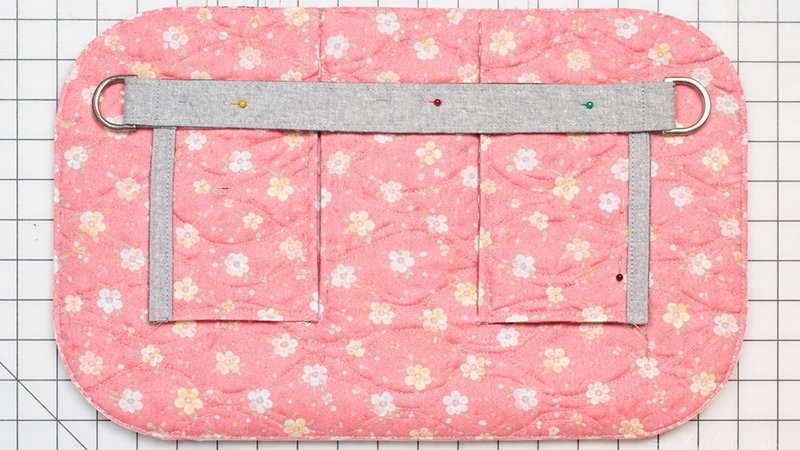
Make Straps & D-Rings
- Cut:
- Fabric: 4″ × 15″
- Interfacing: 4″ × 12″
- Fuse interfacing to fabric.
- Fold:
- Fold edges inward, then fold in half → creates 1″ wide strap.
- Stitch:
- Topstitch both long edges.
- Attach D-rings:
- Loop the strap through the ring
- Fold the end and sew securely
Add Pockets
- Bind the top edge of each pocket.
- Mark placement on the bag body:
- Draw lines at 5¾″ and 6″ from each short end
- Attach pocket:
- Place right sides together, align the bottom with the 5¾″ line
- Stitch
- Flip the pocket up and:
- Topstitch bottom edge
- Add D-ring straps:
- Position over pocket edges
- Stitch securely
Use a heavy needle (100/16) if thick
Step 4: Create the Zipper Panel
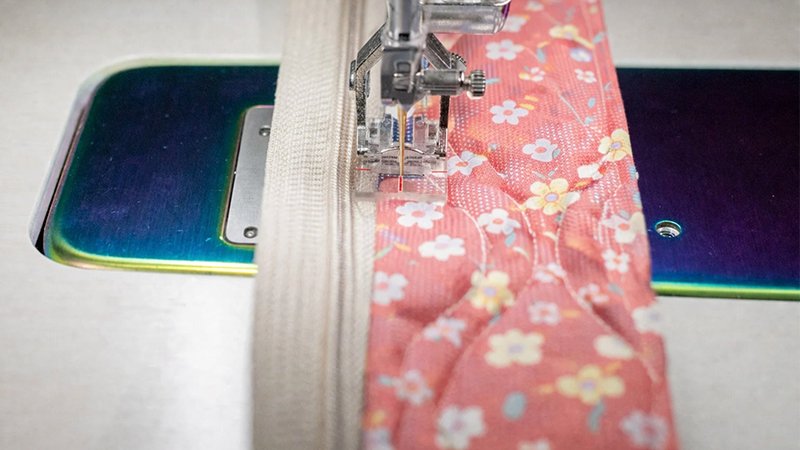
- Place the zipper:
- Face down on the right side of the zipper panel
- Stitch:
- Use the zipper foot
- ¼″ seam allowance
- Trim seam:
- Carefully trim ⅛″ of fabric + foam only
- Do NOT cut zipper tape
- Flip and topstitch:
- Stitch ⅛″ from the edge
- Repeat for the other side of the zipper.
Attach Zipper Ends
- Trim zipper ends flush.
- Insert pull tabs between the zipper and end pieces.
- Stitch together.
- Cover inside seams with small binding strips.
Step 5: Add Piping (Optional but Recommended)
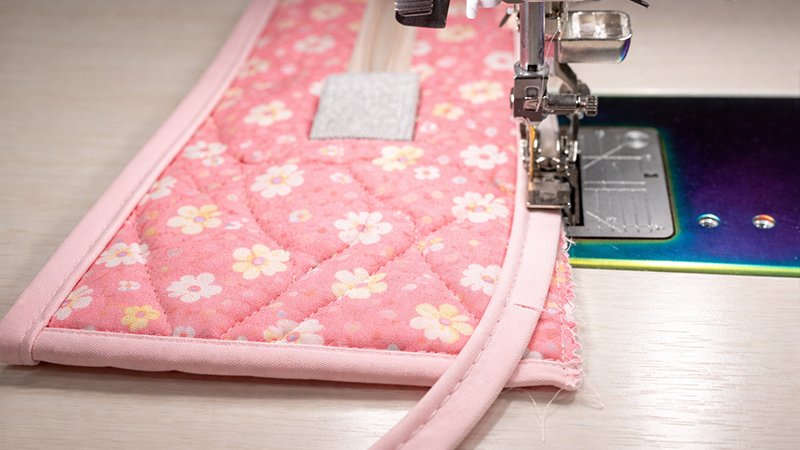
- Attach piping along zipper panel edges:
- Use zipper or piping foot
- Sew with ⅜″ seam allowance
- At curves:
- Clip the piping seam allowance to help it bend smoothly
Piping improves appearance and structure
Step 6: Assemble the Bag
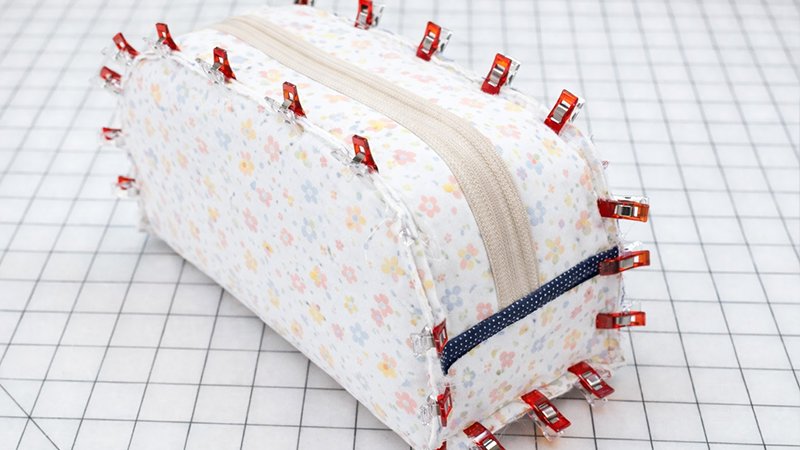
- Mark centers on:
- Bag body
- Zipper panel
- Pin:
- Right sides together
- Match center points
- Clip curves:
- Make small cuts (¼″ deep) into the seam allowance
- Sew:
- Stitch full circle
- Use ⅜″ seam allowance
- Sew directly over piping stitches
- Turn right side out:
- Check shape and seams
Step 7: Bind Interior Seams
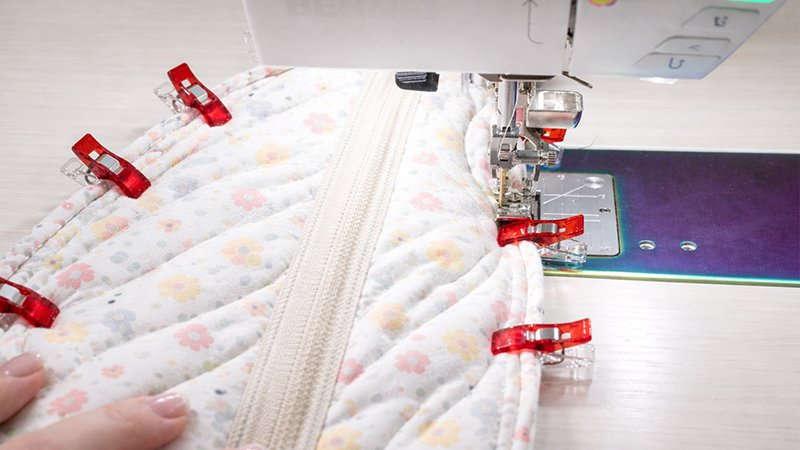
- Turn the bag inside out again.
- Bind raw seams:
- Use:
- 21″ strips → long sides
- 6″ strips → short ends
- Use:
- Finish neatly:
- Fold raw edges inward before stitching
Step 8: Make Handles (Fancy Version)
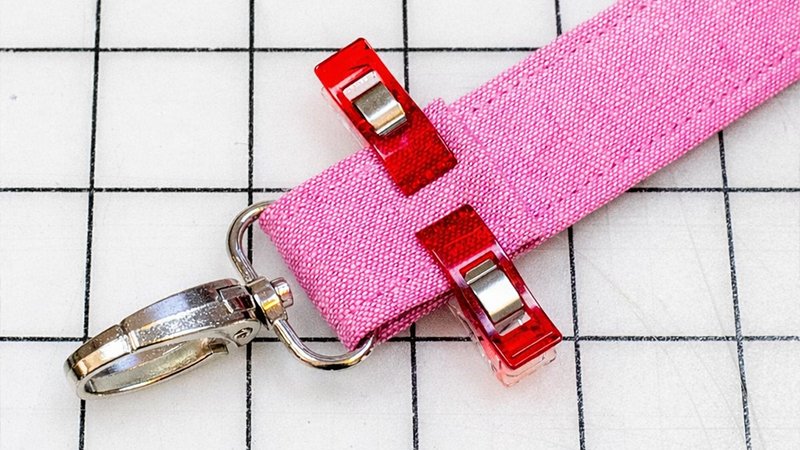
- Take 20″ straps + swivel clips.
- Attach clips:
- Thread the strap through the clip
- Fold the edge under
- Sew a rectangle for strength
- Fold the strap lengthwise and:
- Topstitch
- Leave:
- 1½″ unstitched near clips (flexibility)
- Attach:
- Clip handles onto D-rings
Final Result
You now have a beautiful Clamshell Bag that:
- Opens wide for easy access
- Holds its shape
- Can be customized as:
- Simple pouch
- Stylish handbag with pockets and straps