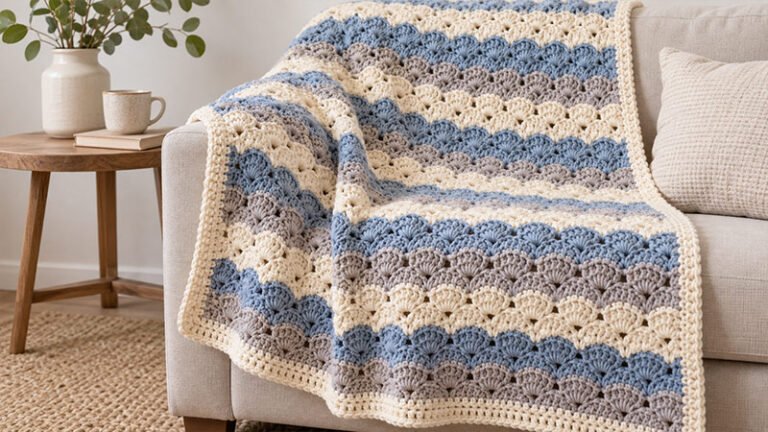
Pattern Description:
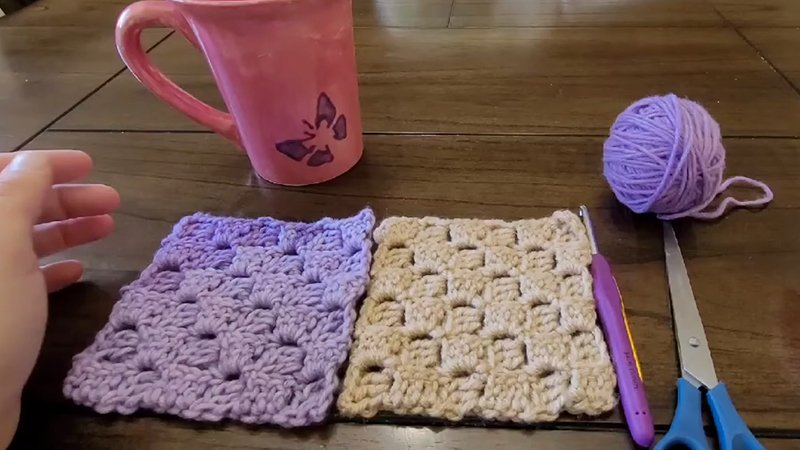
The Colin Drew C2C Coasters pattern is an easy, beginner-friendly corner to corner (C2C) crochet design that utilizes double crochet boxes.
It works up quickly and is great for using up scraps of yarn. This versatile piece can also function as a mini washcloth or a large facial scrubbie. It features an optional border for a more finished edging.
Materials Needed & Measurements:
Materials:
- Yarn: About 25 Yards of Worsted Weight Cotton Yarn (Per Coaster).
- The pattern specifically used Lily Sugar n Cream in the Hot Green and Blueberry colorways.
- Yarn Alternatives: Worsted weight yarn from your stash can be used. Recommended yarns include WeCrochet Dishie Yarn (cotton, durable, absorbent, and colorfast), Red Heart Super Saver (100% acrylic), or Lion Brand Wool Ease (wool adds durability and absorbency). Other alternatives include Bernat Handicrafter, Paintbox Yarns Cotton Aran, and Crafter’s Secret Cotton Yarn.
- Hook:H8/5mm Crochet Hook.
- Note on Hook Alternatives: If using wool or synthetic yarns like Red Heart Super Saver or Lion Brand Wool Ease, an I9/5.5mm crochet hook is recommended.
- Tools: Tapestry Needle.
- Optional Tools: Jewelry Pliers (helpful for weaving in ends of tough cotton yarn) and a Tape Measure (to measure as you go, since gauge is not essential).
Measurements:
- Finished Size: The coasters measure 4 1/4″ Square.
- Border Effect: The border adds approximately 1/2″ to the height and width of the piece. If you choose not to work a border, you may need to add an extra box to the width and height to achieve similar finished measurements.
- Gauge (Not Essential): 4 Boxes Wide by 4 Boxes Tall equals a 3 3/4” Square. Since the project uses a corner to corner technique, you can substitute any weight yarn and measure as you go.
Abbreviations (US Terms)
- DC – Double Crochet
- SC – Single Crochet
- C2C – Corner to Corner
Instructions for Making the Colin Drew C2C Coasters Pattern:
Starting the Coaster (Increase Rows)
- R1: Chain 6. DC into the 4th chain (ch), and into each of the next 2. (1 Box).
- R2: Chain 6, and turn. DC into the 4th, 5th and 6th chs. Flip the bottom fabric so it’s mirrored and slip stitch (SS) into the top of the next ch 2 (this is the stitch that is the most natural to work into when you lay your 2 boxes together). Ch 2. Looking at the next box, work 2 DC into the space in between the top 2 stitches (sts). To help keep a straight edge, work the last DC into the foundation chain on the left side. (2 Boxes).
- R3: Chain 6, and turn. DC into the 4th ch, and into each of the next 2. Flip your fabric and SS into the top of the next ch 2. Ch 2, work 3 DC into the space in between the top 2 sts of the same box, SS into the top of the next ch. Ch 2, work 2 DC into the space in between the top 2 sts of the same box, DC into the foundation chain on the left side. (3 Boxes).
- R4 – 5: Using Row 3 as a base, continue working in the same manner. Repeat the middle box section one extra time each row to increase the number of boxes by one each row. At the end of R5, you will have the same number of boxes as rows (5 Boxes).
Decreasing to a Square (Straight Edge)
Once the width and height are the size you want (after R5 for the stated finished size), you will no longer start with a Ch 6. Instead, you will Ch 1 and SS over, then begin with a Ch 2 to form a straight edge.
- Remaining Rows (Until You Have 3 Boxes Left): Chain 1, and turn. SS into the 2nd, 3rd and 4th sts. Ch 2, work 3 DC into the space in between the top 2 sts of the same box, SS into the top of the next ch. Repeat the sequence (Ch 2, work 3 DC into the space in between the top 2 sts of the same box, SS into the top of the next ch) across, working over to the last box.
- 3 Boxes Left (2 Boxes Remaining): Chain 1, and turn. SS into the 2nd, 3rd and 4th sts. Ch 2, work 3 DC into the space in between the top 2 sts of the same box, SS into the top of the next ch. Ch 2, work 3 DC into the space in between the top 2 sts of the same box, SS into the top of the next ch. (2 Boxes).
- Last Row (1 Box Remaining): Chain 1, and turn. SS into the 2nd, 3rd and 4th sts. Ch 2, work 3 DC into the space in between the top 2 sts of the same box, SS into the top of the last stitch. (1 Box).
Border (Optional)
The border adds about 1/2″ to the height and width of the coaster.
Chain 1, turn. The border is basically 1 SC in the space in between each box, a Ch 2 in between SCs over each box, with an increase in each corner stitch.
Work SC into the space between the boxes just under your current place, Ch 2.
- In the corner stitch, work (SC, Ch 2, SC).
- Note on Corners: For a more rounded corner, you may work (SC, Ch 1, SC) or 3 SC. For a more square corner, you may work (SC, Ch 2, SC) or (SC, HDC, SC).
After the corner, Ch 2. Work (SC into the space in between the next 2 boxes, Ch 2) across the top. Repeat the corner increase, followed by the side instruction (SC into the space in between the next 2 boxes, Ch 2) down the side, across the bottom, and up the remaining side until you return to the beginning. Join to the 1st SC.
Fasten off, and weave in ends.