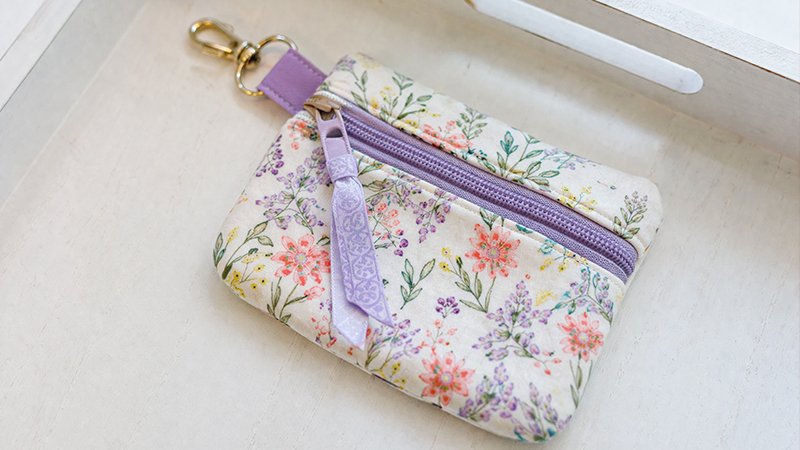
Look no further for a free and easy zipper pouch pattern perfect for holding money, credit cards, school supplies, cosmetics, and more!
This versatile project includes free templates to make two different sizes of pouches, along with a comprehensive step-by-step tutorial that is ideal for sewing enthusiasts of all levels.
Whether you are looking to organize your handbag or create thoughtful handmade gifts, these pouches are the perfect solution.
Why This is the Perfect Beginner Project
These DIY pouches are an excellent entry point for those new to sewing for several reasons. First, they are incredibly resource-efficient; the small size is perfect for using up fabric scraps, while the larger size can be constructed from just a single fat quarter.
Additionally, this pattern serves as the best project for learning how to sew a zipper, a skill that many beginners find intimidating but can easily master here.
You will also gain experience using fusible fleece, a common stabilizer used in many bag and pouch patterns to provide professional structure.
Finished Zipper Pouch Dimensions
This pattern provides templates for two distinct sizes to suit various needs:
- Small Zipper Pouch: Approximately 4” tall and 5” wide (excluding the tab).
- Large Zipper Pouch: Approximately 7” tall and 8 1/2” wide.
The large size is particularly useful as a back-to-school pencil case and is large enough to be personalized with machine embroidery.
Materials and Supplies Needed
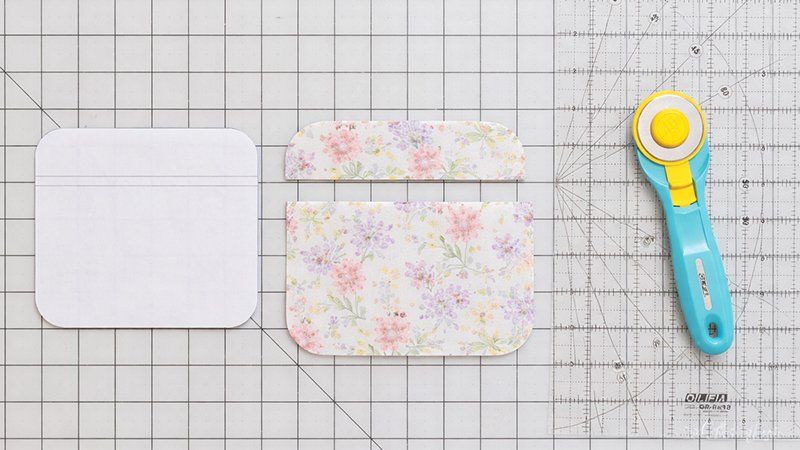
To get started, gather the following materials:
- Fabric: 1/4 yard or less of cotton quilting fabric or various fabric scraps. Cotton is recommended because it is easy to sew and comes in many beautiful patterns.
- Interfacing: 1/4 yard of 20” wide fusible fleece interfacing (such as HeatnBond). This gives the pouches great structure and creates a stable surface for embroidery.
- Thread: Strong polyester thread is suggested for its durability and slight stretch, which helps it endure heavy use.
- Zippers: You will need a 6” or longer zipper for the small pouch and a 10” or longer zipper for the large pouch. This pattern is compatible with regular 1” wide nylon coil zippers, size 4.5 or 5 handbag zippers (1 1/4” wide), or zipper by the yard.
- Hardware (Optional): A swivel snap clip, D-ring, or split key ring if you choose to add side tabs.
- Tools: Sewing machine with a zipper foot (highly recommended), size 90/14 needle, rotary cutter, acrylic ruler, cutting mat, scissors, and Wonderclips or pins. Pressing paper and fabric glue are also helpful.
Preparation and Cutting Instructions
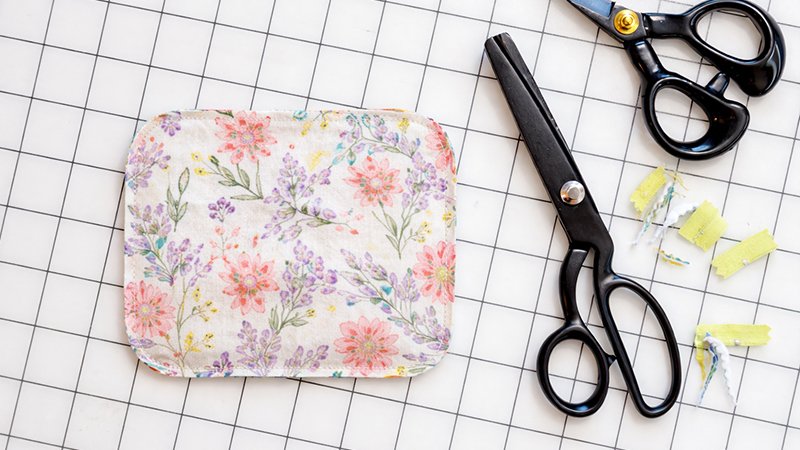
Before sewing, download and print the pattern templates at 100% scale.
1. Fusing the Interfacing: Before cutting the fleece, place the wrong side of your exterior fabric pieces against the glue side of the fusible fleece.
Cover with pressing paper to protect your iron and press gently. Once fused, cut out the exterior pieces using the template and press again to ensure a permanent bond.
2. Cutting Fabric Pieces:
- Exterior: Cut 2 pieces using the template for your desired size.
- Lining: Cut 2 pieces using the same template.
- Tab Piece (Optional): Cut a rectangle 3” long and 4 times the width of your hardware opening. For example, a 3/4” hardware opening requires a 3” x 3” tab, while a 1” opening requires a 3” x 4” tab.
3. Preparing the Front Pieces: Choose one exterior piece and one lining piece to be the “front.” These must be cut into two parts to accommodate the zipper.
- For the small pouch: Cut off a 1 1/4” tall top piece.
- For the large pouch: Cut off a 1 1/2” tall top piece.
- Note on Corners: The rounded corners at the top have a smaller diameter than the rounded corners at the bottom; refer to your pattern piece to ensure you are cutting the correct end.
- Handbag Zippers: If using a 1 1/4” wide handbag zipper, you must cut an additional 1/4” away from the top edge of the bottom piece as indicated on the template. This is not necessary for regular 1” zippers.
Step-by-Step Sewing Tutorial
Throughout this project, use a 1/4” seam allowance unless otherwise noted.
Optional: Machine Embroidery
If you wish to add a monogram or embellishment, do so now before assembling the pouch. Using a sticky stabilizer in your hoop can help secure the small fabric pieces for embroidery.
Sewing the Zipper
- Attach the Bottom Exterior: Lay the zipper face down along the top straight edge of the bottom (larger) front exterior piece. Center the zipper so it extends at least an inch past the fabric on both sides. Using a zipper foot, sew the zipper to the fabric.
- Attach the Bottom Lining: Lay the bottom front lining piece right side down against the back of the zipper. The right sides of the exterior and lining should face each other with the zipper sandwiched in between. Sew with a 1/4” seam allowance.
- Press and Topstitch: Press the fabric pieces away from the zipper and topstitch on the front fabric 1/8” below the zipper.
- Attach the Top Pieces: Lay the top (smaller) front exterior piece right side down against the top edge of the zipper. Flip the piece over and sew the top front lining piece right side down against the back of the zipper. Sew across the top edge.
- Final Front Assembly: Press the top pieces away from the zipper and topstitch 1/8” above the zipper. Move the zipper slider to the center and, optionally, baste around the edges to secure the lining and exterior together.
Creating the Optional Side Tab
Fold the tab rectangle in half (wrong sides together) and press. Open it and fold the raw edges to the center, press again, then fold in half once more to create a narrow strip.
Topstitch along both long edges. Insert your hardware (like a D-ring), fold the tab in half, and place it over the zipper on the left side. Sew across the raw edges to secure it to the pouch front.
Finishing the Pouch
- Assembly: Open the zipper about three-quarters of the way—this is crucial for turning the pouch later.
- Sewing Exterior: Place the back exterior piece on the front exterior, right sides together. Pin and sew across the bottom edge only.
- Sewing Lining and Perimeter: Turn the piece over and place the back lining piece right sides together against the front lining. Sew all the way around the entire pouch, leaving a 2 1/2” opening at the bottom of the lining for turning.
- Trimming: Trim away extra zipper tape and tab ends. Cut notches around the rounded edges or use pinking shears to reduce bulk.
- Turning: Pull the pouch through the lining opening. Close the lining opening by hand sewing or using fabric glue.
- Final Press: Turn the pouch right side out, gently push out the corners, and give it a final, careful press.