Project Overview
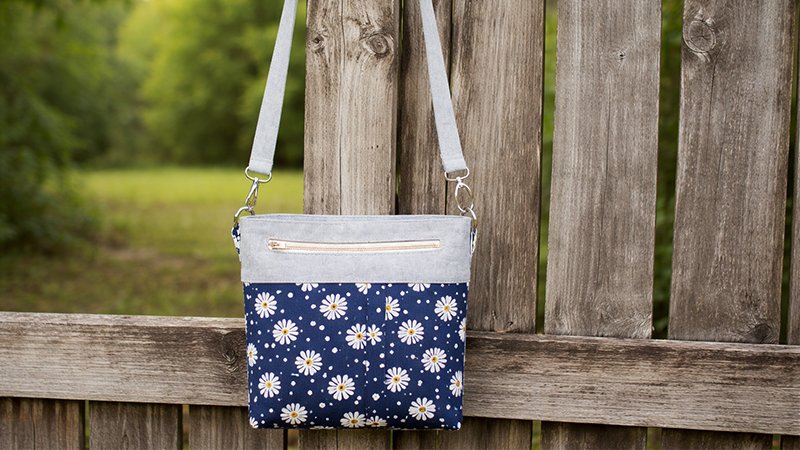
This tote is designed for both function and versatility:
- Convertible strap (crossbody ↔ shoulder)
- Exterior zipper pocket
- Interior divided slip pocket
- Magnetic snap closure
- Interior D-ring for keys
You can customize pocket placement, size, and hardware based on your needs.
Materials & Supplies
Fabrics
- Fabric A (Exterior + Tabs): 1 fat quarter (18” × 20”)
- Fabric B (Lining): 1 fat quarter (18” × 20”)
- Fabric C (Pockets): 1 fat quarter (18” × 20”)
- Coordinating Fabric (Top panels + Strap): 1/4 yard (linen or sturdy cotton recommended)
Notions
- 1 yard fusible interfacing (SF101 recommended)
- 1 zipper (8” or longer)
- 1 magnetic snap
- 3 D-rings
- 1–2 swivel snap clips
- Thread (matching or contrasting)
- Optional: Wonder Tape (for zipper placement)
Cutting Instructions
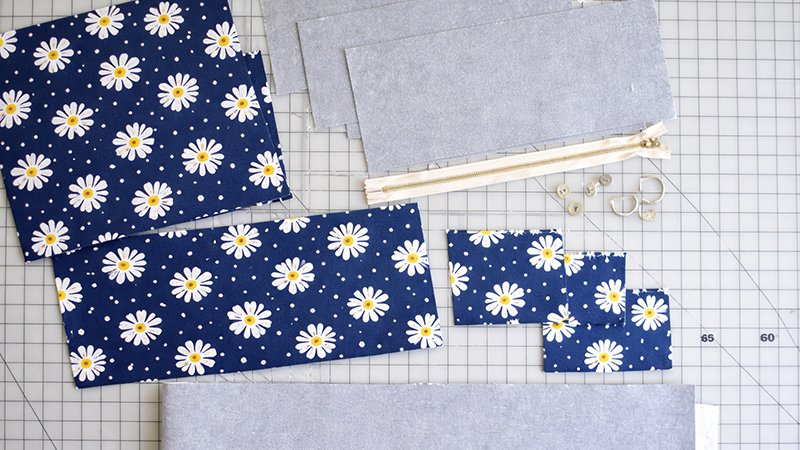
(All measurements: Height × Width)
Exterior
- 2 pieces: 9” × 13”
- 3 squares: 4” × 4” (for tabs)
Lining
- 2 pieces: 9” × 13”
Coordinating Fabric
- 4 pieces: 4” × 13” (top panels)
- 1 strip: 4” × WOF (~42”) (strap)
Pockets
- Interior pocket: 11” × 13”
- Exterior zipper pocket: 14” × 10”
Optional: Cut 1½” squares from bottom corners for boxed corners.
Step 1: Apply Interfacing
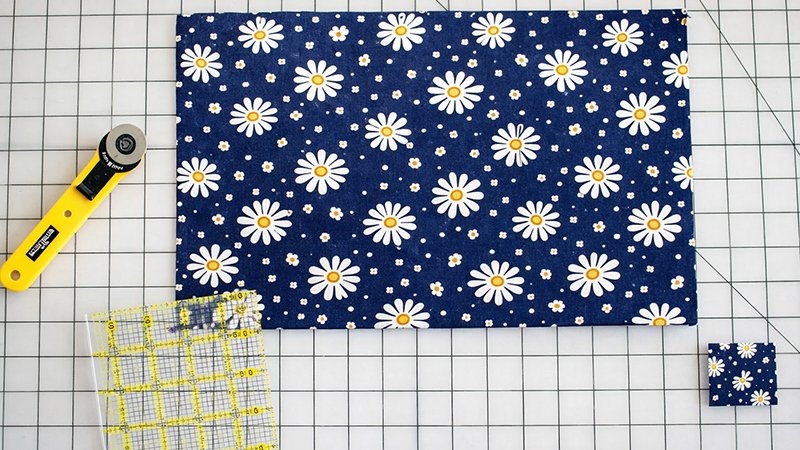
Fuse interfacing to:
- All exterior pieces
- Lining pieces
- Pocket pieces
- Top panels
- Strap
This adds structure and durability.
Step 2: Attach Top Panels
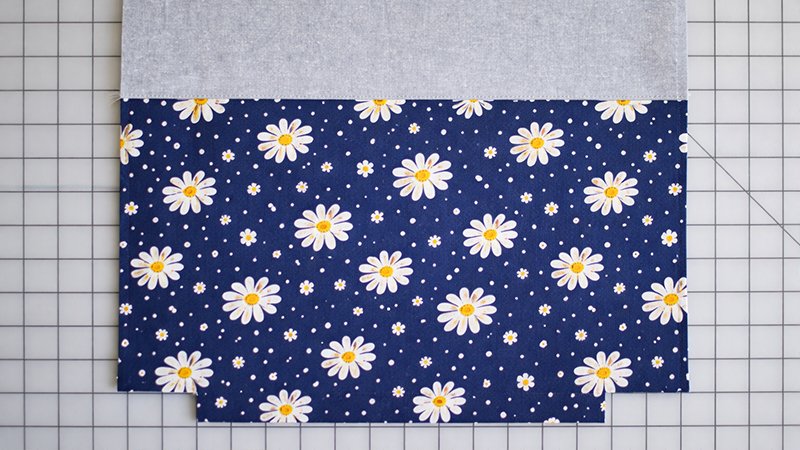
- Take one main panel and one coordinating top panel.
- Sew together using a ½” seam allowance.
- Press seam upward.
- Topstitch ⅛” from seam for a clean finish.
Repeat for all 4 panels.
Step 3: Create Exterior Zipper Pocket
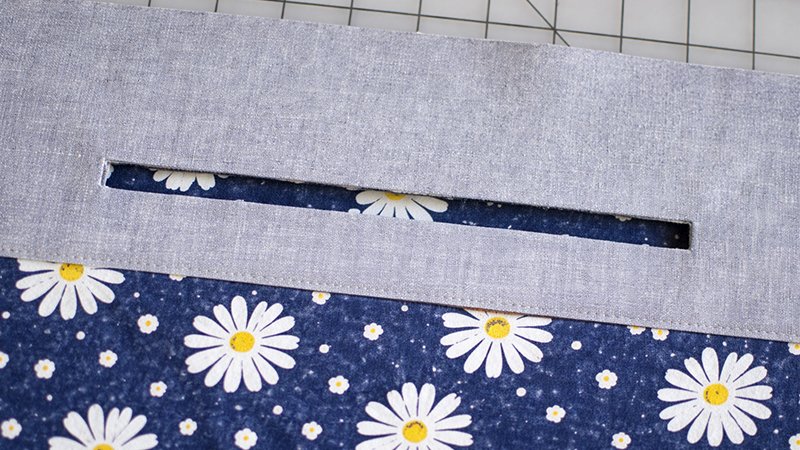
Prepare Window Opening
- On wrong side of pocket fabric, draw:
- Rectangle: 8” × ½”
- Place pocket piece right sides together with exterior panel.
- Position:
- ¾” from top (higher placement), OR
- 1¼” from top (centered)
Stitch & Cut
- Sew around rectangle.
- Cut center slit and clip corners carefully.
- Turn pocket fabric to wrong side and press.
Insert Zipper
- Place zipper behind opening.
- Secure with tape or pins.
- Topstitch around opening.
Finish Pocket
- Fold pocket fabric upward.
- Stitch sides and top to form pouch.
Step 4: Interior Slip Pocket
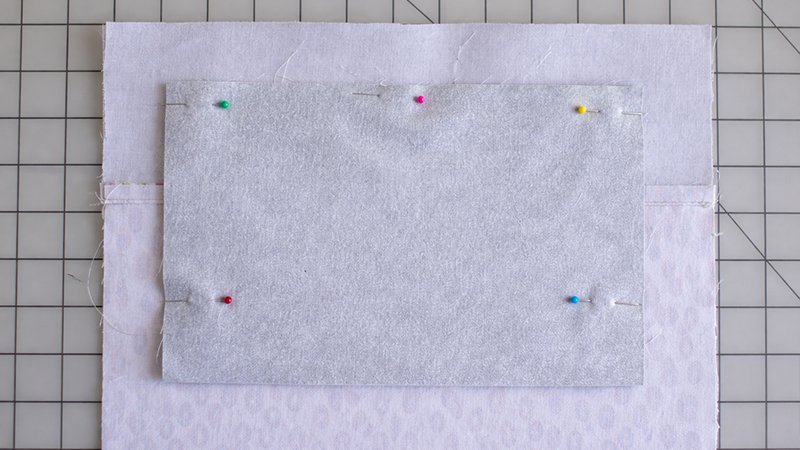
- Fold pocket piece in half (right sides together).
- Sew top edge.
- Turn right side out and press.
- Place on lining panel (½” below top panel seam).
- Stitch sides and bottom.
- Sew vertical line in center → creates 2 compartments.
Step 5: Install Hardware
Magnetic Snap
- Mark center of lining panel.
- Measure 1½” down from top.
- Add stabilizer behind fabric.
- Install snap according to instructions.
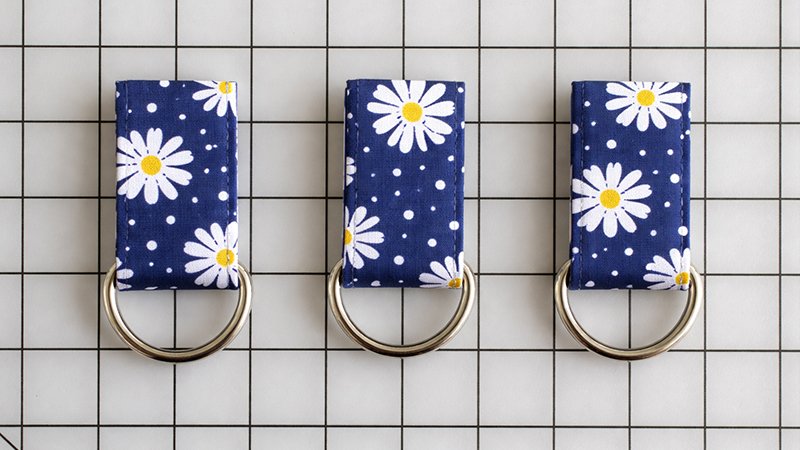
D-Ring Tabs
- Fold 4” squares into strips.
- Stitch edges.
- Insert D-rings.
- Attach:
- 2 tabs on exterior sides (for strap)
- 1 inside (optional key holder)
Step 6: Assemble Bag
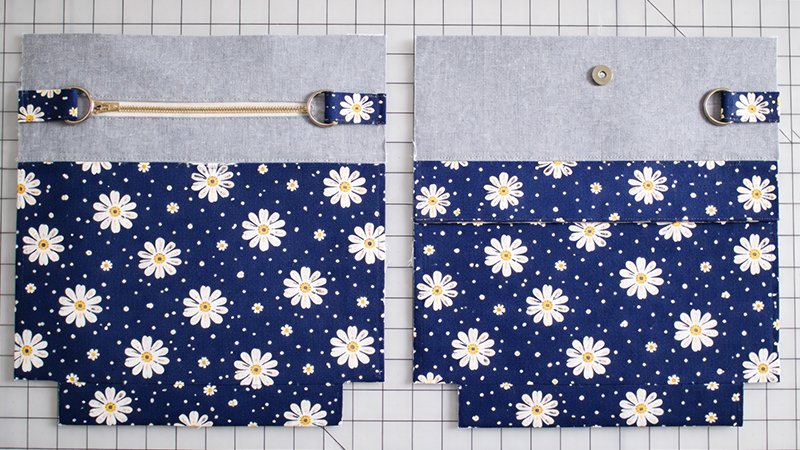
Exterior
- Place exterior pieces right sides together.
- Sew sides and bottom (½” seam).
- Box corners (if cut):
- Align seams
- Sew across opening
Lining
- Repeat same steps, but:
- Leave 6” gap at bottom for turning
Step 7: Join Exterior & Lining
- Turn exterior right side out.
- Keep lining inside out.
- Insert exterior into lining (right sides together).
- Align top edges and seams.
- Sew around top edge.
Turn Bag
- Pull bag through lining opening.
- Stitch opening closed.
- Push lining inside.
Finish
- Press top edge.
- Topstitch around opening.
Step 8: Make Convertible Strap
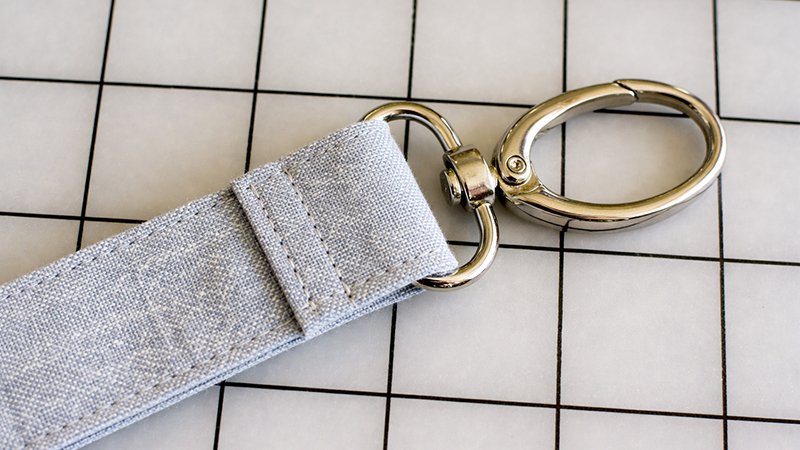
- Fold strap lengthwise (right sides together).
- Sew along long edge.
- Turn right side out and press.
- Topstitch edges.
- Attach swivel clips to both ends.
Use a zipper foot to sew close to hardware neatly.
How to Use the Convertible Strap
Crossbody Style
- Clip each end to side D-rings.
Shoulder/Purse Style
- Clip one end to a D-ring.
- Thread strap through opposite ring.
- Clip back to same side → creates double strap.
Pro Tips
- Trim 1” off top after panel assembly for sleeker shape.
- Use Wonder Tape for clean zipper installation.
- Add extra interfacing for a firmer bag.
- Customize pockets or skip features for a simpler version.
Final Thoughts
This project helps you practice:
- Zipper installation (window method)
- Working with hardware
- Structured bag construction
- Boxed corners
You’ll end up with a professional-looking, highly functional tote that adapts to your lifestyle.