In an era defined by mass production, the desire for personalization and sustainable fashion has never been stronger.
Acrylic paint on fabric offers a sophisticated, accessible, and highly durable method for refurbishing outdated clothing or creating bespoke home décor.
Whether you are a professional designer seeking to prototype textile patterns or a DIY enthusiast looking to breathe new life into a pair of canvas shoes, mastering the technical nuances of acrylic application is essential for professional-grade results.
This comprehensive guide leverages expert insights to navigate the complexities of textile art, from the chemistry of fabric mediums to the precision of heat-setting for maximum longevity.
Understanding the Foundation: Can You Use Acrylic Paint on Fabric?
Acrylics are renowned for their incredible versatility, adhering to surfaces ranging from wood to glass. Given that traditional painting canvases are themselves made of fabric, it is a logical progression to apply these paints to other textile surfaces like pillowcases, sneakers, and apparel.
However, the transition from a rigid canvas to a flexible garment requires a strategic approach. Unlike canvas, which is typically primed and kept stationary, wearable fabrics must endure movement, stretching, and frequent laundering.
Without the proper preparation and additives, standard acrylic paint may become brittle, leading to cracking or peeling once the material is flexed.
The “Secret Ingredient”: Why Fabric Medium is Non-Negotiable
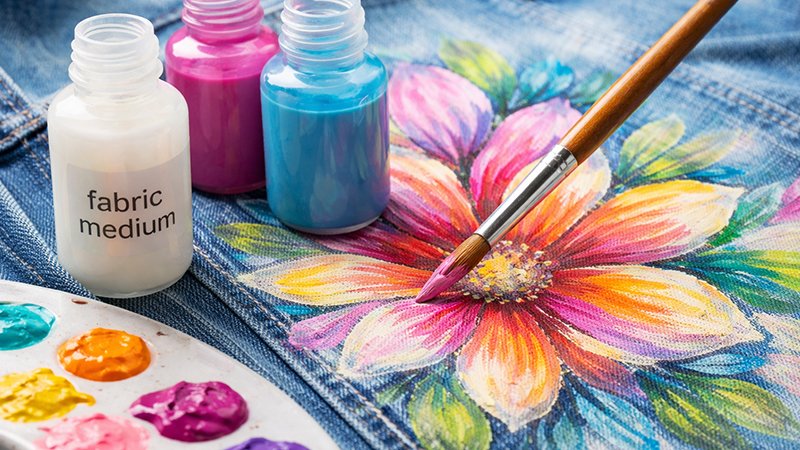
The primary differentiator between a craft project and a professional textile product is the use of an acrylic fabric medium. This additive essentially re-engineers standard acrylic paint into a specialized fabric pigment.
1. Structural Integrity and Flexibility
Standard acrylic paint dries into a plastic-like film. On fabric, this creates a “stiff” hand-feel that is uncomfortable to wear and prone to fracturing. A fabric medium penetrates the fibers, ensuring the paint remains flexible and moves with the garment.
2. Enhanced Adhesion and Wash-Resistance
The medium acts as a powerful binder. It ensures that the pigment locks into the weave of the fabric, preventing the design from fading or washing out during heavy laundry cycles.
3. Advanced Artistic Control
Beyond durability, mediums improve the “flow” of the paint. This allows for sophisticated techniques such as:
- Watercolor Effects: Thinning the paint without losing pigment stability.
- Seamless Blending: Extending the “open time” of the paint for smoother gradients.
- Bleed Prevention: Altering consistency to ensure sharp lines without the paint running into adjacent fibers.
Step 1: Strategic Preparation and Material Selection
Success in textile painting is 70% preparation. Skipping these steps often results in poor adhesion and premature degradation of the artwork.
Choosing Your Canvas: Material Compatibility
Not all fabrics are created equal. For the highest color density and durability, tightly woven natural fibers like cotton and silk are preferred. However, acrylics are remarkably adaptable and can be used on:
- Natural Fibers: Cotton, wool, silk, and linen.
- Textured Materials: Velvet, corduroy, terry cloth, and felt.
- Robust Surfaces: Leather and suede (ideal for footwear).
- Synthetics: Most synthetic blends and flannels.
The Pre-Painting Checklist
- The Mandatory Pre-Wash: You must wash the fabric before painting to remove dirt, oils, and industrial “sizing” (starch-like coatings used in manufacturing). This also ensures the fabric undergoes any potential shrinkage before the paint is applied.
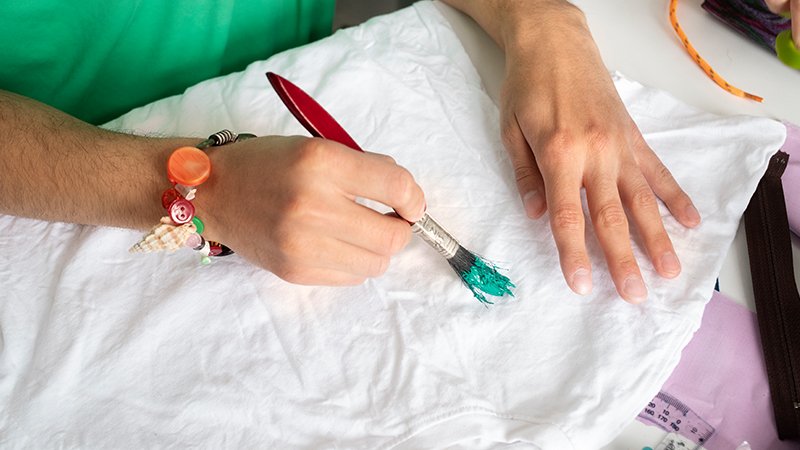
- Surface Protection: Place a barrier—such as a thick board, newspaper, or a plastic sheet—underneath the layer you are painting. This prevents the paint from “inking through” to the back of the garment or sticking to your work surface.
- Tensioning: For clothing, use a board to stretch the material slightly. This creates a smooth, flat surface that is significantly easier to paint on and ensures the pigment reaches deep into the weave.
Step 2: Master Application Techniques
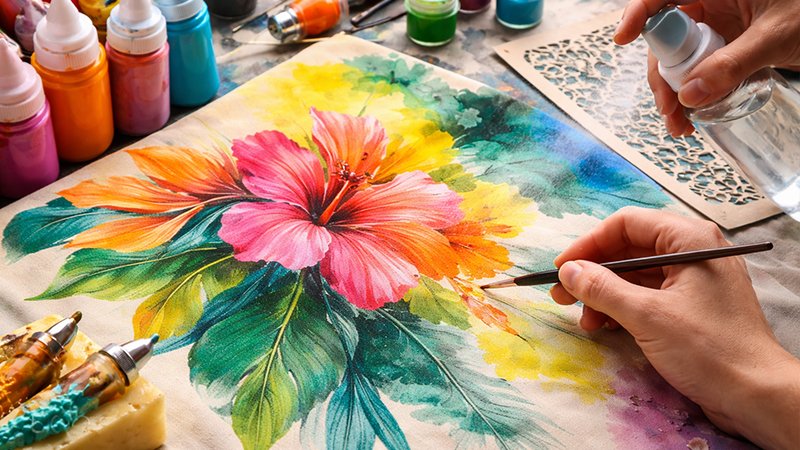
Once your surface is prepared, the application process requires a balance of artistic intuition and technical precision.
Priming the Fabric with Moisture
A professional secret for superior coverage is lightly wetting the fabric with a spray bottle before you begin. The moisture acts as a vehicle, allowing the acrylic fibers to absorb the pigment rather than just sitting on top of the surface. Be careful not to saturate the material; an even, damp mist is sufficient.
Layering for Depth and Texture
To avoid a “caked-on” appearance, apply the paint in thin layers. If you allow each layer to dry completely before applying the next, you can build rich textures and vibrant colors without compromising the flexibility of the fabric.
Innovative Tools for Professional Finishes
- Cake Nozzles: Use these to create raised textures or precise, high-definition lines.
- Stencils: Perfect for repeating patterns or branding-level precision.
- Hot Wax: If you require crisp, hard edges (reminiscent of Batik art), apply hot wax as a resist, which can later be removed via dry cleaning.
Step 3: Ensuring Permanence through Heat Setting
Heat setting is the critical bridge between “temporary paint” and “permanent art.” While some may view this as optional, it is the only way to ensure the design is truly sealed into the fibers.
The Professional Heat-Setting Protocol:
- The 24-Hour Rule: Never apply heat immediately. The paint must dry naturally for at least a full day to allow the chemical binders to settle.
- The Iron Configuration: Turn off the steam setting entirely. Moisture at this stage is counterproductive and can ruin the bond. Set the iron to low heat to prevent scorching the paint or the fabric.
- The Movement Technique: Do not let the iron sit stationary. Keep it moving in slow, steady circles over the painted area for up to five minutes. This sustained, low-level heat “cures” the acrylic, making it a permanent part of the textile.
Step 4: Aftercare and Maintenance
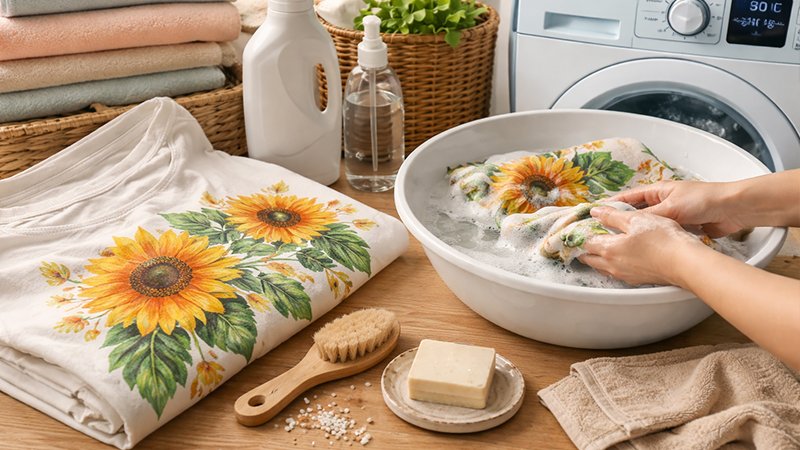
To maintain your custom fabric, follow a rigorous aftercare regimen. Even the best-applied paint can be damaged by aggressive cleaning.
- The Cure Window: Wait at least four days after heat setting before the first wash.
- Temperature Control: Always use a cold wash cycle. High temperatures can cause the acrylic bond to soften and fade over time.
- Handwashing: For high-value items or those painted without a medium, handwashing in cold water is the safest alternative.
- Spot Cleaning: If you opted not to use a fabric medium (for example, on a wall tapestry), avoid full immersion. Spot clean only to preserve the pigment.
Enhanced FAQ: Addressing Common Pain Points
Q: Can I use acrylic paint on clothes without a fabric medium?
A: Yes, but with significant caveats. The fabric will feel stiff, and the paint is highly susceptible to cracking, peeling, and washing off. This method is only recommended for decorative items like tapestries that do not require washing or frequent movement.
Q: What is the best fabric for acrylic painting?
A: Cotton and silk are the gold standards due to their absorbent, tightly woven nature, which yields the richest color payoff.
Q: How do I prevent the paint from bleeding?
A: Using a fabric medium helps control consistency. Additionally, avoiding over-saturation with water and ensuring the fabric is only damp, not soaking, will maintain sharp edges.
Executive Summary: The Path to Textile Excellence
Transforming a simple piece of clothing into a work of art is a meticulous process that rewards patience and technical discipline.
By selecting the right materials, incorporating a high-quality fabric medium, and executing a precise heat-setting routine, you can create designs that rival professional retail quality.
Key Takeaways for Your Next Project:
- Always pre-wash to eliminate shrinkage and chemicals.
- Use a medium to ensure the garment remains wearable and washable.
- Heat set for 5 minutes on low heat to lock in the design.
- Wash cold and wait four days before the first cleaning.
The world of fabric painting is an open invitation to innovation. With these professional standards, your creations will not only look exceptional today but will endure as lasting examples of your creative vision.